By Diane Harris, HQ Stitch Brand Ambassador
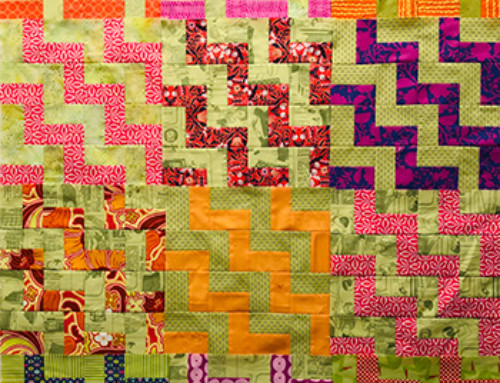
Eight years ago I started an improvisational quilt project during a retreat with Mary Lou Weidman. Mary Lou was doing improv long before anyone called it that. She makes amazing story quilts and she is full of ideas. A day spent with her is like slurping creativity from a fire hose.
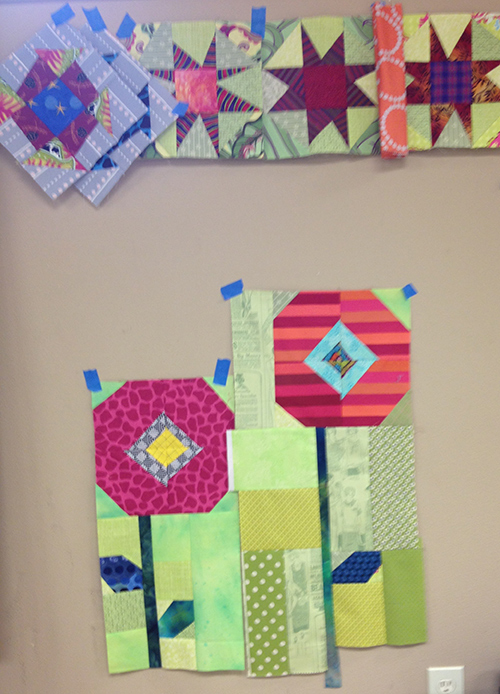
I made steady progress on the piece at first.
But once I came home, it languished. I pulled it out again last year.
Fusing to the rescue
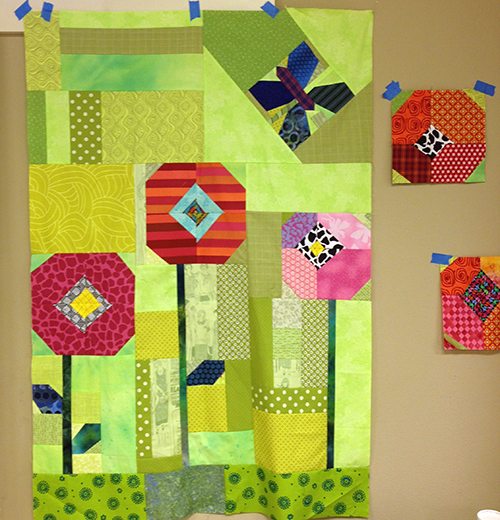
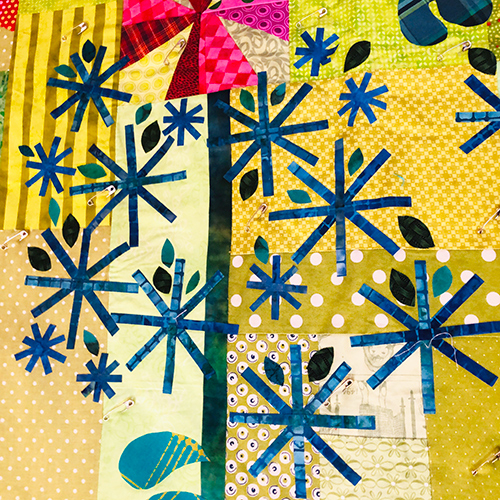
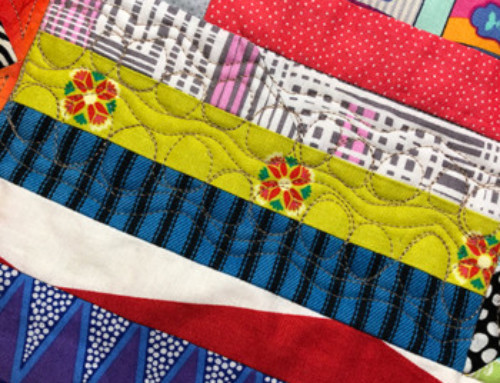
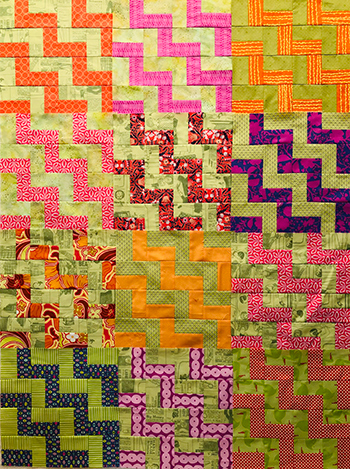
I wanted it to feel like an overgrown wild garden. Since the piecing was mostly in place, I added to it by fusing raw-edged flowers and leaves on top.
I pieced a bird and a butterfly, then appliqued those blocks to the quilt.
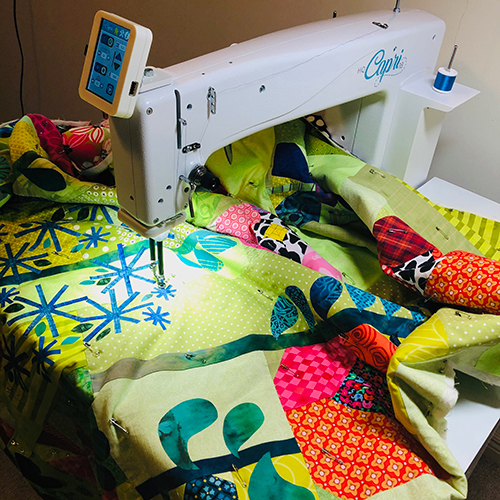
I’ve gotten so excited about machine quilting since the arrival of my HQ Capri (a stationary longarm), I decided it was high time to quilt this baby.
Where to start?
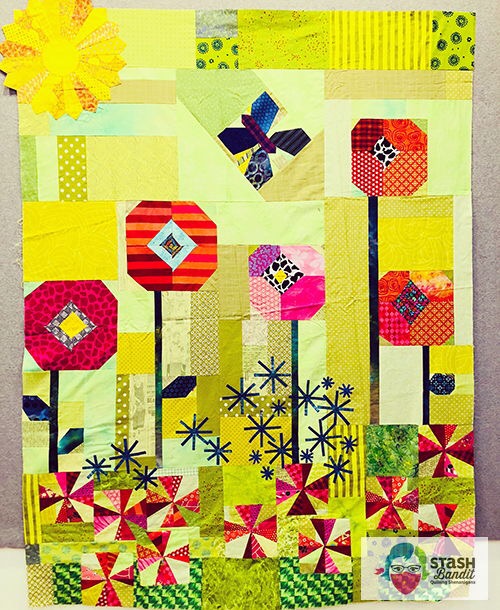
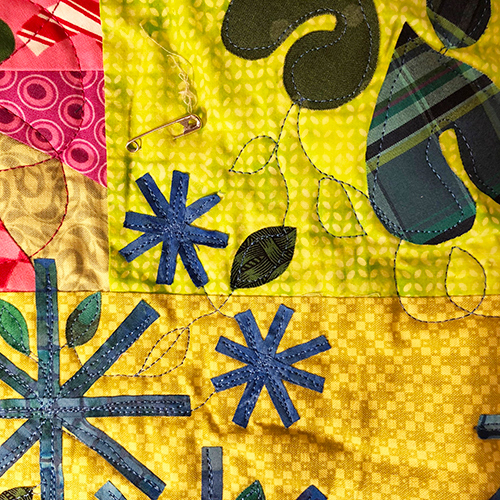
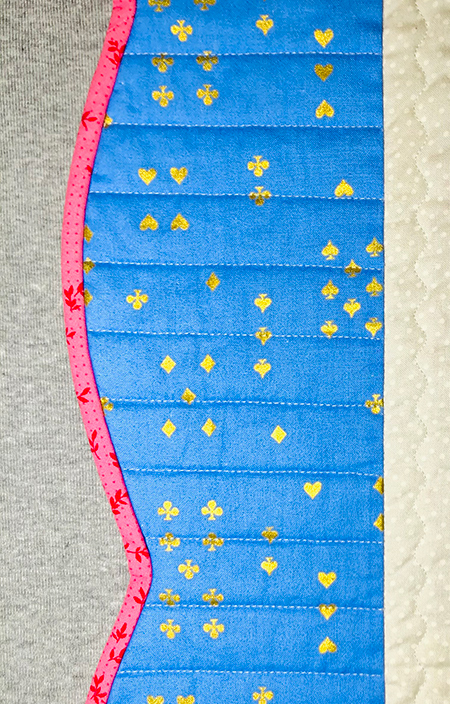
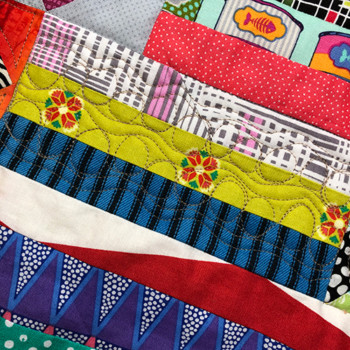
The spiky blue flowers needed to be secured right away because they were coming off.
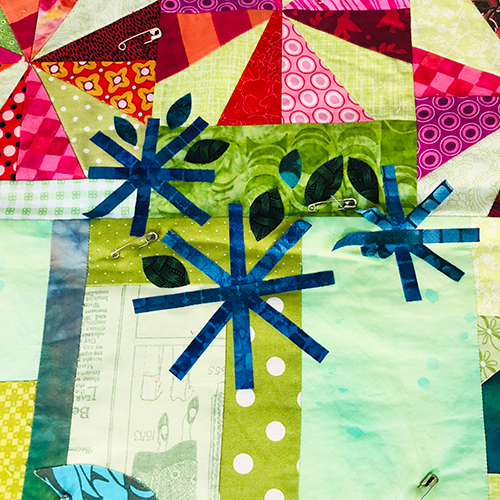
The blue strips are only 3/8″ wide. I’m still getting used to the Capri, so I set the bar low: Try and stay on the petals. That’s it! I’d just try not to quilt on the light background with the dark blue thread.
Starting at the center of each flower, my mantra was “out and back, out and back.” And for the most part, it worked. I realized quickly, however, that I’d need to travel between the flowers.

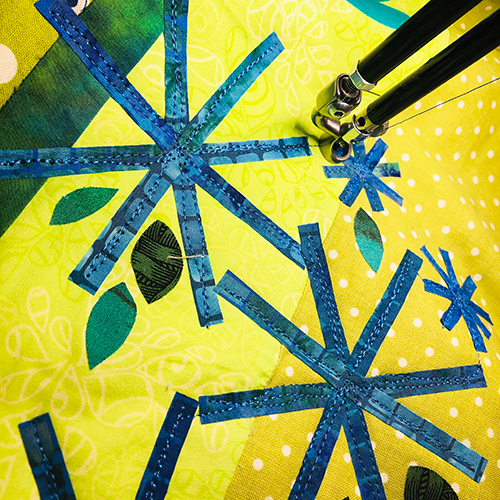
How should I travel?
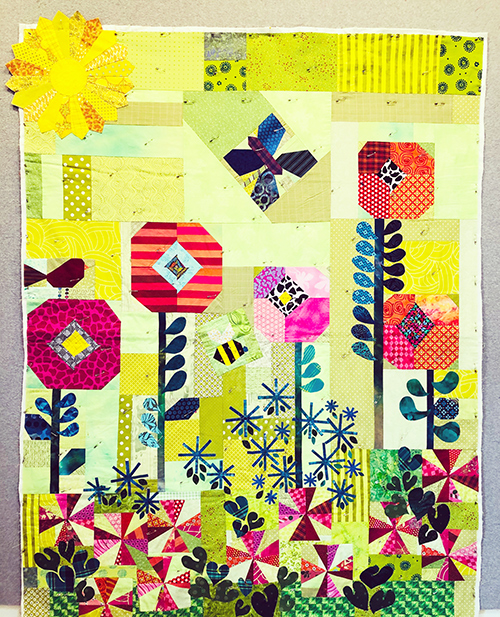
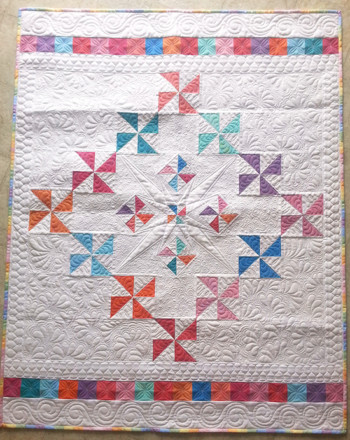
I decided that because this quilt is wonky, it could stand a bit of traveling across the background. I used the little leaves as bridges when I could and plunged ahead, moving from flower to flower like a bumblebee.

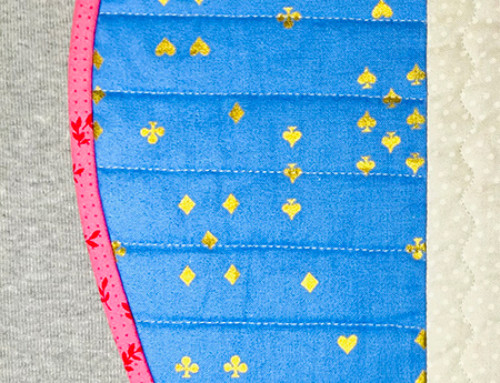
Here’s the same image without the red markup. I think the travels are fairly discreet. At least they’re good enough for a wonky quilt by a rookie longarmer.
Then I had another idea. Could I create more small leaves with quilting and use them to travel, but also to add texture between the flowers? I decided it was worth a try.

It worked but I learned a couple of things.
More “Lessons in Machine Quilting”
- When you’re machine quilting, you’re so close to the quilt that you’re not getting the same perspective a viewer will have when your quilt is finished.
- Look at the quilting from at least a few yards back.
- You should have a plan before you start.
- One line of stitching can look too light or seem too flimsy.
These are all good lessons, important enough to take our time. I’ll address them in upcoming posts, with Mary Beth Krapil’s help. Have you seen her comments about what I’m learning over on the Handi Quilter blog? If you want to machine quilt, she is sharing tons of helpful info. Check it out.
In the meantime, quilt on!

What a lovely quilt and interesting technique! Love your description “like slurping creativity from a fire hose” 😀 I might have to check out your friend Mary Lou and try a technique like this.
quilt 4 fun 2 at hot mail dot com
I love you wild with flowers garden. It is the only type of garden I would possibly good at growing. I too have a stationary Longarm, the Sweet Sixteen. You did a fine job of quilting I think.