By Diane Harris, HQ Stitch Brand Ambassador
In the last post, we looked at how skillful longarm quilters use quilting as a design element. There were some over-the-top quilts with over-the-top quilting.
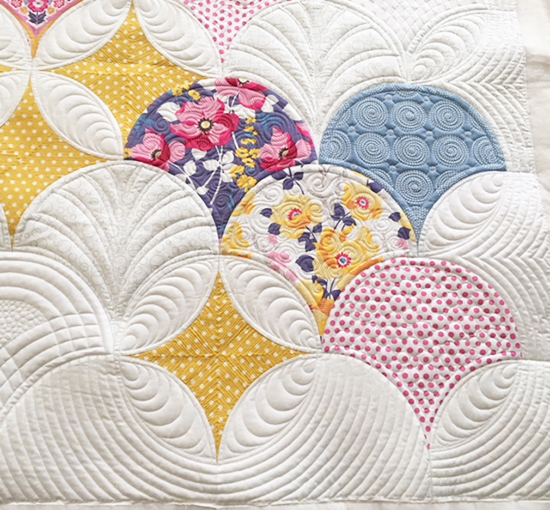
Clamshell, pieced by Rhonda Adams, Grasonville, Maryland. Quilted by Jane Hauprich.
But if you’re more of a regular quilter like I am, how can you start doing more with your quilting?
How can your stitches do more than just hold the layers together?
In the same way that a toddler begins with baby steps, you can start small. That’s what I did when I designed a little sampler called Petit Patchwork.
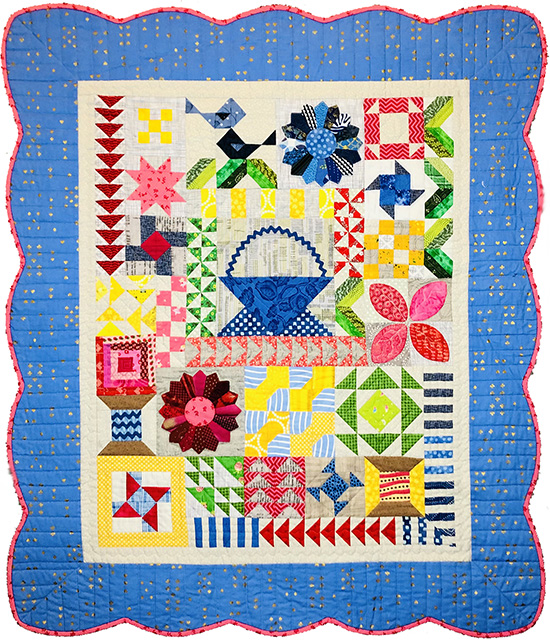
Petit Patchwork, designed and made by Diane Harris.
I conceived it with the idea that it would allow me to teach a lot of different piecing techniques during a retreat. But it held some great lessons for machine quilting that I didn’t foresee.
One thing I learned from this quilt is that you can imagine new lines in the patchwork. I imagined a line down the middle of each half-leaf and quilted accordingly.
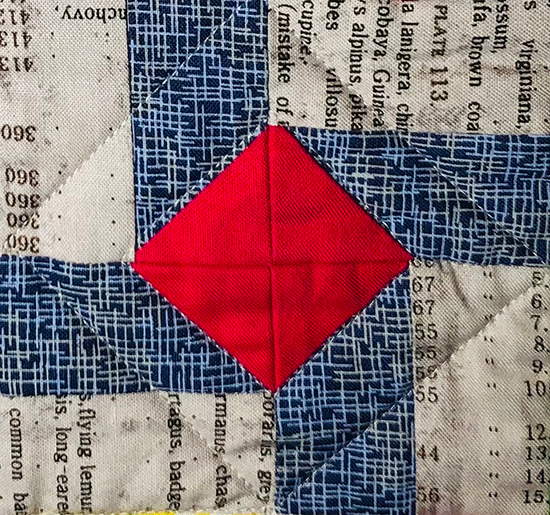
When is a baby windmill more than a baby windmill? When you imagine a square on point and quilt it right in.
The idea is that the patchwork is already communicating one thing. How can you make the quilting say something additional?
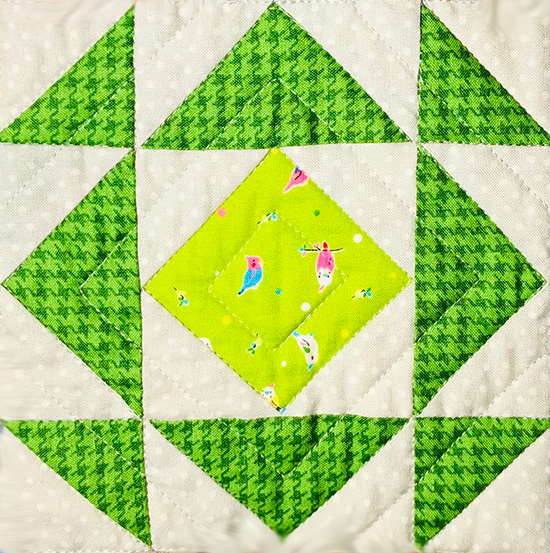
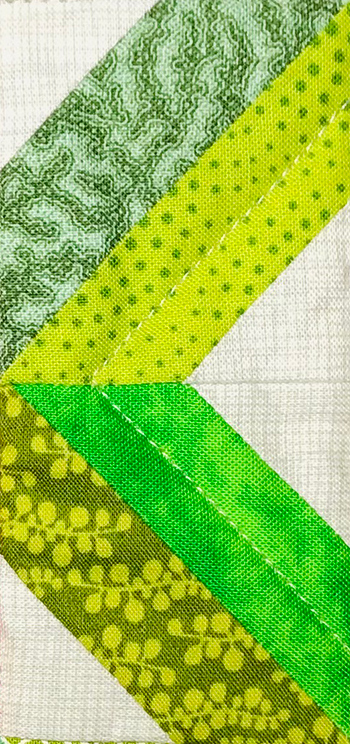
I may have been stuck in a rut with the squares-on-point idea. I used it again in this green block. I quilted this on the HQ Stitch 710 with a walking foot, but if I was on a longarm, I’d need to use a ruler for these straight lines. There may be other ways that experienced longarm quilters know, but a ruler is the way that I know!
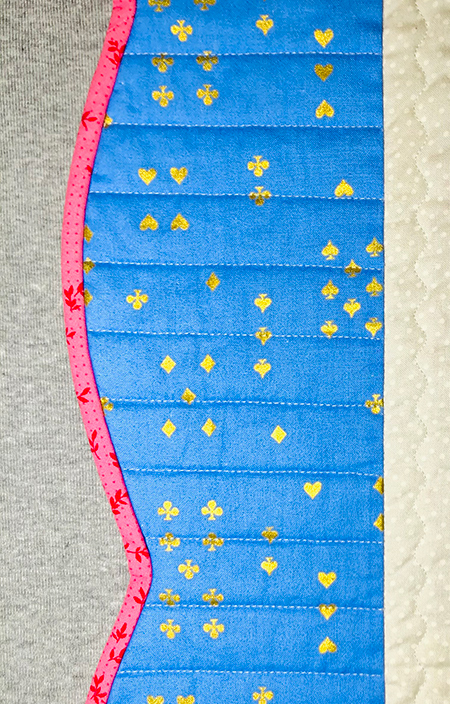
I had some fun with the border. I quilted straight lines perpendicular to the edges and placed them 1″ apart. But then I went a little further.

I quilted a line from the corner of the quilt center outward at a 45º angle to suggest a mitered border. And then I continued my straight lines at 1″ intervals to emphasize it. Easier mitered borders ever! 😉
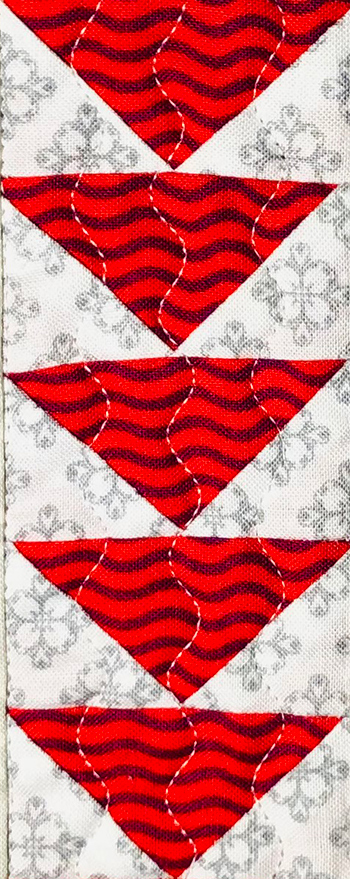
In these small Flying Geese (finishing at 1″ x 2″) I used a serpentine stitch, which is just a wavy line that’s done by your sewing machine. I hoped it would suggest movement but I don’t think it really succeeds. Nevertheless, it’s holding the layers together and when I was quilting this under a deadline, that was good enough.
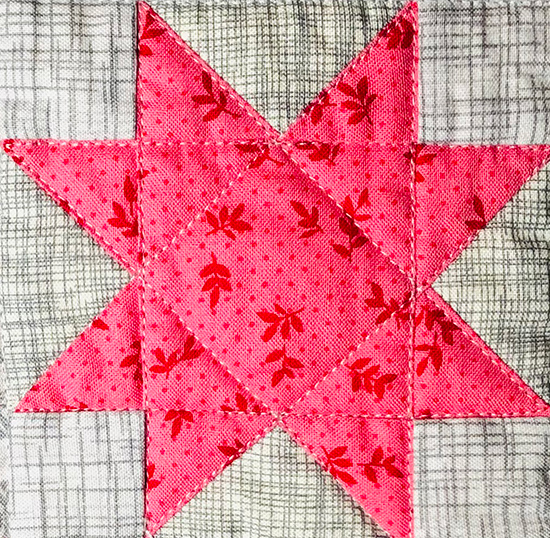
And one more square on point, for good measure! It adds a little interest to this very ordinary Variable Star.
Next time you’re making a plan for machine quilting, try add imaginary lines to the patchwork. It’s a simple but effective way to begin using the quilting as a design element in your projects.
Each little success will be encouraging! You’ll be set up to continue on the journey, one patch, one block, one row at a time.
Quilt on, my friends!

Leave A Comment