By Diane Harris, HQ Stitch Brand Ambassador
No, not the morning TV show. I’m talking about your view of the machine quilting as you’re doing it.
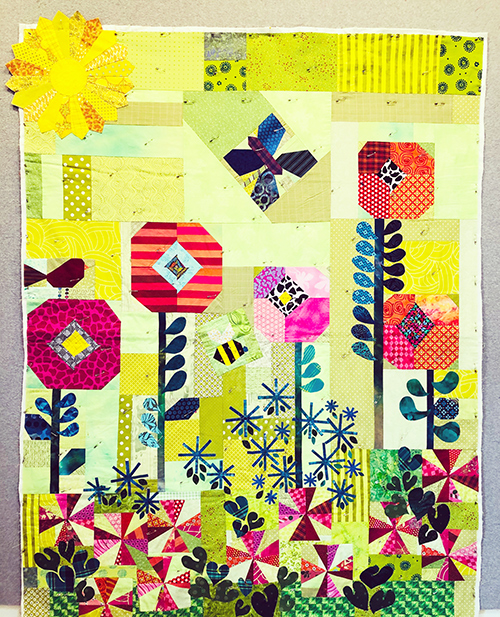
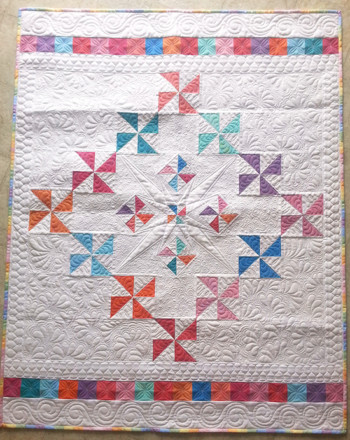
In my last post, I talked about some lessons I took from quilting my Wild Garden.
Lessons in Machine Quilting
- When you’re machine quilting, you’re so close to the quilt that you’re not getting the same perspective a viewer will have when your quilt is finished.
- Look at the quilting from at least a few yards back.
- You should have a plan before you start.
- One line of stitching can look too light or seem too flimsy.
Today we’ll dive into these lessons.
When you’re machine quilting, you’re so close to the quilt that you can’t see the big picture. You’re not getting the same perspective a viewer will have when the quilt is finished. For that, you really need to stand back.
So, one advantage of quilting on a domestic machine like HQ Stitch or a stationary longarm like the HQ Capri is that you can remove the project from the machine and stand back to get a realistic perspective of what is happening.
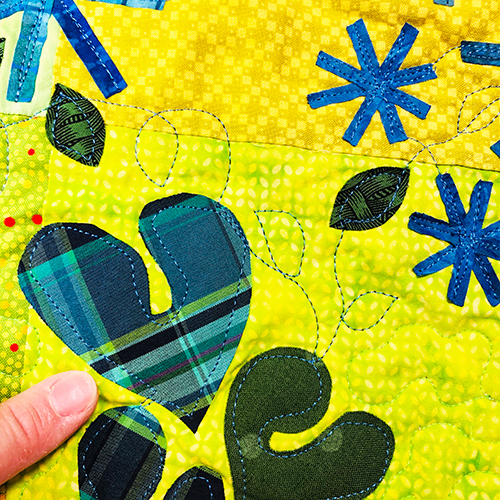
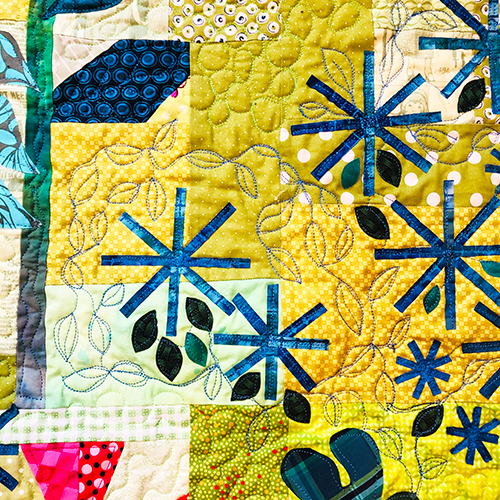
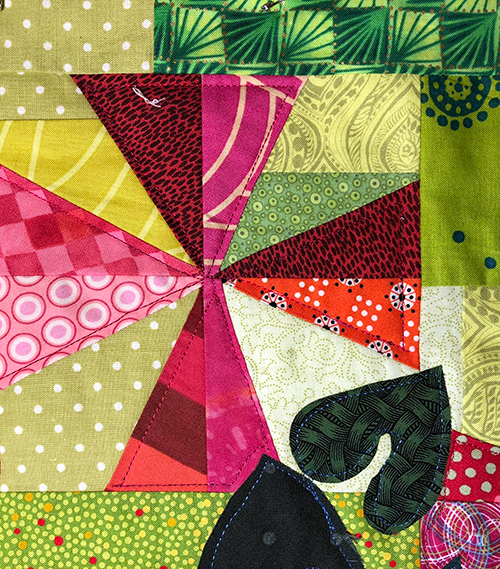
When I pulled back, I noticed that the leaves and stems I used to travel looked kind of wimpy.
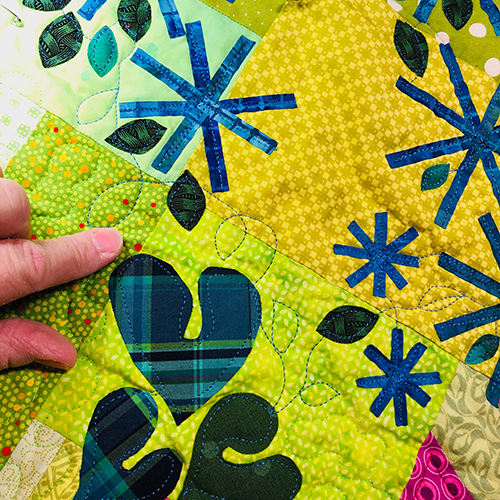
Even though I was using a dark thread, it didn’t seem strong enough to hold its own in the quilt design. So even though I’m not yet a great machine quilter, I decided to try something.
I quilted again.
I knew it wasn’t possible to quilt in exactly the same path, but I tried for “pretty close.” And it worked!
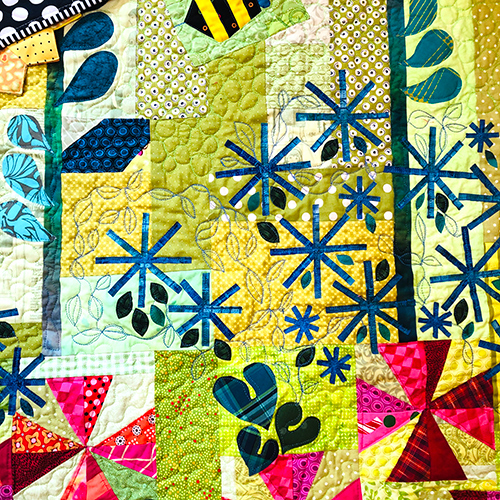
After the second pass, the leaves on a meandering vine looked much better. I took another lesson from them, though.
Plan ahead.
If I had planned ahead, I could have roughly outlined how a vine with leaves would grow naturally. Mine don’t look much like you’d see them in nature, so next time I’ll keep that in mind.

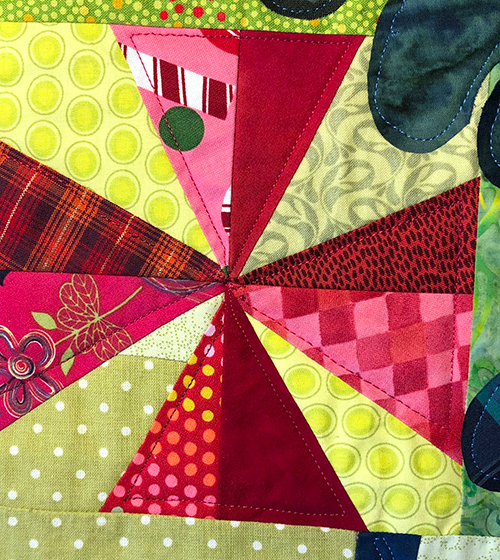
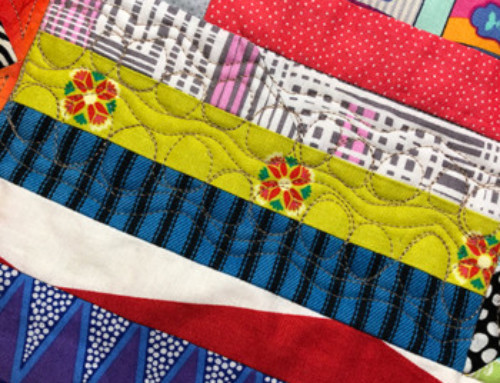
The pink and red flowers came next. I tried something that did not work when I quilted a flower with rounded petals. It looked like scribbling, and not in a good way. Ribbit, ribbit.

I decided to quilt straight lines inside the petals by using rulers designed for machine quilting.
Now, you should know that
I have resisted “ruler work” forever because honestly it just sounded like one more thing to manage. “I find machine quilting to be challenging enough,” I thought, “why make it even more difficult?”
I couldn’t have been more wrong.
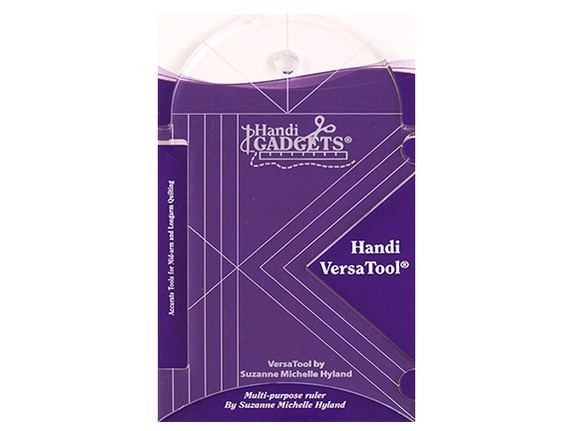
The Handi VersaTool proved to be exactly what I needed, but any straight-edge ruler for machine quilting will make straight lines.
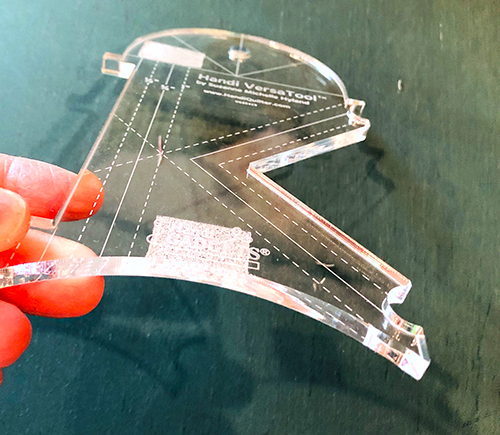
It does need to be a ruler made for this purpose, not one of your rotary rulers! Machine quilting rulers are much thicker. I added small pieces of Handi Grip on the back to help my VersaTool stay put.
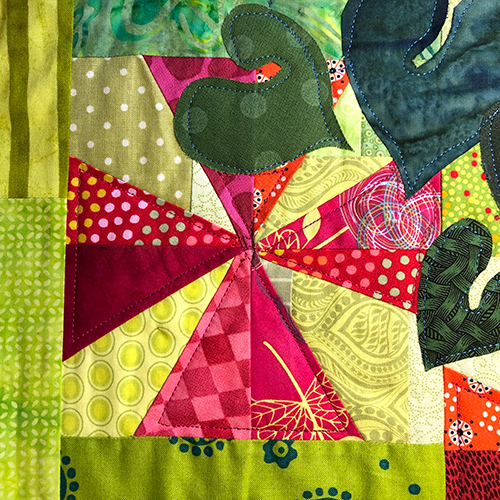
The result was nice looking flowers with beautiful straight lines. I loved them.
Because this was my first try and since the quilt has a wonky theme, I didn’t worry about making each line an exact distance from the petal’s edge. I just focused on learning how to use the ruler.
I was pleasantly surprised by how simple it is! I am already looking forward to the next time I can use a machine quilting ruler.
And in my excitement I might have click-clicked and ordered a few more rulers, too!
Wild Garden taught me a whole slew of lessons:
Make a quilting plan before you begin.
Stand back to see the big picture.
Sometimes a second pass is exactly what you need.
Quilt on,

[…] on. If you’d like to read the entire post (you’ll be glad you did!) you can find it here. She is having a great time learning to longarm quilt and her quilts are so much fun! I love her […]