By Diane Harris, HQ Stitch Brand Ambassador
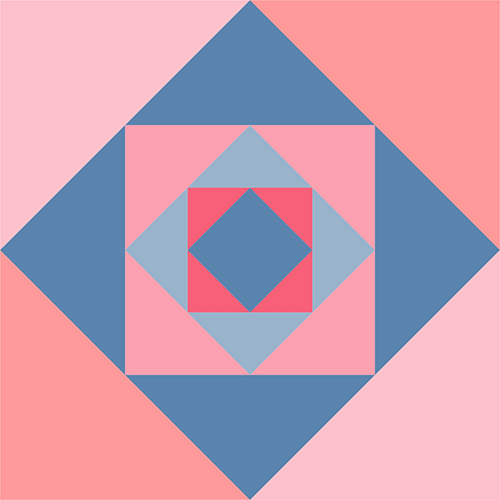
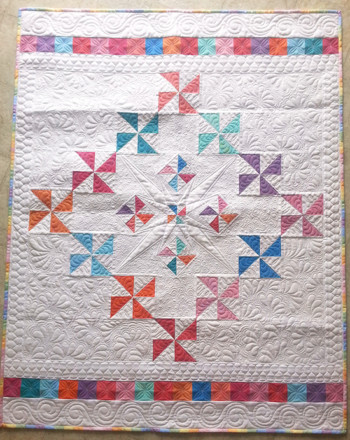
I’ve been making receiving blankets for my soon-to-arrive twin granddaughters, and one of my favorites has a 24″ Economy quilt block as its center.
Making this blanket used a lot of the skills I’ve honed over many years, so I thought it would be make a good series of posts for HQ Stitch.
Today we’ll talk about auditioning fabrics. I have learned the hard way to audition fabrics on a design wall before I begin any project. At first I was self-conscious about using “audition” as part of my quilting vocabulary, but I’ve overcome that hangup. You and I are as entitled to use artistic vocabulary as any painter or sculptor.
To audition just means to try things out–to test, to consider–to see what will work the best and which choice will move us closer to our goal.

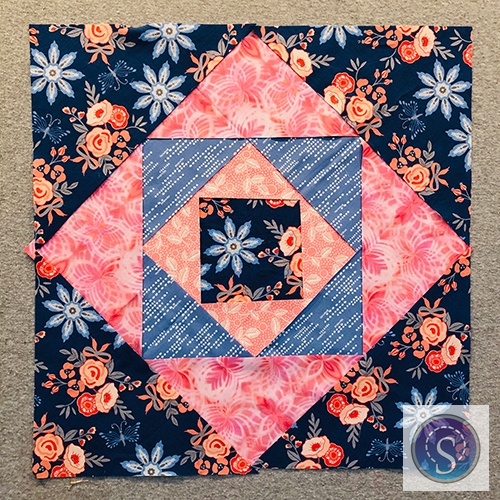
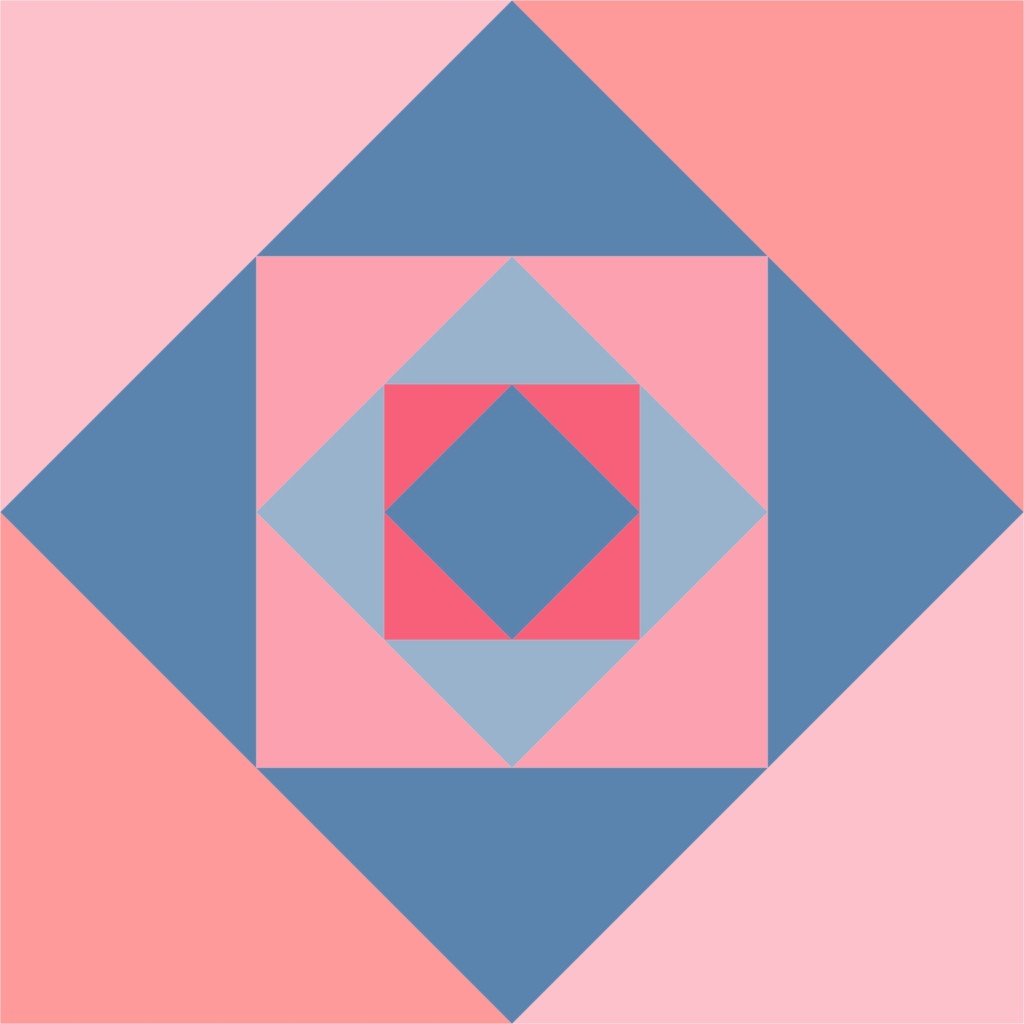
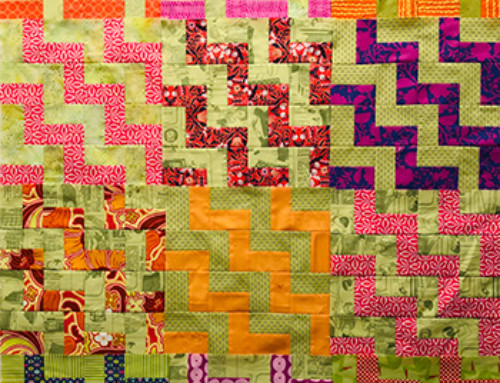
In the two images above, you can see that I changed out the second round of pink patches for something more peachy in tone. The pink should have worked, and at arm’s length it seemed to work. But up on the design wall, it was too pink. The modern pale orange works much better.
Lesson #1: Back up. Back way up.
We want to make decisions as we hold the fabrics in our hands because that feels the most natural to us. We do it with new babies, with food set before us, with the clothes we pull from our closet. Our hands hold the things we look at the most, so we make decisions from an arm’s length.
But this is not the way people will view our quilts. They will be farther away, across the room or even more. That is where we should make decisions about fabric. This is why a design wall is so important. It doesn’t have to be fancy—it can be a piece of flannel held up with pins. But you do need a design wall of some kind.
Stand back from the design wall to look at the fabrics. I regularly walk to the other end of my studio to look, which is about 15 feet. This gives me good perspective.
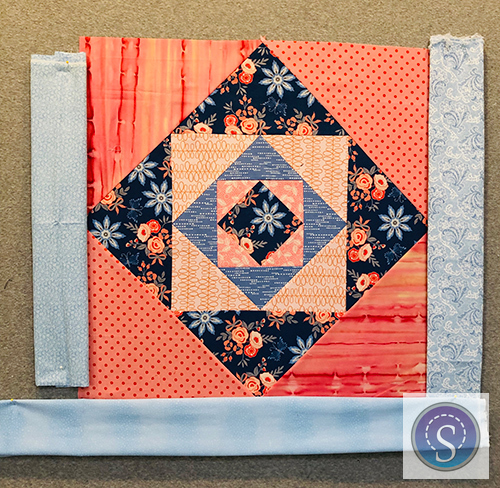
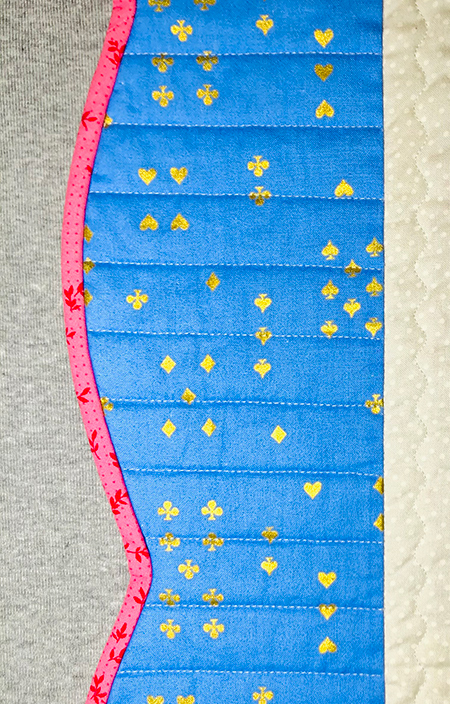
I pin up different possibilities and I try to keep an open mind. I really wanted to use something light for the borders of this piece, but I had to face the fact that it was too late to introduce a very light value.
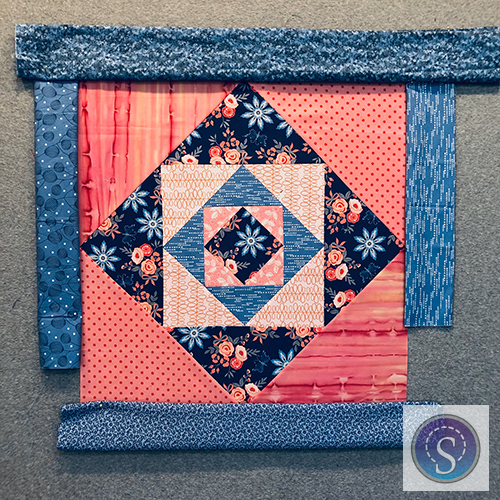
I switched to more medium value blues and realized immediately that they were a better choice. Had I only viewed the lights at arm’s length, I probably would have gone ahead with them. They looked fine from that perspective.
Lesson #2: Keep an open mind.

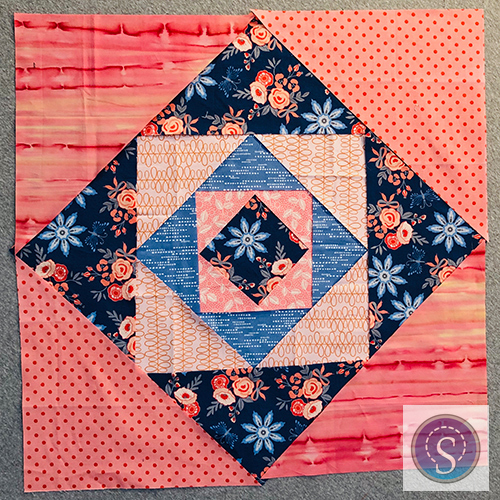
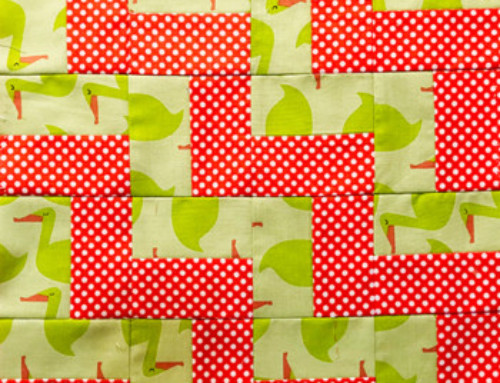
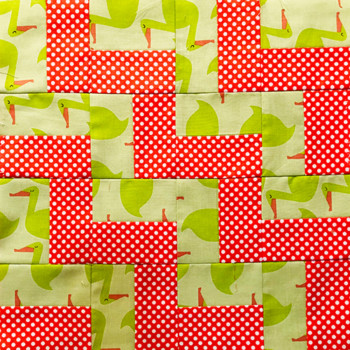
Do you see how I used two different fabrics for the last set of pink triangles? I wasn’t trying to be clever. I had only a fat quarter of the polka dots, so there wasn’t enough to make all four of the triangles from that.
I went searching through my stash to find something similar. The color is important but the value is most critical. Value is the lightness or darkness of the fabric. I found a batik that was just right.
I had enough of the batik to cut all four triangles but I loved that polka dot and I didn’t want to leave it out. The solution was to use both fabrics. In the end, the block is more interesting because of it.
Lesson #3: Use something similar.
This has been the most freeing lesson of my quilting life. When you embrace this concept, running out of fabric is never a problem. I’ll do a whole blog post about this some time. But trust me when I say that it works.
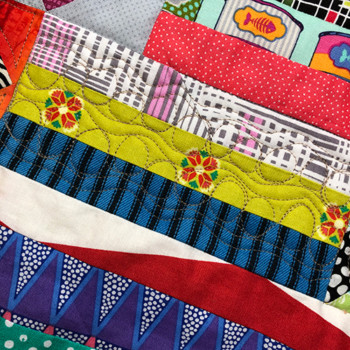
If you’d like to play along, practice your piecing, learn about combining fabrics successfully and start a smashing scrap quilt, pull some fabrics you like from your stash. You can start with a focus fabric like the blue floral above, or you can begin with a color recipe like black, red and gray. Anything goes. Pull all the fabrics in your stash in these colors and begin to dream.
great info, thanks Diane.
Very informative Diane. I especially like how you mention comparing at arms length versus distance and project looking totally different. I very often go with arms length view and am not quite happy with the result. But we just forge on and keep sewing!