By Diane Harris, HQ Stitch Brand Ambassador
I’ve been binding quilts for decades but until recently had never done what I’m about to show you. I have never seen this step spelled out in binding instructions and I can’t quite determine why, as I find it to be very helpful.
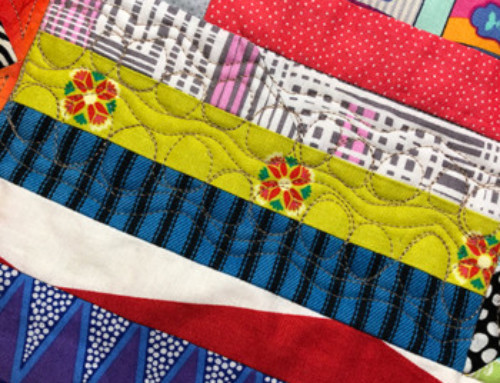
Sew the binding to the quilt as you normally would and join the ends. Then fold the binding up over the seam allowance and press it. That’s it. That’s the trick. So simple and yet so very helpful.
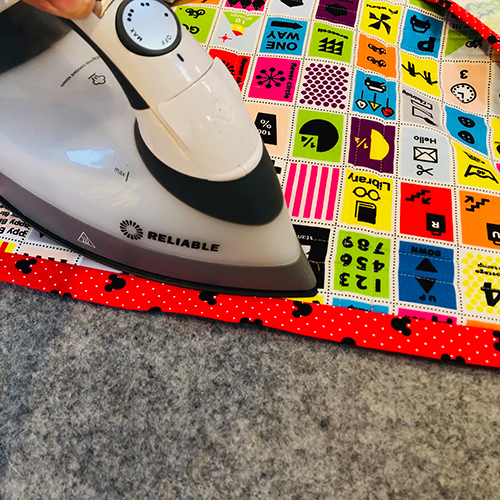
Use the edge of the iron to be sure you’re snug against the stitches and there is no little fold. I use steam but that’s a personal preference.

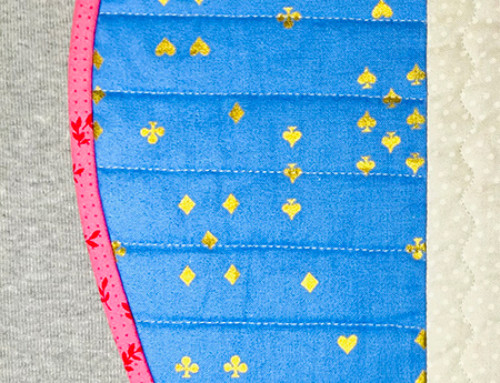
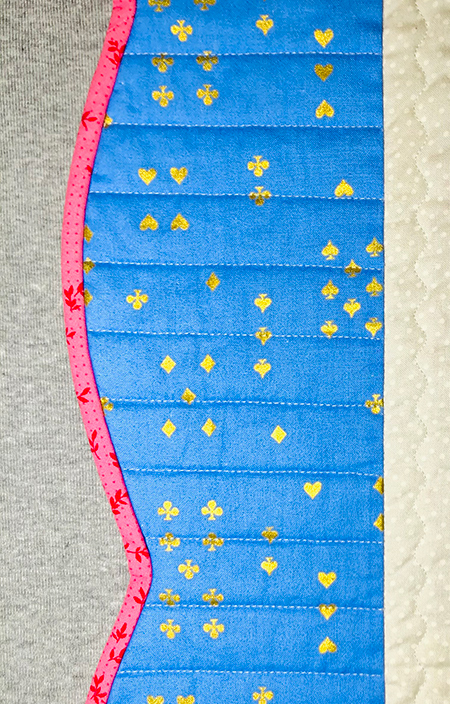
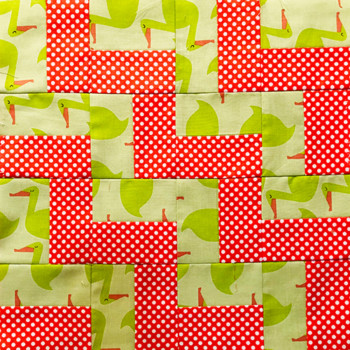
My quilts get a hand-look binding by machine, so they’re sewn to the back of the quilt first, but this works even if you’re sewing the binding to the quilt front in order to be finished by hand. Just above is the front of the quilt, with the binding pressed up and over the seam allowance so that it’s peeking out from the back of the quilt.
Now you’re ready to fold the binding again and finish it by sewing it down. You’ll be surprised at how much easier this is when you have pressed the binding first.
Sometimes it’s the little things!
Leave A Comment