A Useful Trick!
By Diane Harris, HQ Stitch Brand Ambassador
I’ve been practicing a new type of binding recently and this morning I added it to a new Christmas quilt. The method is surprisingly simple. It takes a little longer to prepare this binding over a traditional one but I think the results are worth it.
I was introduced to this technique by Marti Dyer-Allison. I make adjustments to Marti’s method depending on the quilt, but this is a nice way to add something extra special to your finish. This is no ordinary binding!
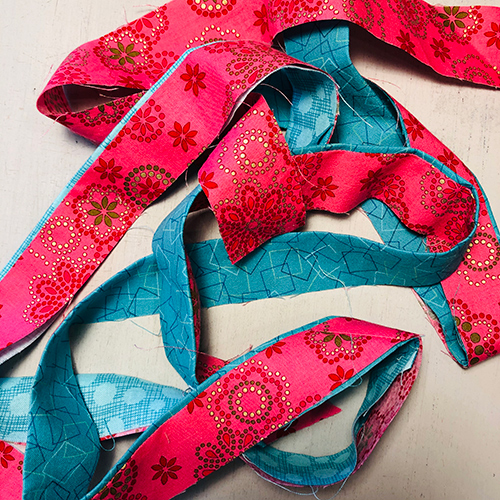
I call it Faux (pronounced like the word foe, it means artificial, fake or false) Piped Binding because it looks like piping but it actually isn’t. It’s a tiny flange just inside the binding and there’s nothing inside it. (Piping generally has a cord inside to make it round.)
Select & Cut
Faux Piped Binding requires two fabrics, and it’s great if they contrast—you want to be able to see a difference between them. And you want the accent fabric (the one that will mimic piping) to show up nicely against the quilt.
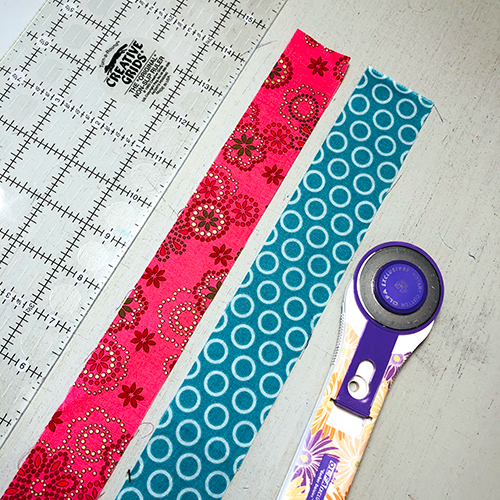
Cut enough 1-1/2″-wide strips of the main fabric so that when joined end to end with diagonal seams, you’ll have enough to go around the quilt plus 8 to 10 inches extra.
For example, if my quilt is 50″ x 50″, the circumference is 200″ and I will need about 210″ of binding.
Cut enough 1-3/4″-wide strips of the accent fabric to equal the same amount.
Note: It’s counterintuitive that the accent fabric is cut wider than the main fabric, but that is correct:
Main fabric strips: 1.5″ wide
Accent fabric strips: 1.75″ wide
Sew & Press
Join the strips with diagonal seams so you have one long strip of the main fabric and one long strip of the accent fabric. Press the diagonal seams to one side.
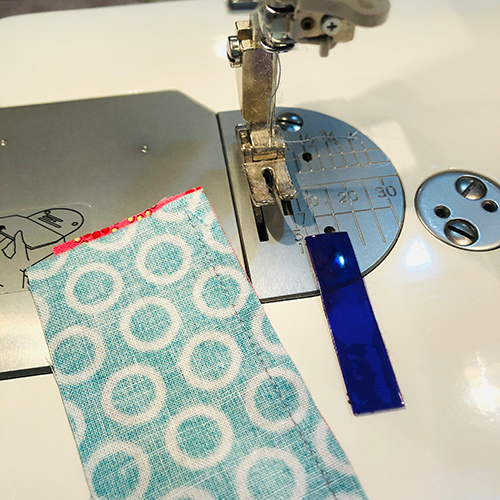
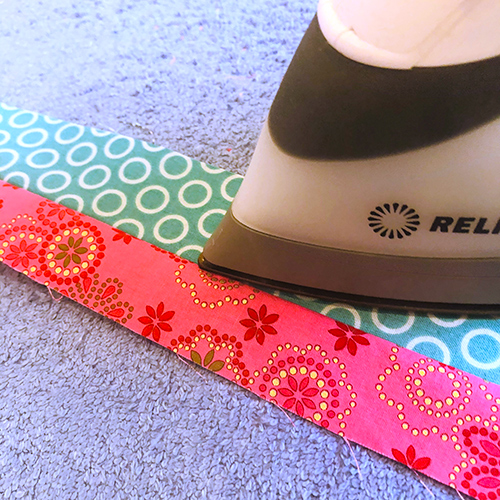
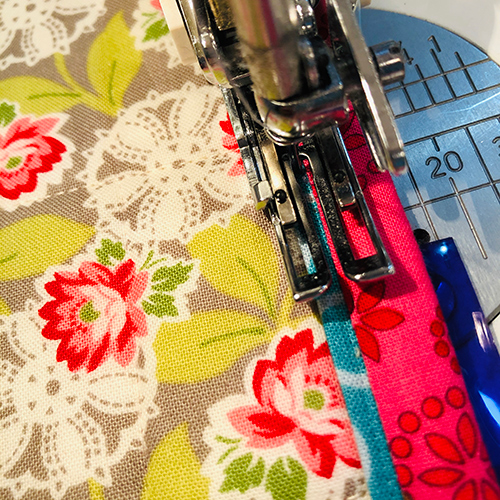
With right sides together, join the strips along their length with a 1/4″ seam, above.
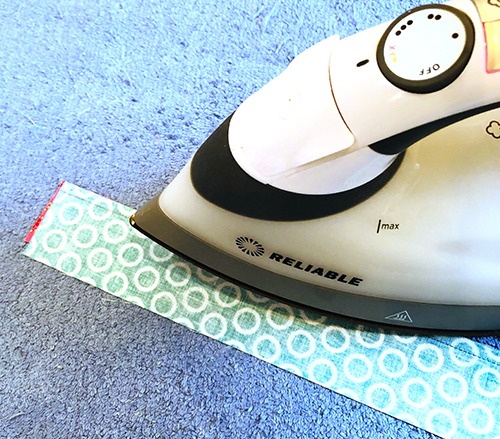
Press the binding flat as shown above to warm up the stitches, sometimes called “setting the seam.”
Open up the strip and press the seam toward the main color (shown pink, above). The direction is very important. Be sure you press toward the main color, not the accent color.
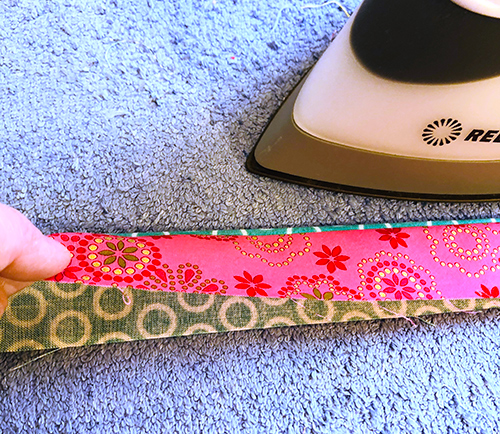
Now fold the strip in half with wrong sides together so the raw edges meet and press.
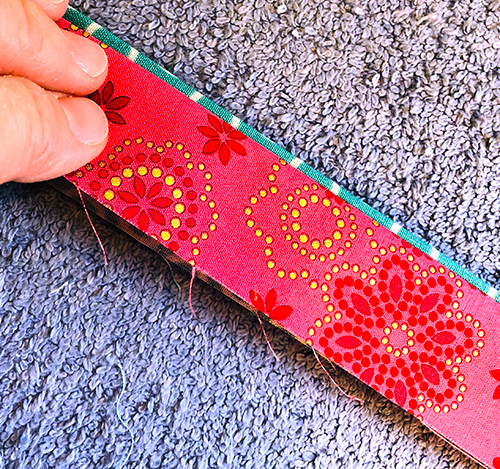
A tiny bit of the accent fabric (shown aqua, above) will show from the front side.
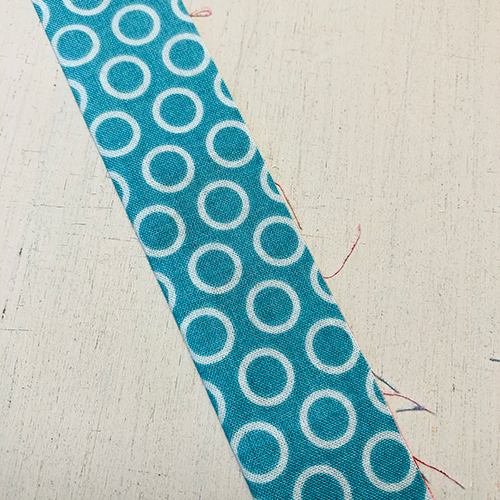
From the back, only the accent fabric will show, above.
Test and Adjust
Now you’re ready to add it to your quilt!
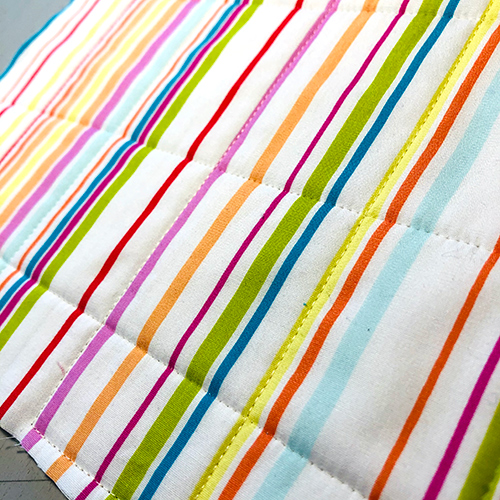
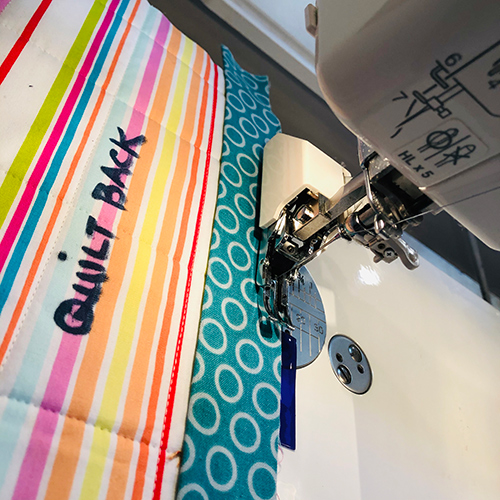
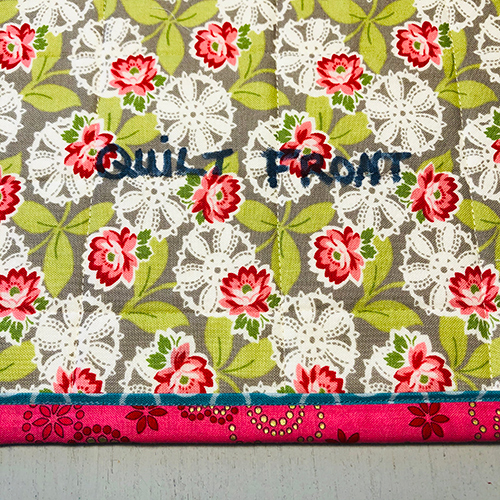
I made a little quilt sandwich as an example. Notice that the stripes are the quilt back and the floral is the quilt front.
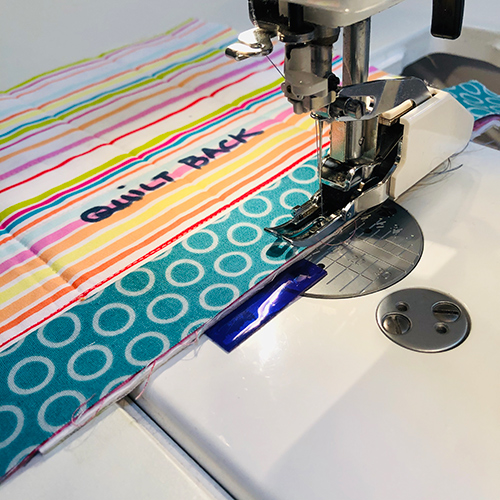
Attach a walking foot to your machine. This is where I check and double check and make adjustments as needed.
- Lengthen the stitches to 3.5 or 4mm for basting.
- Sew about 6″ of binding to the quilt back with a 1/4″ seam.
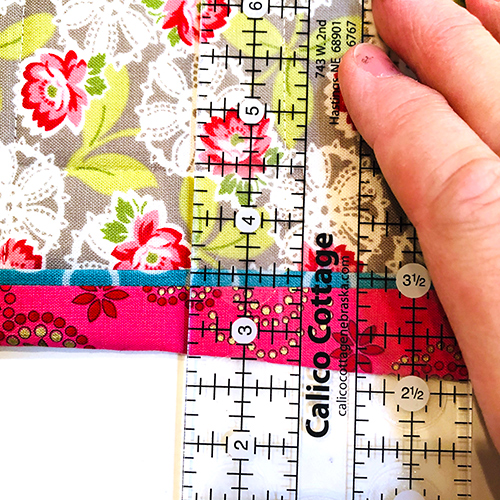
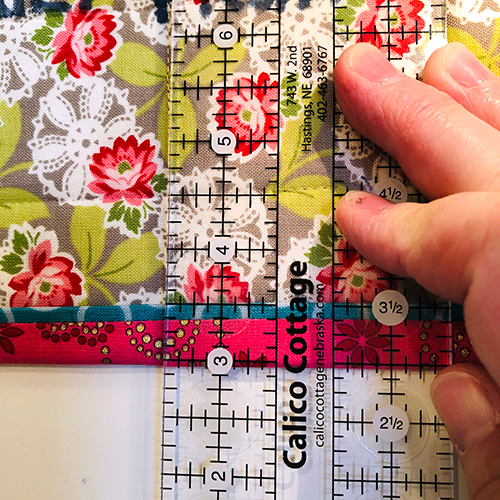
- Pull the binding to the front of the quilt and check its width. If you like its look, you can skip ahead to the ***.
- See the photo below. The 3/4″ was too much for the look I wanted on this quilt. To solve this problem…
- Take a bigger seam allowance, or…
- Trim the binding down a little from the raw edges, or…
- Do both, which is what I did to get the width I wanted.
You might be wondering why not just cut the strips narrower to begin with. I tried that on a sample, but unless you want to cut in 1/16″ increments, taking off one whole eighth from each strip makes it pretty narrow, and that is risky business. It’s better to start with the usual cuts of 1-1/2″ and 1-3/4″ and make adjustments as needed.
I got the width I wanted with a little trial and error but I didn’t risk having to remake the binding. It worked for me.
Once you’ve determined the width you want and you make the necessary adjustments, you’re ready to bind the quilt.
Attach to Quilt Back
***Take out the trial basting stitches and return to a normal stitch length.
Starting in the middle of one side, sew the binding to the quilt back with the main fabric facing down; only the accent fabric will be visible (aqua, below).
Miter the corners as you normally would, below. (That’s a corner of my actual quilt, where the floral was the backing.)
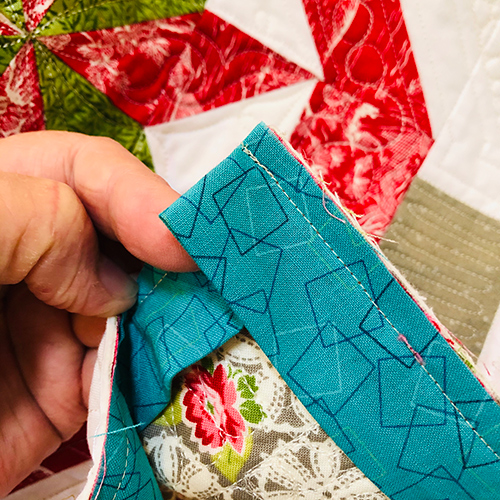
When you get back to your starting point, join the ends as usual, taking extra care to match up the main and accent fabrics perfectly. Then finish sewing the binding to the quilt back.
From the back of the quilt, press the binding out toward the quilt’s edges all the way around.
Set up your machine:
- Walking foot still attached
- Invisible thread on top, or a color to match the accent fabric
- In the bobbin, thread to match the quilt backing
- Straight stitch, 2.5mm long
- Needle set to stop down
Secure to Quilt Front
Pull the binding to the front of the quilt. Securing the stitches at the beginning and the end of each seam, sew the binding down by stitching in the ditch between the main fabric and the accent fabric.
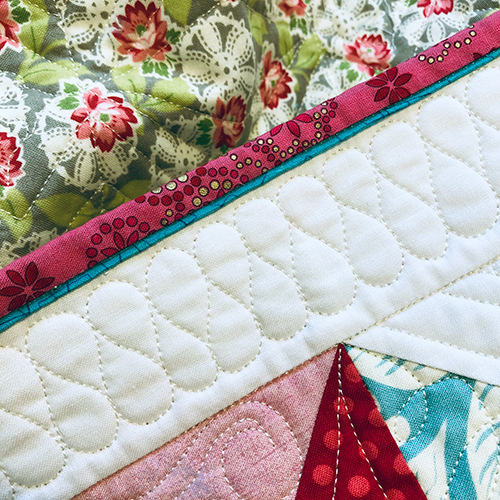
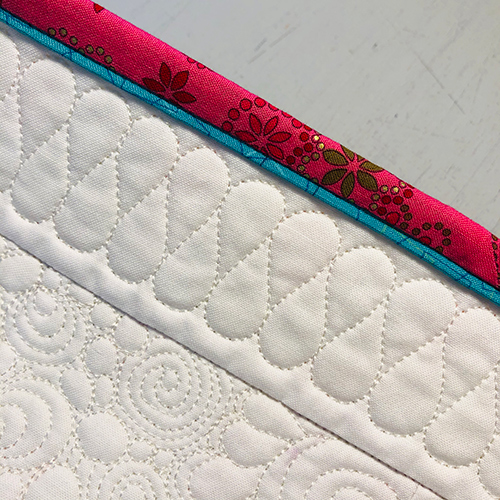
Here’s my sample, and below is my actual Felicity quilt with faux piped binding.
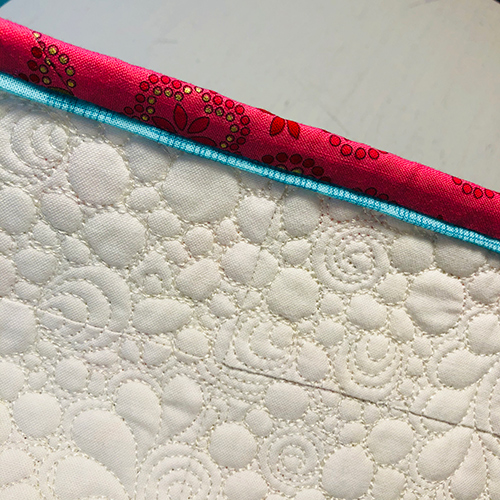
On two ends of this quilt, I didn’t want to cover up these pretty ribbon candy quilting designs, which is why I skinnied up the binding.
I used invisible thread for the actual quilt. On the sample, I used gray thread to see if it would blend in. The disadvantage to using colored thread is that if you get a stitch or two on the accent fabric, it really shows. It shows less with invisible thread.

The effect is really quite lovely. Not all quilts deserve this kind of special treatment, but when you have one that does, a binding with faux piping really takes it up a notch.
Questions? Fire away.
Wonderful job on a tutorial for a fabulous finishing/binding technique…I love this look and will try it soon! Thanks for the great instruction.
Our guild makes quilts that we donate to various charities and helping organizations in our community. Since we know that these quilts will likely be cleaned in the washer and dryer regularly we always secure our bindings by machine front and back. This faux binding method is our preferred method for all our quilts.
Thank You for sharing. I will definitely try this Faux Piped Binding for my next “extra special” quilt.
Great tutorial! Love this binding technique, will be finishing on of my Christmas quilts this way!