By Diane Harris, HQ Stitch Brand Ambassador
I finished piecing a large quilt top over the weekend and made two receiving blankets for a newborn. I used a walking foot for both tasks which made things go smoothly. This post is to help you understand what a walking foot is and when you should use it.
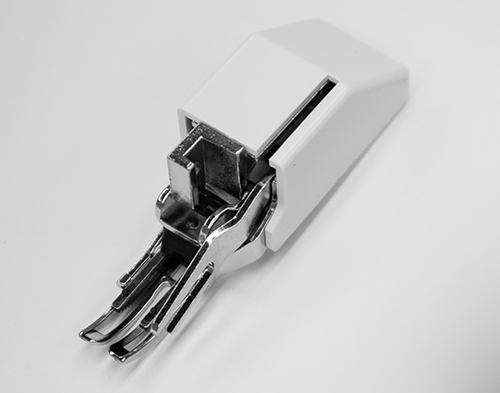
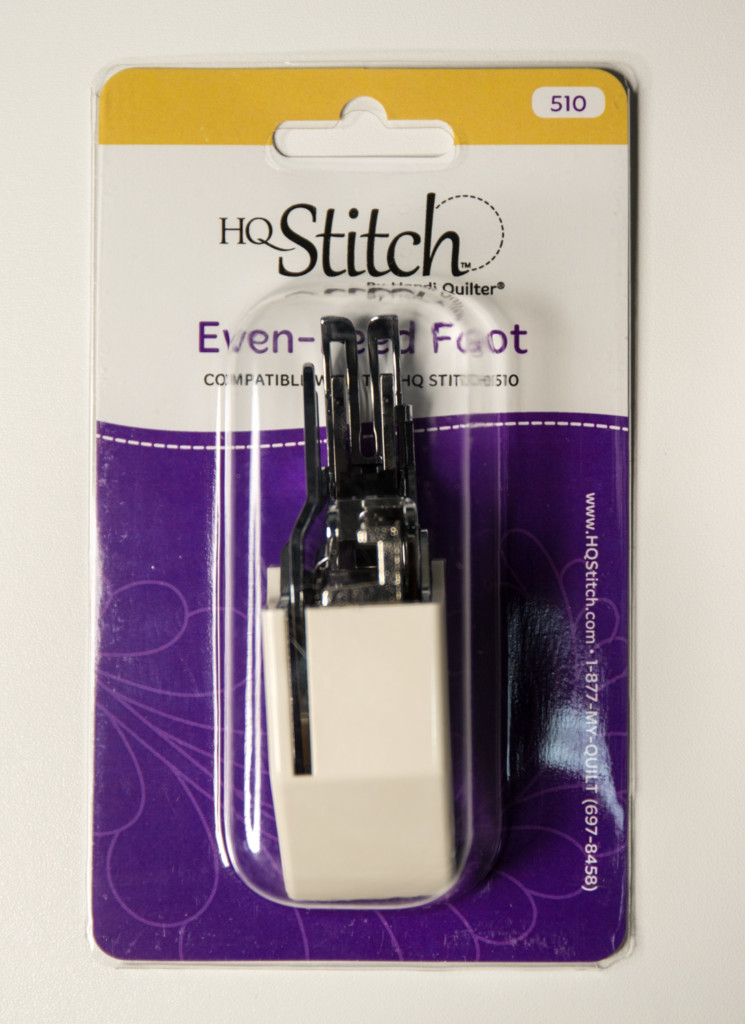
A walking foot is also called an even-feed foot, and in fact, the packaging for HQ Stitch uses the term even-feed foot. The names are interchangeable.
When an ordinary presser foot is attached to the machine, it holds whatever is being sewn against the feed dogs, which move up, back and down through the throat plate. As their name suggests, they feed the fabric through the machine by pulling against its underside with every stitch.
However…
If two or more layers are being sewn, then the layer on the bottom, next to the feed dogs, is fed through the machine a bit faster than the others. If you’re not clear on what I mean, do this test:
Cut one strip from each of two different fabrics, each 1.5″ wide and 36″ or more long. Using a straight stitch and a stitch length of 2.5mm, sew the strips together along the long edges without pinning. You will see that the strip which was on the bottom was fed through faster than the other strip, so it comes up looking shorter than its mate.
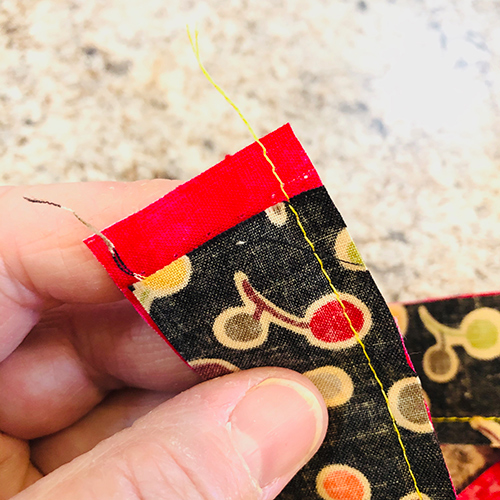
You can see how this presents a problem with your sewing. And the longer the seam, the more pronounced the “take up” of the bottom strip will be.
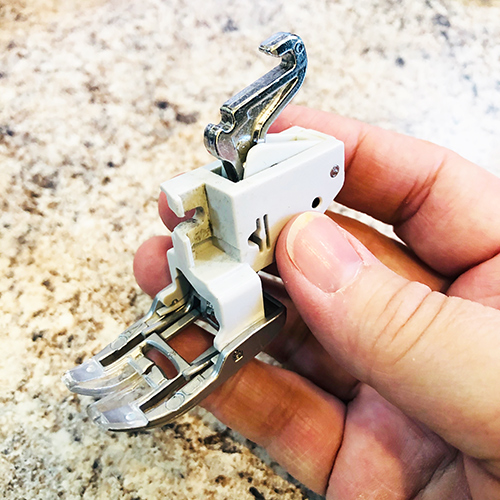
Enter the walking or even-feed foot!
Feed dogs on this attachment press against the top layer being sewn.
Feed dogs on the bottom
+ feed dogs on the top
= even feed
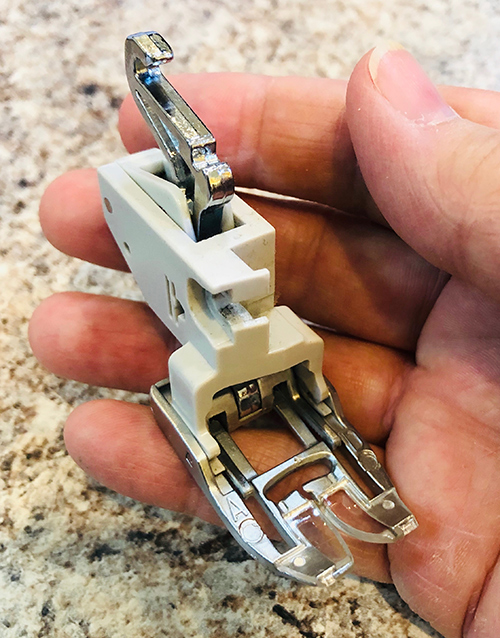
There are times when it’s tremendously helpful to have all the layers feeding through the machine at the same rate. Here are my…
Top tasks for walking foot use:
- Joining rows for a quilt, which tend to be long
- Adding borders to a quilt, which tend to be long
- Machine quilting, because of the layers
- Quilt binding by machine (tutorial here)
- Sewing with flannel, because of its stretch
In fact, I use the even-feed foot for anything longer than about 15″. It’s a good idea to pin the ends, the centers and several points between. Whether you sew over pins or not is a personal choice. Most machine makers tell you not to but I do it carefully and have never caused a problem.
I do not pin for shorter lengths when I’m making a quilt. If I went back to garment sewing, I’d have to revive the pin practices I learned as a girl!
Do you want an even-feed foot?
The HQ Stitch 210, HQ Stitch 510 and HQ Stitch 710 have even-feed feet available.
Do you have questions about walking feet? Have you tried one and what was your experience? We’d love to chat with you in the comments below.

What a great example and tip! I will be sure to put this foot on for longer seams…I had not thought to use this and usually use other feet pinning and trying to fudge any difference at the end of a long seam.
I have the HQ Stitch 210 and the corresponding Even Feed Foot. It comes with an adjustable quilting guide and a ditch quilting guide. According to the instructions, both guides slide into the slot on the plastic cover. The adjustable quilting guide has a thumbscrew that is tightened to secure the guide. However, there is no thumbscrew on the quilting guide, and as far as I can tell, no way to secure it in place, so when you start sewing, it moves easily, making it impossible to ditch stitch or top stitch with accuracy. What am I missing?
Hi Peggy, let me play with my 210 and see what I answers I can find for you. I’ll get back to you asap! Thank you for reaching out.
I have not found a walking foot/even feed foot for HQ 710. Maybe I can use a generic one, but don’t know if the 710 is considered high shank or low shank. Any ideas?