Blankets for Newborns
By Diane Harris, HQ Stitch Brand Ambassador
When my first grandchild was born, I decided to make receiving blankets instead of a quilt. A quilt for a tiny baby just seemed big and bulky and not immediately useful.

The blankets turned out to be great for swaddling. The photo above shows him wrapped up on the day he was born.
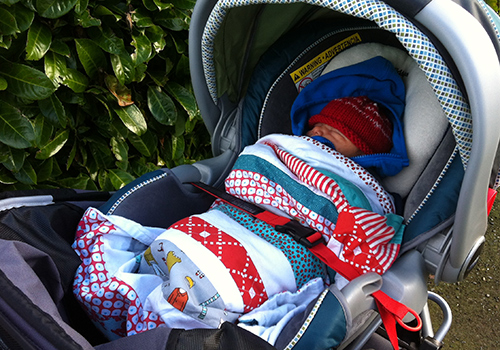
They were nice to use in the stroller on cool days.

And in his room, they blankets looked cute thrown over the edge of the crib, too.

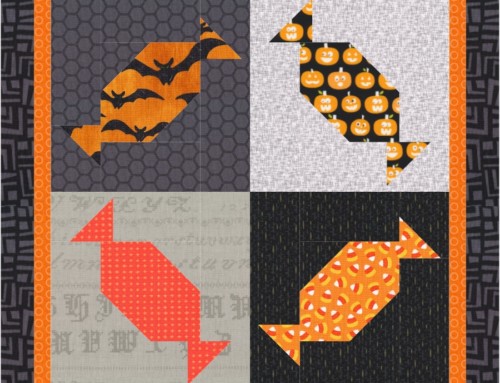
Baby #2 got his own set, made with Charley Harper fabric and “I am Sam” prints courtesy of Dr. Seuss and Robert Kaufman Fabrics.
Now the arrival of babies #3 and #4 is imminent so I’m making more blankets for swaddling and snuggling. Here’s how it’s done, so you can make them for the babies in your life.

The top of the blanket is pieced but I keep it very simple. Just above, the squares are cut 5″ x 5″ and the sashing is 1″ wide. The white border is 2″ wide. (It looks like there is gray binding but there is not–I had to add the gray line so you could see the diagram against the white background of the blog.)

In this version, five strips are cut 6.5″ x 30.5″ and sewn together. It’s great fun to pick out five fabrics that work together, or three fabrics as shown above.

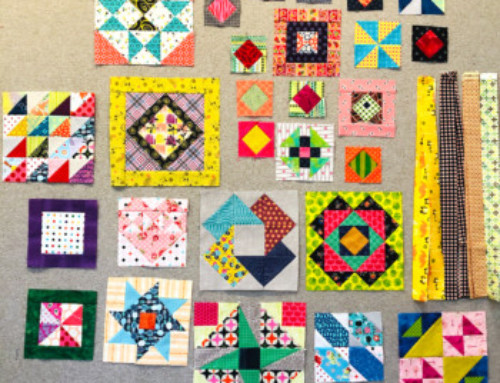
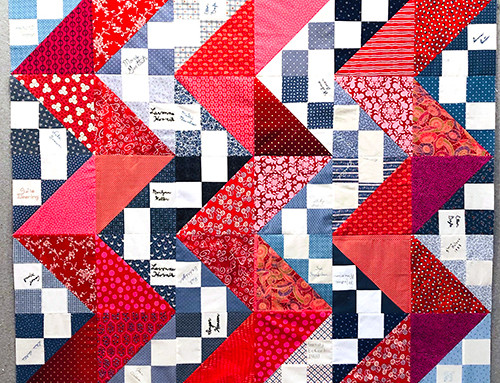
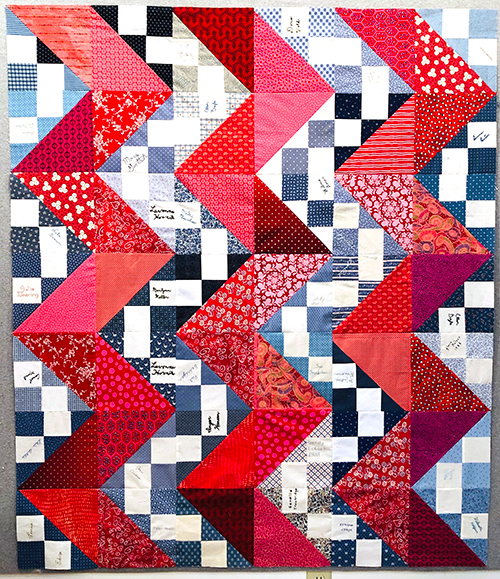
My second set of quilts included an improv star in red. I really liked this one. You get a different feel depending on what you decide is the top.

For these blankets, keep the piecing to a minimum. I’ll write another post on how to make this kind of star.
My daughter says that the most useful size for these blankets is between 30″ and 32″ square. In addition to the fabric for the top of the blanket, you will need flannel for the back. I buy 1-1/8 yards of 44″-wide flannel for one blanket.
Wash and dry all of the fabric for the top and the back of the blanket. The flannel will shrink but that’s all right because 1-1/8 yards gives you some wiggle room.
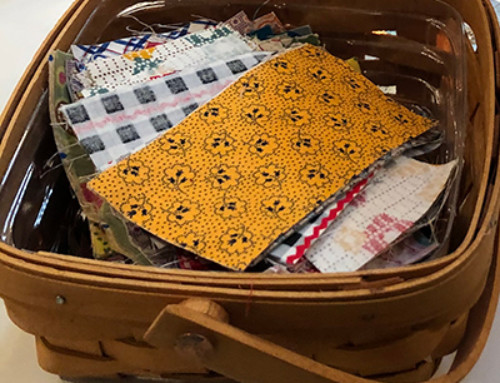
The blankets I’m making today each have three fabrics. Since the babies are twins, I’m going with the idea of “the same but different.” Above is the first set of fabrics.
This is the other set—the same, but different. Each strip is cut 10-3/4″ x 31″. If you don’t want to mess with 3/4″, just cut them 11″ x 31″.
Attach a walking foot to your machine. If you don’t have one, consider investing in one. I have found it to be well worth the money.
Pin and then sew the three strips together with a quarter-inch seam allowance. The stitches can be longish, 2.5mm is good. Press the seams to the side. Straighten and trim the edges even as needed.
Layer the pieced top right sides together with the flannel for the back. Use the selvage of the flannel to be sure everything is lined up straight. You can see on the right-hand side of the photo above that the edge of the top is straight along the selvage, but inside the selvage a little bit.
Cut the flannel about 1/2″ larger than the pieced top on all sides. Smooth the layers as you work. Pin the layers together around the edges. One pin about every six inches is plenty.
On one end of the top, place two sets of double pins about 6″ apart. These indicate where to start and stop sewing the layers together.
Now you will sew around the edges of the blanket top. Start on the side with two sets of double pins. Start sewing a little past the set of double pins that is closest to you, so you don’t sew over them. Backstitch a few stitches as you begin. I used the edge of my presser foot as a guide. The seam allowance width doesn’t matter too much here. Mine was about 1/4″. (You can’t use the lines on the throat plate because the flannel is covering them.)
Sew each side as a separate seam. At the corners, the seams will cross over each other as shown.
This gives you a nicer corner than if you tried to pivot.
When you’ve sewn all sides and you come to the other set of double pins, stop and backstitch for a few stitches. Remove all of the pins.
Important: Double check that you have removed all of the pins. Newborn babies + pins = bad.
Now reach into the opening and pull the right sides of the blanket out.
There should be plenty of space to pull the blanket through the opening. When the right sides are out, reach back in and push each corner out a little with your fingers. Just a general small push, nothing too hard.
It will look like a puffy lump.
Grab some large scissors or whatever pair you have that isn’t super pointy. Use them to reach into the blanket and very gently push out the corners so they are square-ish.
Don’t push hard because you don’t want pointed corners. You want almost square corners.
Iron the blanket flat, gently rolling the seams out. Check around the edges a second time for this:
Gently work the fabrics so that all the edges are straight and the seams are all the way pushed out.
At the opening, fold each fabric under and press so that the edge is straight.
Thread the machine with a neutral color in the top and the bobbin. Be sure the bobbin has plenty of thread on it to complete the next tasks.
Set the stitch length to 2mm. Starting about 1/2″ outside the opening, close the opening by sewing very close to the blanket edges, stopping about 1/2″ past the opening. Secure the seam at the beginning and the end with a securing function or by sewing very tiny (.5mm) stitches.
Now add a line of topstitching all the way around the blanket, about 3/8″ away from the first stitching.
Use a line on the throat plate as your guide. Secure the stitches at the beginning and the end.
The last thing I do is secure the layers of the blanket with a few lines of stitching.
In this case I just sewed in the ditch of both seams across the quilt, securing the stitching at the beginning and the end. Give it one last press.
And there you have yourself a soft and pretty receiving blanket that is perfect for swaddling a newborn baby.
Coming soon: More ideas for piecing a receiving blanket.
Congratulations on the new grand babies! How sweet and great tutorial for the blankets.