I’ve had Halloween on my mind the past few weeks, and that’s how this little block was born. It’s a freebie for you! These instructions are for a 6″ block.

Trick or Treat Quilt Block Pattern
6″ block
Click here for printer-friendly version

Cutting
Background fabric (shown black)
Cut a 2″ strip. From this strip, cut the following:
2 at 4-1/2″ x 2 (A)
2 at 3-1/2″ x 2 (B)
2 at 2-1/2″ x 2″ (C)
2 at 2″ x 2″ (D)
Candy fabric (shown polka dots)
Cut the following:
1 at 3-1/2″ x 3-1/2″ (E)
2 at 1-3/4″ x 1-3/4″ (F)
Block Assembly
Draw a diagonal line on the wrong side of each F. Position an F on the bottom left corner of each C just as shown. Sew on the diagonal line.

Trim 1/4″ outside the sewn lines as shown. Open out the top patches and press.

Sew an A to the bottom of each unit as shown below.

Draw a diagonal line on the wrong side of each D square. Arrange them on E as shown.

Sew on the marked lines. Trim, flip open and press as before.

Sew a background B to the top and bottom of this unit as shown below.

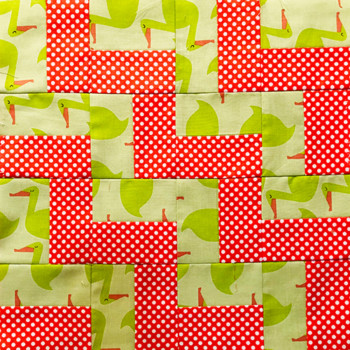
Arrange the units as shown below.

Sew the units together to complete the block. It should be 6-1/2″ x 6-1/2″.
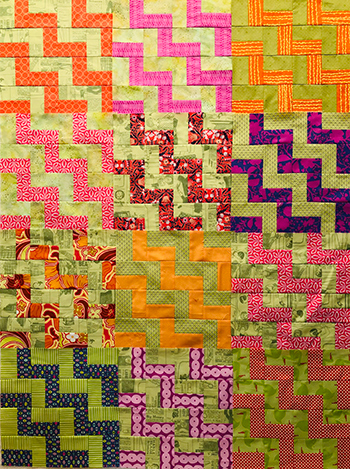
If you’d like to make a small Halloween quilt, make four, six or nine blocks in a variety of orange, black and gray fabrics. On some blocks, use different fabric for the E than for the Fs. Next week, ideas for setting!

Leave A Comment