By Diane Harris, HQ Stitch Brand Ambassador
There are many times when you need to know exactly where the needle of your sewing machine is going to enter the fabric. It’s true with a domestic machine like HQ Stitch and it’s true with a longarm quilting machine. These times call for target practice!
I love sewing machines and I own more than one. On the machines I know well, I’m confident that I can get a bullseye where that needle is concerned. But on a machine that I haven’t been using for long, target practice makes me a better “shooter” and I’m happier with the results of my sewing. Here’s how you can set up target practice of your own.
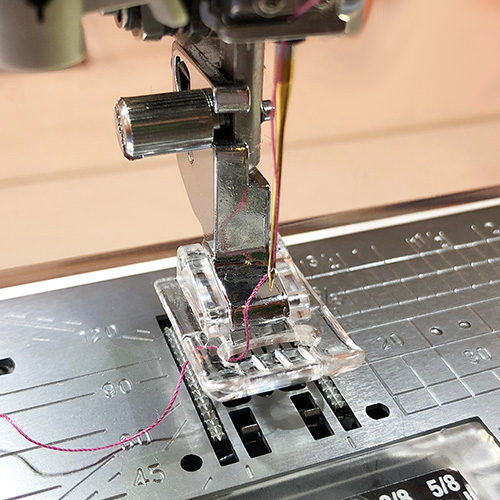
First we’ll set up your machine. It can be any machine at all, old or new, computerized or not, feature-loaded or basics only. Choose a presser foot that gives you the most possible visibility. If you have a clear foot, that’s a good place to start. An open-toe foot is another choice with a great view. On the HQ Stitch 710, I used the applique foot.
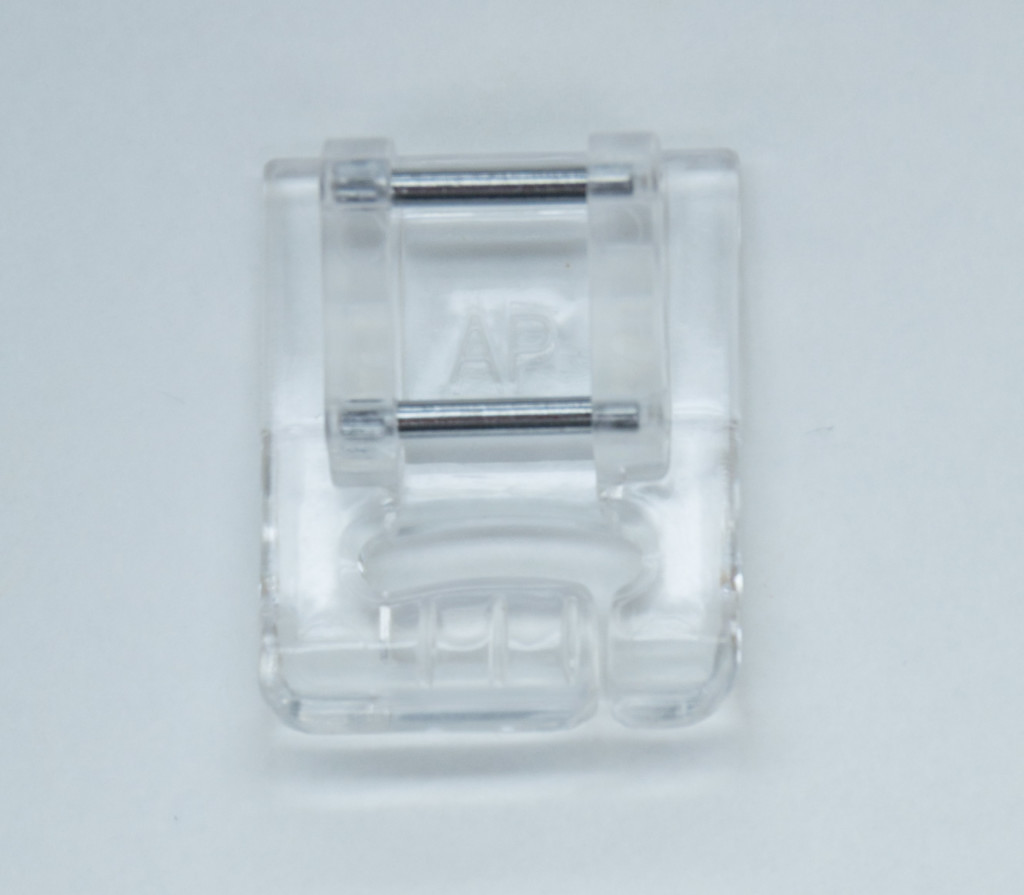
You need to be able to see where the needle will enter the fabric. If none of your feet give you good visibility, all the more reason to practice. Eventually you may want to check into getting a foot with more visibility. But for today, plunge ahead with what you have.
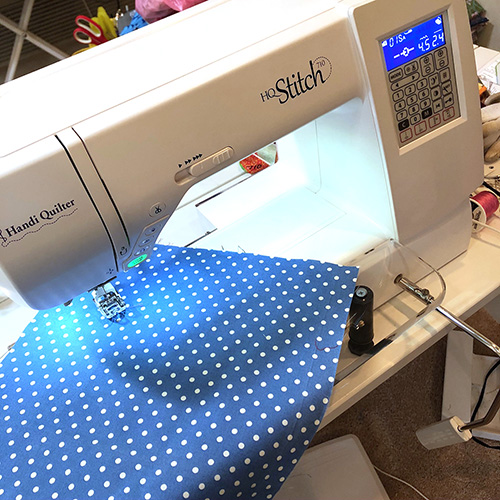
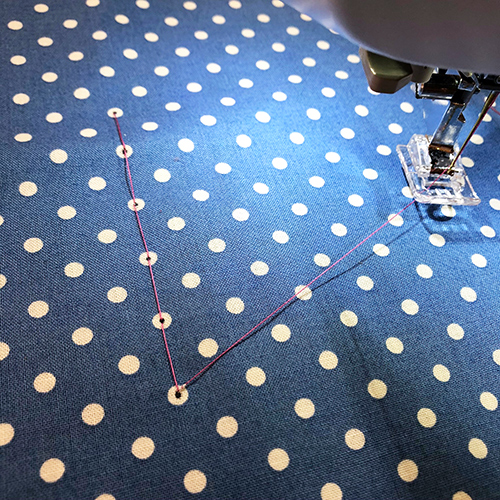
You can choose a fabric with a print that can be used as a target like this blue with dots, a plaid or a stripe. The dots or lines give you a way to easily space out your targets. You can also use a solid color and draw your targets on it. It can be something inexpensive such as muslin.
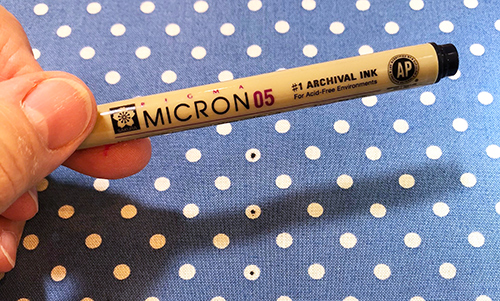
Make small dots on the fabric using a marker that doesn’t bleed such as a Pigma Micron. You want the dots to be about the size of a needle hole. In my example, the white dots only serve to space my marks evenly. The black marks are what matter.
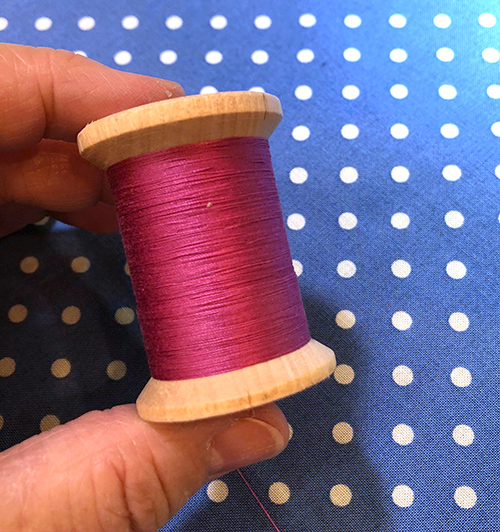
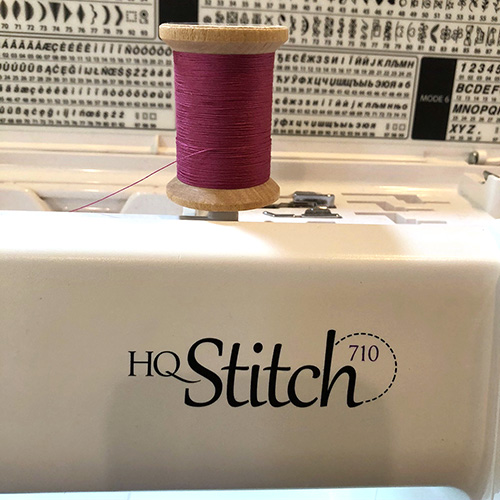
Thread the machine with a color that will contrast against the marks you made. I chose this purply thread, which happens to be stacked on the spool. Do you see how the threads go straight across as if they are stacked on top of each other? For stacked threads, you need to use a vertical spool pin for the thread to feed into the machine correctly.
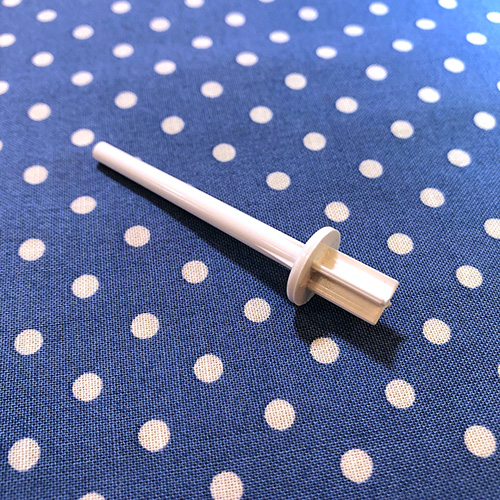
The HQ Stitch 710 comes with a vertical spool pin! It fits into an opening on top of the machine as shown below.
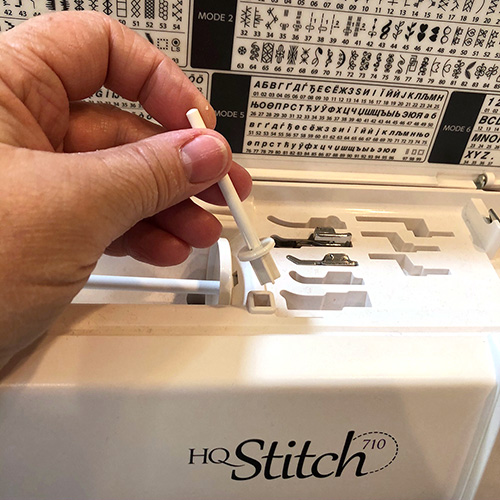
Just under my hand you can see the horizontal spool pin, which is used for threads that are cross-wound. That’s a blog post for another day!
Set up and ready to go! The next thing to do is to set your stitch length to zero. You want the needle to move up and down and not have the fabric advance. Setting the stitch length to zero will accomplish this.
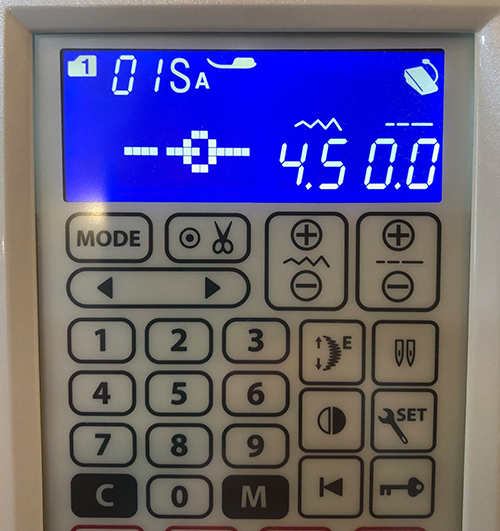
The 0.0 at the right side of the blue screen on the 710 indicates the stitch length.
Now you’re ready for target practice! Here’s a video of how it works.
It’s a challenge to see how closely you can come over a series of marks! You’ll improve with practice so just keep working on it.
Next time you need to sew precisely, a bell will go off in your head! You’ll know that you can hit a bullseye because of your target practice!
[…] so that you get better at knowing where your needle will drop. You can read her entire post at the HQ Stitch blog. I want to share something that longarm machine quilters can use to know exactly where the needle […]