By Diane Harris, HQ Stitch Brand Ambassador
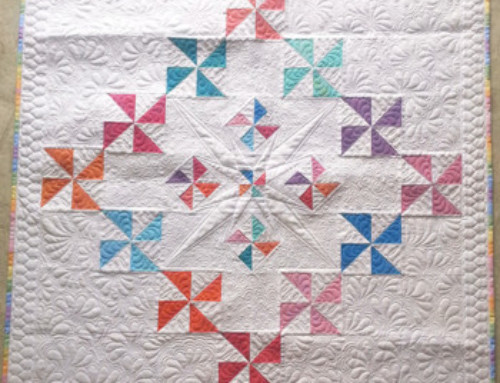
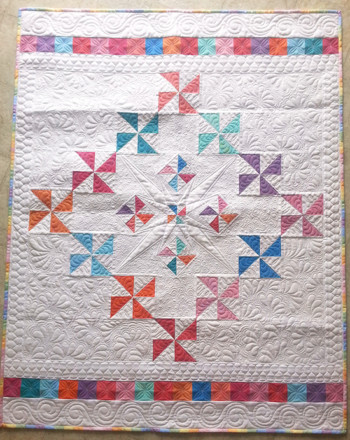
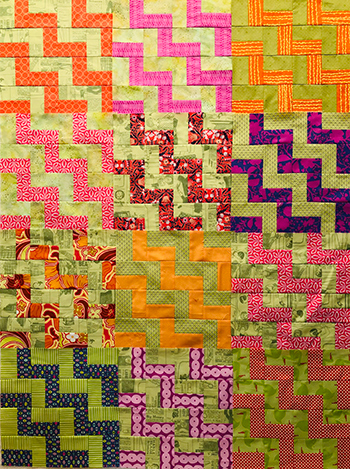
I’m mostly happy with my recent finish, this baby quilt in peachy pinks, yellow-greens and grays. I pieced it at a retreat a few years back but wasn’t motivated to quilt it until now.
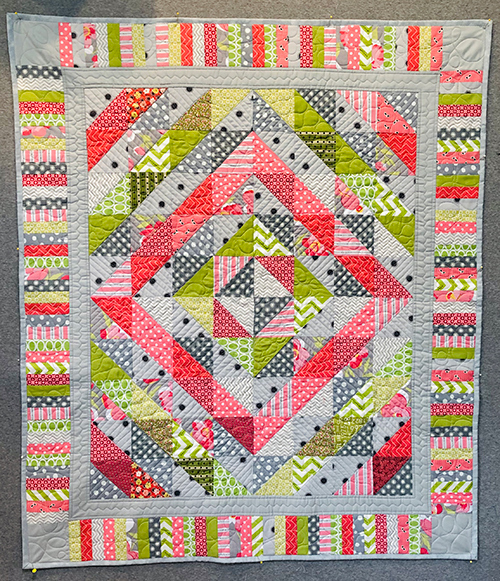
I am surprised and delighted to find that I actually want to quilt my projects now. It’s partly because I have a quilting machine that’s a joy to work on (HQ Capri), and partly because I’m committed to learning and improving through practice.
Organic straight lines
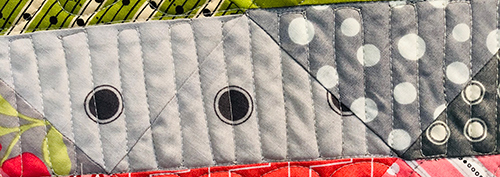
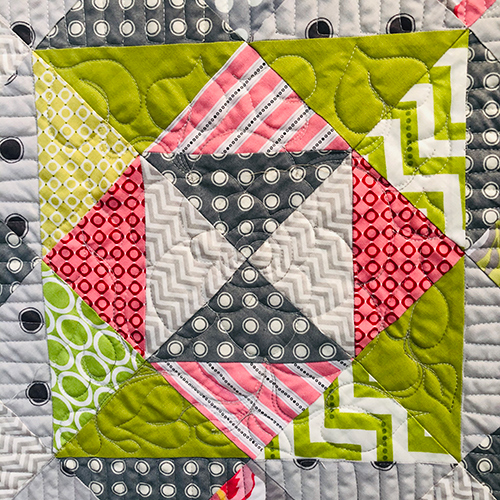
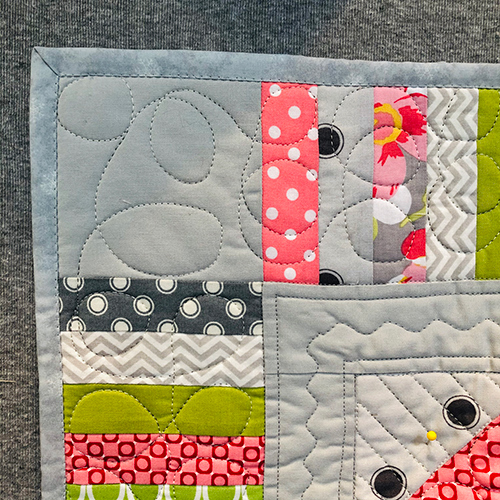
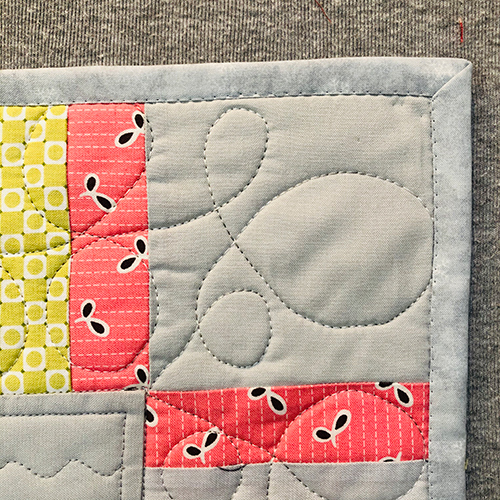
First I quilted straight lines in the gray areas. I didn’t use a ruler—I wanted to see if I could make them look decent without. It was okay with me if they weren’t perfect and looked a little organic. You can see how I traveled to get to each new line. Next time I would travel in the ditch to hide it.
I spaced them half an inch apart because guess what? A quilter knows one-half inch by eye. No measuring necessary.
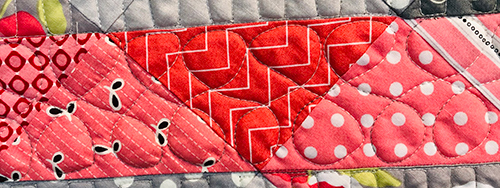
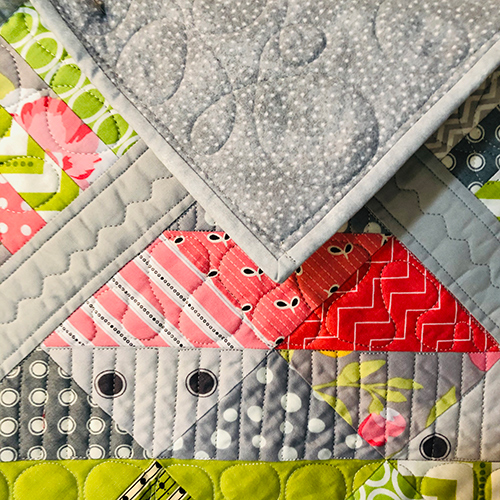
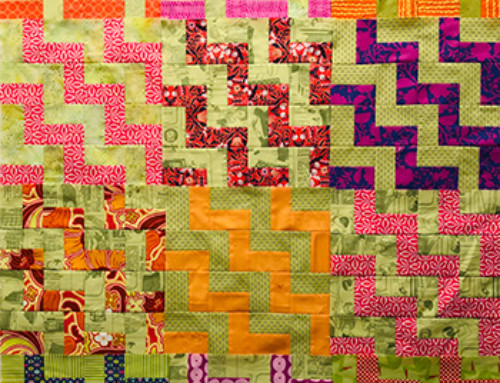
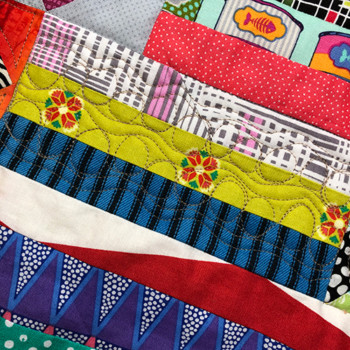
The pink areas were next and I started out with a weird figure 8 that didn’t work very well. But I left it alone because that area is busy enough that it doesn’t show a lot in the big picture.
For the next few colored areas, I went with ribbon candy and that worked much better. (Thank you, Debby Brown, queen of ribbon candy!)
The center
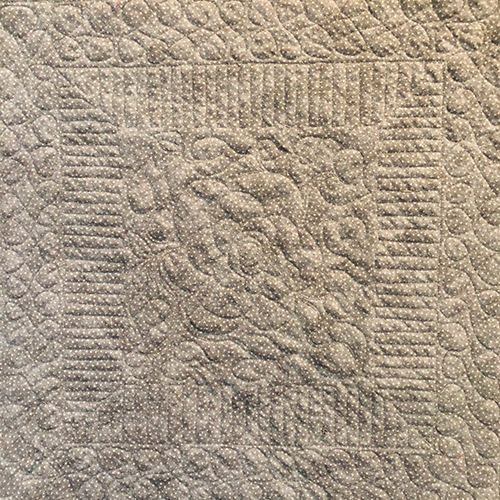
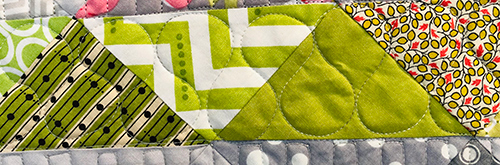
I quilted the center area as one block and ignored the rows. You can see it better on the back of the quilt, above. I quilted a big flower with petals and then filled in the rest with heart-shaped leaves. I’ll do this again because I liked the results.
Those heart-shaped leaves could be addictive. They’re very forgiving and you can make them any size to fill in wherever, and you just travel with a vine between them. I’ll do a blog post on them soon.
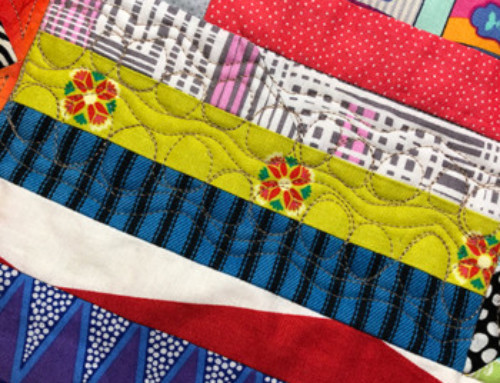
The borders
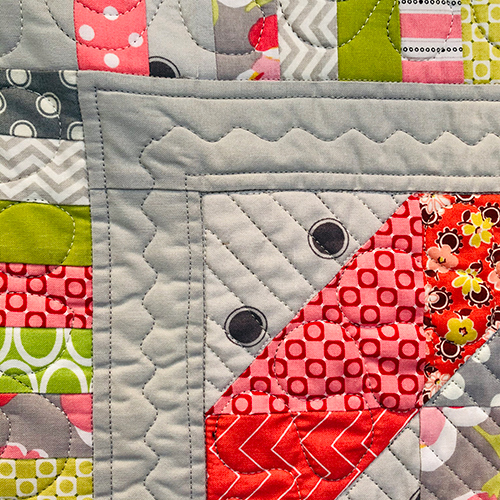
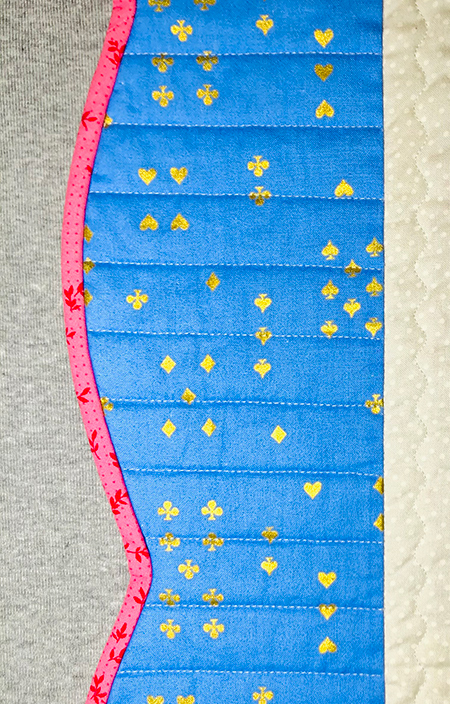
Borders are my nemesis. That’s always where I struggle and/or mess up big time. For the solid gray inner border, I moved off the Capri and onto my HQ Stitch 710. I wanted the security of a walking foot for straight lines.
I quilted 1/4″ inside the seams of the inner border and considered stopping there. But at almost 2″ wide it felt like too much. I added a wavy line down the center with the serpentine stitch on the HQ Stitch 710.
One wavy line looked lonely. It doesn’t really fill up the space adequately for my tastes. I tried adding a second line of serpentine, but that looked crowded. I quit after about six inches and took it out. One line will have to do.
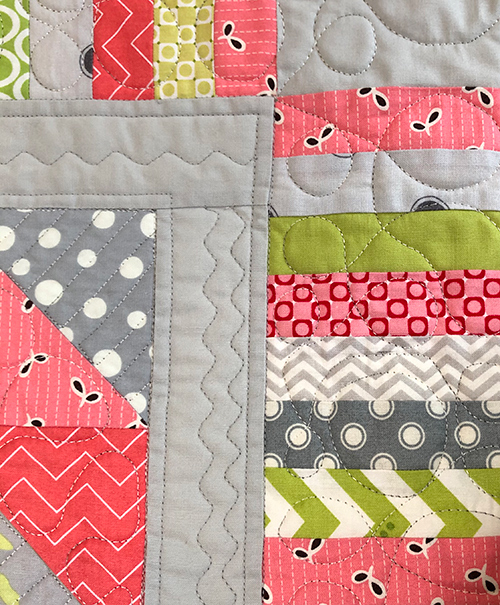
I decided on big loopy loops for the piano key border. Maybe not my best decision. I need to doodle big loops in a wide strip on paper to improve before I do this again.
One thing I would change? I would stop quilting 3/4″ away from the edge of the quilt top. That would give me half an inch of space for the binding and another one-fourth inch of margin. I think that would look nicer than having the tops of the loops clipped off, above.
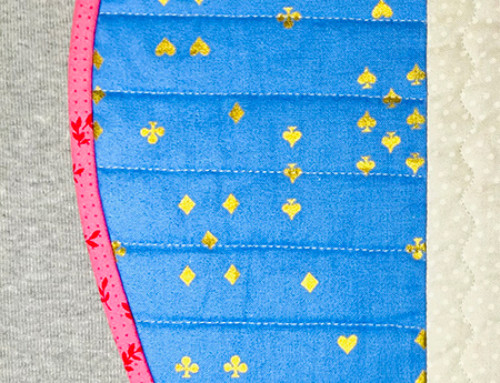
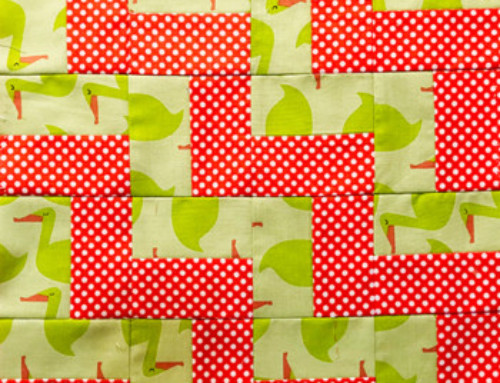
I’m not a fan of piecing with flannel because it’s so stretchy, but I thought I’d try it on the back of this quilt to make it extra toasty.
It isn’t perfect but it is DONE! And you know what they say.
Finished is better than perfect.
Quilt on!

Leave A Comment