If you start playing with the decorative stitches on your machine, the ideas for how to use them will begin to pile up. I’ve been meaning to make a new nametag for quilt events and the ease of the HQ Stitch 710 prompted me to get going.

My instructions for how to make a quilter’s nametag follow. They’re easily adaptable to your own name and whatever size you want to make. Use them as a starting point and a guide. You’ll want to personalize yours with favorite fabrics and stitches. Some people also include the name of their guild, so that if they wear the nametag to outside events, their home group is identified. I like that idea.

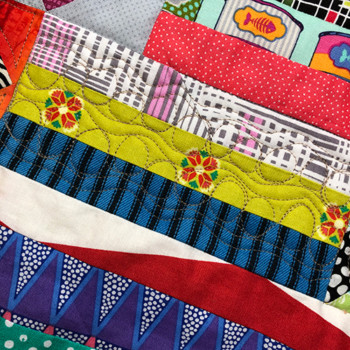
I used three layers under the decorative stitches: fabric, batting, fabric, just like a quilt sandwich. I used a leftover scrap of very flat, low-loft batting. The first task is to stitch out your name and a few possibilities for the stitches until you have something you like.

For information on how to program a sequence of letters and designs on the 710, refer to How to Make a Quilt Label on this blog or to your user’s manual. It always takes a couple of tries to decide what you want. Remember that there’s a mirror image function if you need it, and it reverses from side to side rather than top to bottom. This is also the time to be sure your thread shows up nicely against the fabric. You want plenty of contrast so your name is clearly visible.

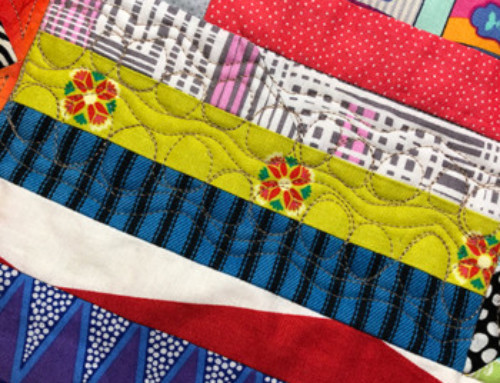
Once you’re happy with a sequence, measure its length and make a note of it. Cut a piece of batting about 5″ x 6.5″. Cut a piece of backing fabric about the same size. This won’t show at all so it can be anything from your scrap bag. Then cut a strip of the main nametag fabric 1.5″ wide and 6.5″ long. Center this across the backing and batting as shown above, using the measurement you noted to indicate where to start the stitching. Stitch out your name sequence. Press.
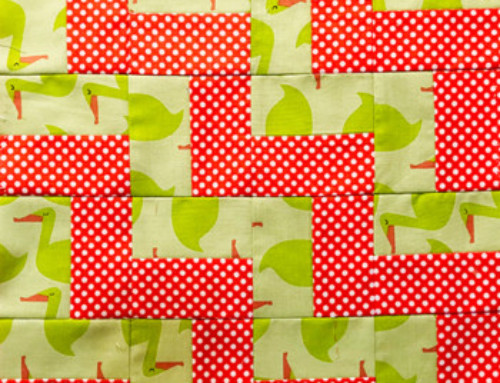
Cut 2 strips of your next fabric 1.25″ wide and 6.5″ long. Mine is the pink and red chevrons.

Depending on how tall your name stitching is, adjust the placement of these strips as shown and sew them to the sandwich. I wanted a little less space around my name, so I moved the strips in about 1/8″ on top and bottom.

Open out the strips and press. Now cut 2 more strips of the main fabric 1.25″ wide and 6.5″ long. Sew these strips to the sandwich just as you did the first set. Open the strips and press once more.

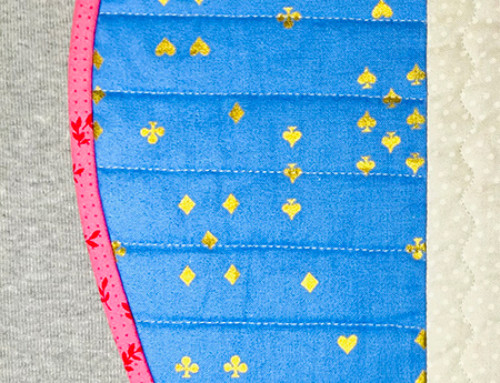
Sew a row of decorative stitches in each of these new strips. Use the edge of the presser foot as a guide to keep the row straight.

Here you can see that I ran the seamline right down the center of the left toe of the presser foot.

Now the stitching is finished, and it’s time to trim things up.

Because your name is different than my name, I can’t tell you exactly how large your nametag will be. But if you leave 1/2″ of space at each end of your name, that will be about right. On the top and bottom, cut about 3/8″ outside the stitches, or wherever it looks good to you.

You’ll need 1/4″ for seam allowance, plus however much space you want between the stitches and the next fabric. Remember that 1/4″ of the space will be taken up by seam allowance. Trimming 3/8″ outside the stitches worked for me.

Cut 2 strips of the final fabric 1.25″ wide and as long as the nametag’s width. Sew them to the top and bottom of the nametag as shown. Press.

This is how the back will look at this point.

Use a regular glue stick along the top and bottom of the back, and then pull the strips neatly to the back and glue them down.

Trim the strips even with the nametag’s edges so everything is nice and square.

Cut 2 more strips 1.25″ wide and long enough to cover the sides plus a generous 1″.

Sew these strips to the sides of the nametag, centering as shown. Open out and press.

Referring to the photo above, fold the end down so that it’s even with the top edge of the nametag and glue in place.

Repeat at all the corners as shown.

Fold the strips to the back of the nametag as shown above and glue in place. Adjust the corner folds so that everything looks nice from the front.

The back will be covered in the next step.

For the backing, cut a scrap of flannel, felted wool or wool felt so it is just a hair smaller than the nametag, about 1/8″ smaller. It should not show from the front but should mostly cover the back.

Use a bar pin or a large safety pin and sew it to the lining about 1/2″ from the top and centered from side to side.

I used a zigzag stitch on the 710 and secured the safety pin by machine.
Smear glue on the back of the nametag.

Press the lining to the glue and let dry completely.

Add your favorite enamel quilt pins to the front and you’re good to go!
Questions? In the comments, ask about this project or your HQ Stitch machine 210, 510 or 710. I’m always happy to help!
Beautiful job on your tutorial and name tag!
Thank you kindly!