by Diane Harris
I’m always poking around the web for new ideas, and at the end of last year I stumbled on “temperature blankets.” But since quilters hate it when people call the things they make blankets, I’m going to call this a “climate quilt” instead.
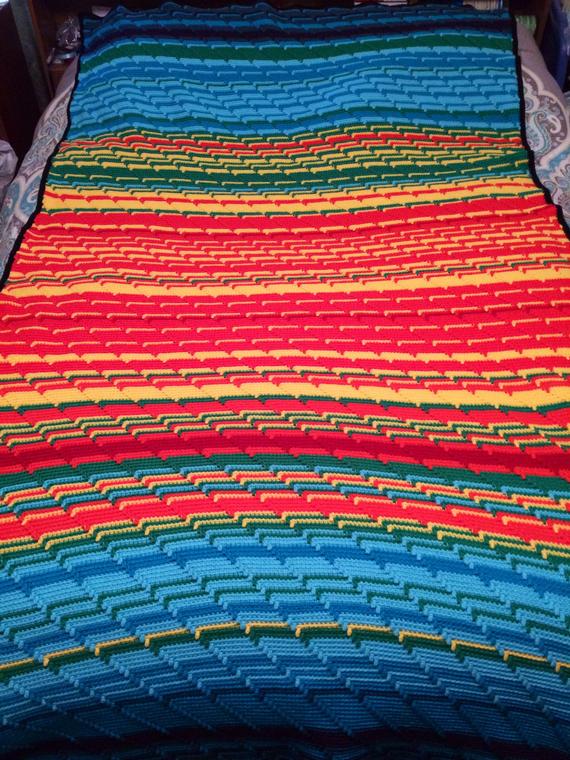
I first heard about this with people who knit and crochet. They’d keep track of the high and low temperatures wherever they lived, and as the year progressed, they’d knit or crochet rows to represent those numbers. The results are pretty interesting.
![]()
Your end product depends on how many colors you choose and how detailed you make your project. It sounds like fun to me, and since it’s my quilt I can make up my own rules.
I’m inviting you to sew along with me if you’d like. I’ll tell you just what I’m doing, and you can be part of the decision making as we see how this shapes up.
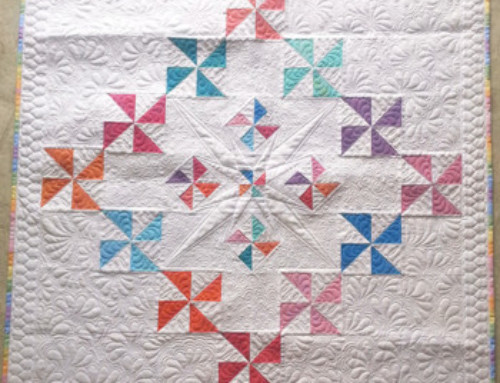
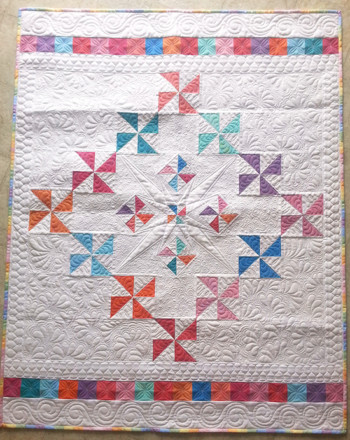
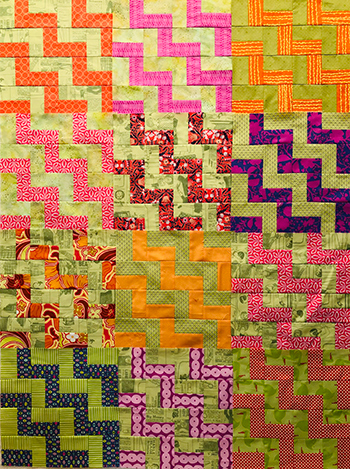
I looked at a lot of charts other people have created and decided I didn’t want my chart to look like the rainbow as most of them do. Instead, I alternated warm and cool colors.
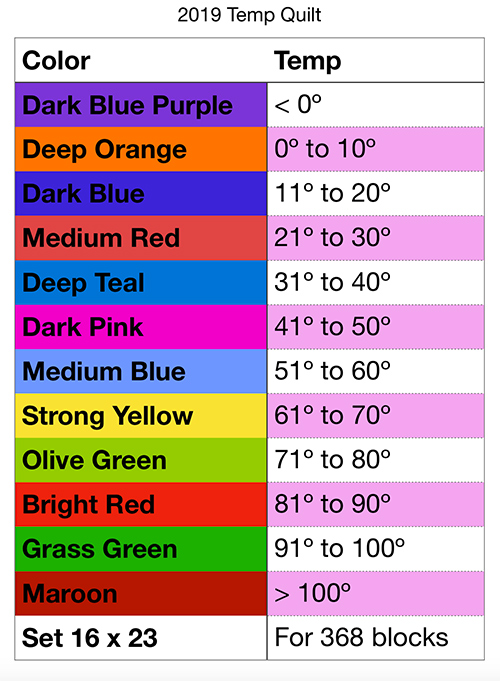
By alternating warm and cool colors, I’m hoping to get units that have more variety. We’ll see how that works out!
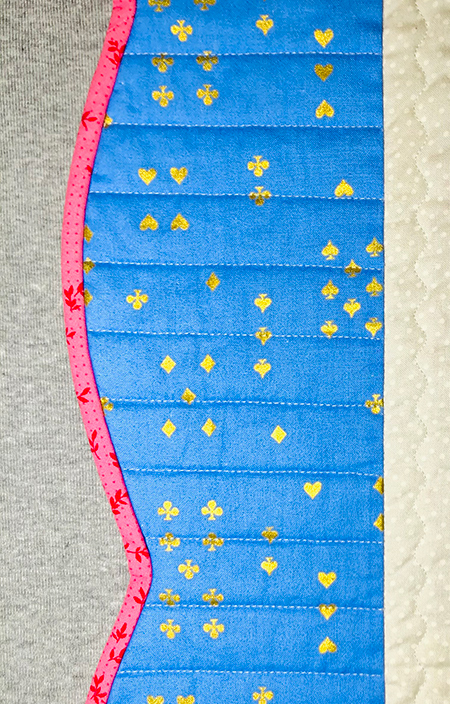
You may know that this little block (I call it a Baby Windmill) has become my life’s work. It takes eight patches: four of one fabric and four of another fabric. I’m making 4″ finished blocks, so the patches are all cut 1.5″ x 2.5″.

I have a healthy stash of black and white prints. Recently I saw a quilt using black and white prints plus bright colors, and I’m using that idea as the inspiration for my climate quilt. My little windmills will be made in black and white prints.
Freddy Moran once told me that you want your black or white prints to be mostly black or mostly white. If they’re about half and half, they end up reading as gray. It’s helpful to place the fabrics you’ll be joining right sides together as you cut them. I can cut accurately with four layers of fabric.
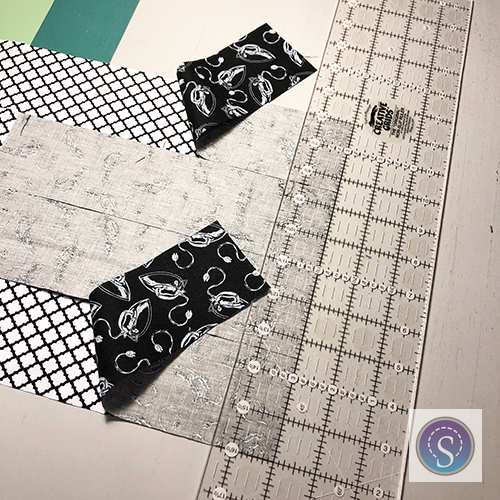
I usually cut 2.5″ strips and then subcut 1.5″ patches from those. Since you’ve placed them right sides together, they’ll be ready to run through the machine.
Sometimes people ask me why I don’t sew 1.5″ strips together and then cut the 2.5″ units from that strip set. You can certainly do that, but I find that I’m more accurate if I cut the patches individually. I’ve been making them this way for about 13 years so I’m pretty fast and it’s just what I prefer. But by all means, you can do whatever works for you!
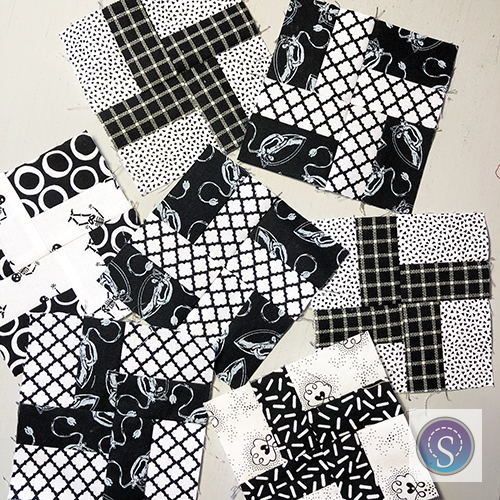
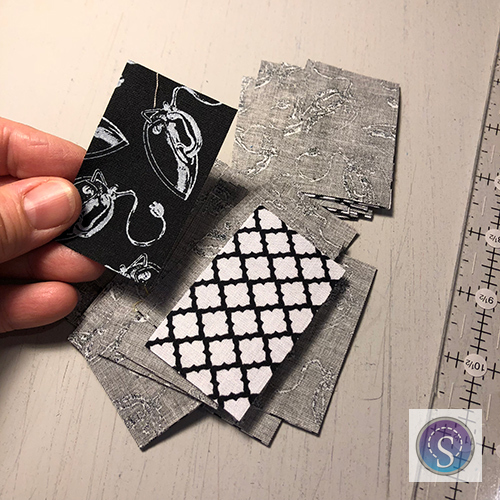
The block is made by joining the patches in pairs and then arranging the pairs to form a windmill. Be sure all of your windmills spin in the same direction. I made a little pile of windmills and decided right away that I wanted to have some with light windmills and some with dark. It will make the quilt more interesting.
At first I was going to sew logs on all four sides of the windmills, but with 1″ finished logs, that makes a 6″ block. And since I’m going to have at least 365 blocks, a little math told me the quilt would be 96″ x 138″. Way too big.
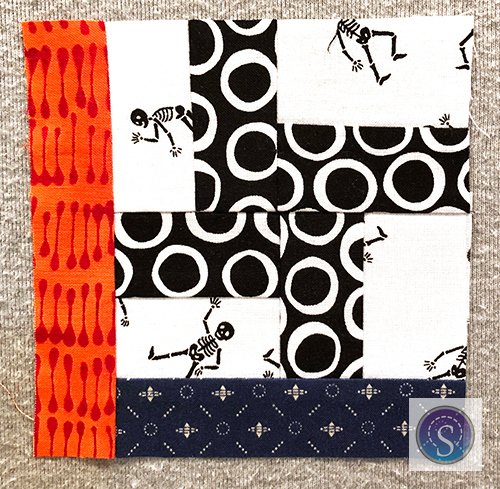
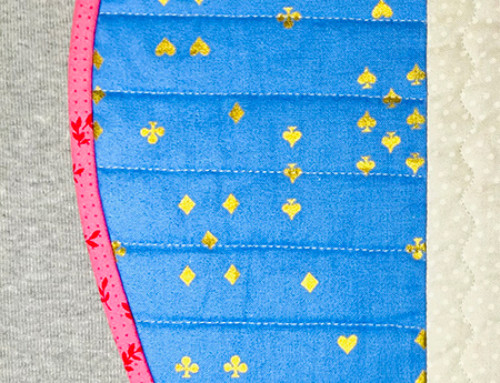
The solution I came up with was to cut the logs narrower, at 1.25″ wide. They’ll finish at just 3/4″ wide. And I will only add them to two sides of each windmill.
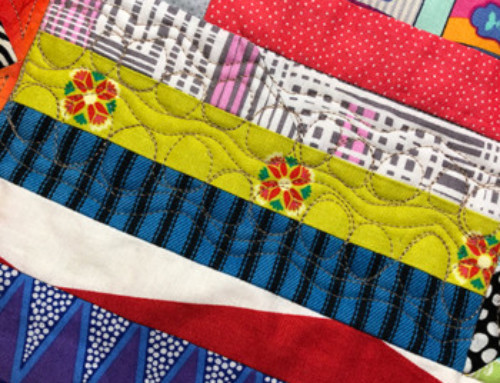
On Jan. 1 in my part of the world, the low temperature was 7º. The high was 17º. So this windmill gets a strip of dark blue and a strip of deep orange. I’m not worrying about whether the high temp is the first strip or the second because I want this to be fun!
Here are the other temps so far:
- Jan 2, 11 and 34º
- Jan 3, 23º and 45º
- Jan 4, 28º and 49º
- Jan 5, 29º and 58º
- Jan 6, 35º and 47º
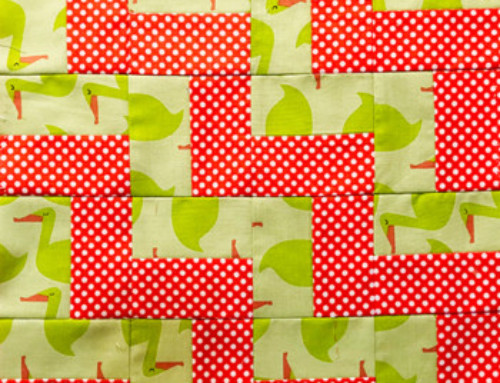
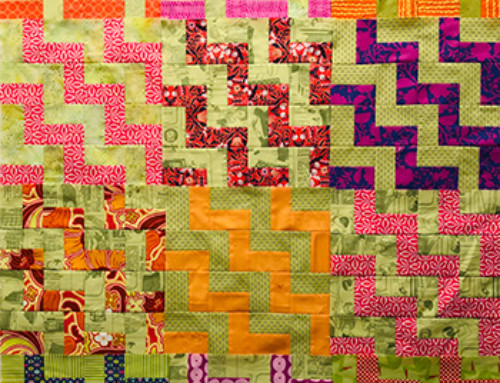
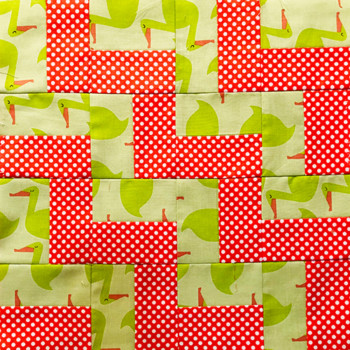
And here are my first four blocks lined up in a row.

I could also arrange them into a 2 x 2 setting with the colors out.
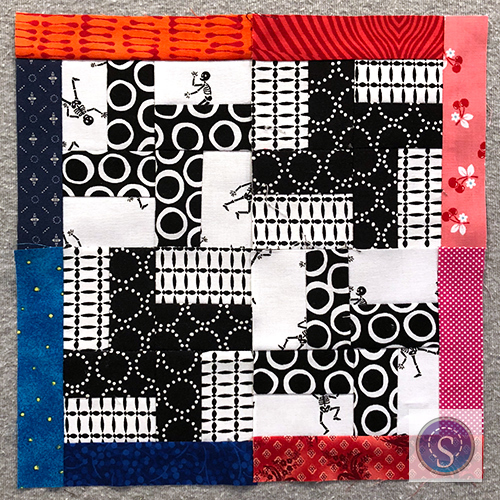
Or with the colors in.
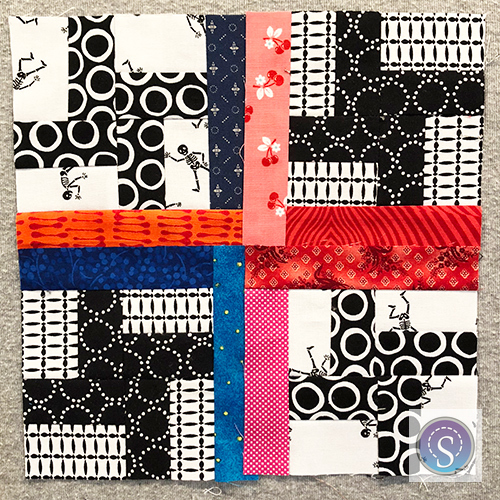
I learned from Gwen Marston not to commit too soon when you’re designing as-you-go, so I haven’t sewn any blocks together yet but I have three good options as you can see above: Blocks side by side in long rows, groups of four with logs out or groups of four with logs in. Or some combination?! When it’s your quilt, you can figure it out as you go. I might even change the rules midstream. No quilt police here!
This is more fun than I thought it would be, and I can hardly wait to make each new block. I’m using Weather Underground for my weather statistics.
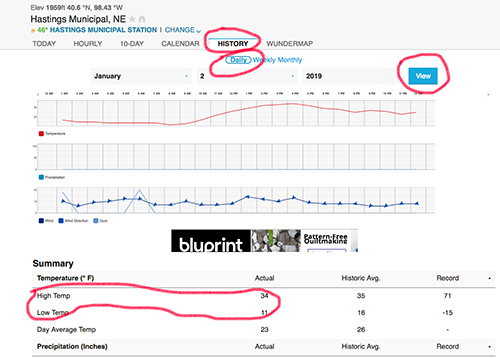
How to Find Your Weather History
Go to the Weather Underground homepage.
In the Search field, add your zip code and complete the search.
When your area comes up, there will be some tabs underneath it. Select “History” and “Daily” and then specify a date with the boxes under “Daily.” Click “View.”
Scroll down a little to see the high and the low in a table like this:
I’m tracking the temps in a journal where I have all kinds of notes. It will be easy to refer to when I need the information. Now I’m going to make some more black and white windmills so that I’ll be ahead of the game.
I have not seen this before…what a fun idea!
This is a fun idea! I like the way you are doing it, with your baby windmills. Can’t wait until next year for the reveal!
Sounds l ike fun! I can’t wait to see the result.