By Diane Harris, HQ Stitch Brand Ambassador
We’re ready to applique our Dresden Plate to a background block. I always cut my blocks a little larger than necessary and then trim them up after the applique is complete.
If you’re working without a pattern, measure across the Dresden Plate and add 3″ as a guideline for how large to cut your first background block. After some practice, you can make them smaller if you like.

Begin by folding the background block, which is a square, in half both ways and making small creases with your thumbnail at the midpoints, near the raw edges.

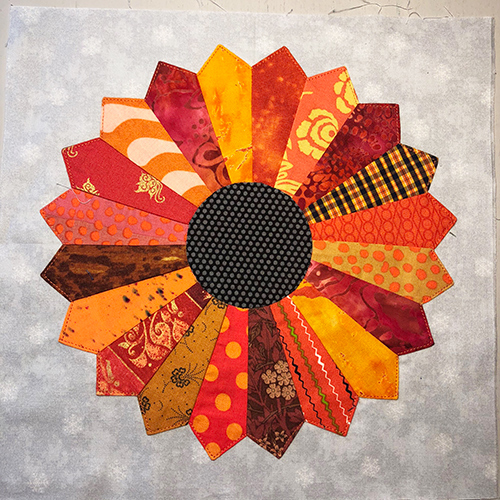
Open the block up and center the Dresden Plate by using the creases. Each crease should line up with one of the seams between the blades. Use all four creases for a kind of “self-centering” system. Pin the plate in place.
You’ll sew around the outside of the plate first, stopping when you get to each point or V, pivoting and sewing to the next point or V and so on.
Set up your machine
To applique the Dresden Plates, I use a machine straight stitch and thread to blend with the colors in the plate. Any applique method may be used but I like this the best.
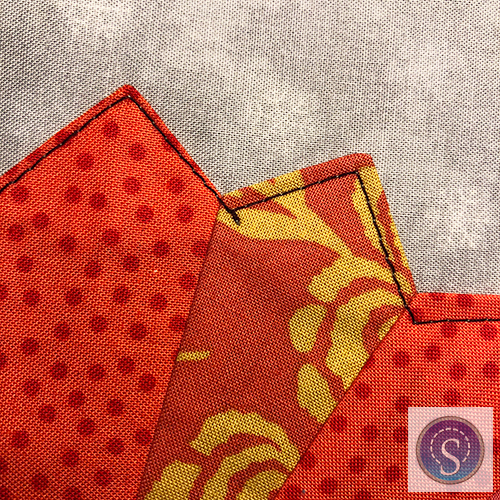
Set the stitch length to 2.0 mm. This is important. A short stitch makes it easier to stop in the area where you want to pivot. Look at the photo below, where I used contrasting thread. I used longer stitches, and I had a hard time stopping at the right place. With longer stitches, you often overshoot or undershoot the stopping point. Short stitches make it work. Use 2.0 mm for the best results.
Find a presser foot that gives you some visibility. These HQ Stitch 710 feet are good examples. This is very important. You have to be able to see exactly where you are sewing. If you cannot see, you will not be happy with the results.

Set the machine so the needle always stops in the down position. This is a good time to use the speed control on your machine. Slowing the machine down will help you stay in control for your first few plates.
Start sewing at a V and secure the stitches with a securing function. On the HQ Stitch 710, the circle with a dot inside is the stitch securing key; it makes the machine sew in place for a few stitches.

If you don’t have such a function, make very tiny (almost in place) stitches.

Sew very near the edge of the blades, about 1/16″ from the edge. When you come to the point, pivot with the needle down and continue sewing. Sew in this manner all the way around the plate, pivoting at each V and each point and removing pins as needed.

When you come to the place you began, sew over one or two of the previous stitches and secure the stitching as before. Use the thread cutter to end.
Press the block from the back and the front.
Prepare the center circle
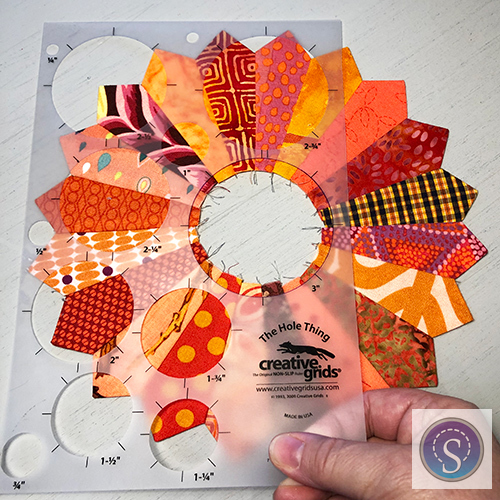
Use a circle template to determine how large your center should be. You want it at least 1/4″ larger than the opening all the way around, or 1/2″ total.
Draw around the template with a pencil (not ink) and then cut out the circle patch about 3/8″ outside the drawn line. If you are making multiples, leave plenty of room between the circles.

Thread a hand sewing needle with strong thread and tie a knot at the end.
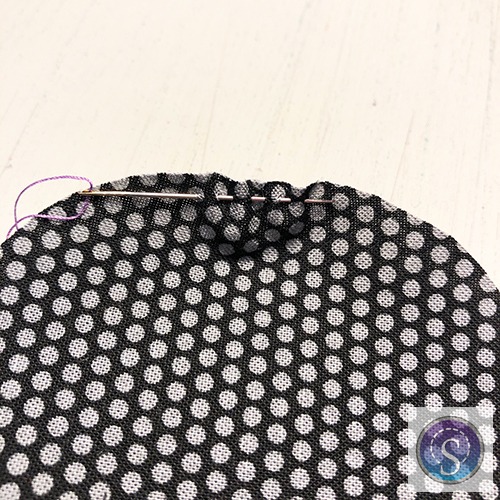
Beginning from the right side of the circle, sew with 1/8″ to 1/4″-long running stitches all the way around. End with your thread tail on the right side of the fabric.

Using the same circle template, draw and cut a circle from heat-resistant template plastic. Cut the template carefully so its edges are nice and smooth.
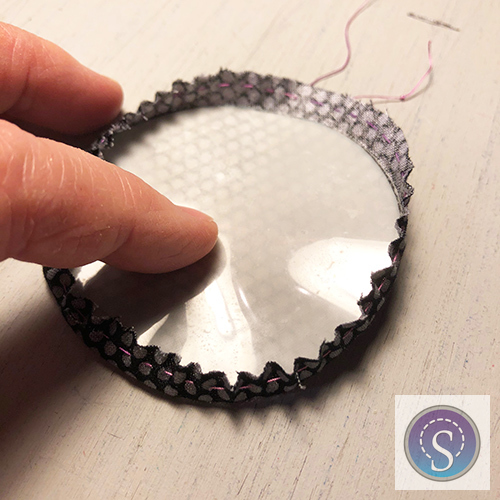
Place the template on the wrong side of the fabric and gently pull on both thread tails to gather the fabric around. Pull the thread taut and hold it.

With your other hand, soak the fabric with spray starch. Iron the patch with the plastic still inside until it’s mostly dry. Leave it for a few minutes to dry completely.

Loosen a few of the hand stitches and pop out the template. Pull the tails to flatten the circle again and lightly press again if need be.

Center the circle on the Dresden Plate by measuring and pin the circle in place. Then change thread colors as needed and applique the circle to the block just as you did before, or use invisible thread and a zigzag or a blind hemstitch (mode 1, stitch 44 on the 710) as I chose to on the block below.
We’re almost finished. This seems like a lot of steps but once you do a few plates, it will become easier. They’ll practically make themselves! I have become addicted and you might, too.
Next time we’ll finish up and talk about troubleshooting for Dresden Plates and I’ll share more variations on this classic beauty.
If you missed any of the parts, find them through these links.
Part 1
Part 2
Part 3
Part 4
Mom had a Dresden Plate quilt her MOM made her for marriage. BUT the ends were rounded half circles. I have the pattern we copied off of it.
Susi Penico
Wonderful tips and directions.
ACK! Where’s part 6–Troubleshooting Dresden Plates???
Still working on a couple of photos to illustrate it. I’ve been traveling but it will be up this week. Thanks for asking, Sandy!
Ok Diane! Thank you for the reply. I was thinking I had missed out on this post–whew.
This has been a wonderful series of posts, and I look forward to #6!