By Diane Harris, HQ Stitch Brand Ambassador
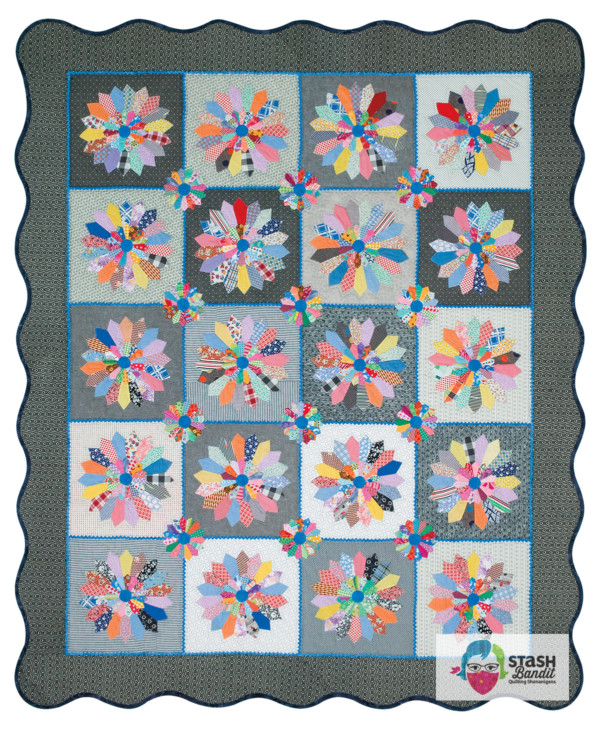
I have an ongoing love affair with Dresden Plate. It began about 10 years ago when I made this quilt from vintage blocks.
I’ve made a number of Dresden quilts since that time so I’ve made all of the mistakes and I have a few tricks for success up my sleeve.
Today we’re continuing the Math and Mechanics of Dresden Plate. If you missed it, read Part 1 for some background.
We’ve seen how circles can be divided into different numbers of equal parts. If the circles are Dresden Plates, each part is a Dresden blade.
You know from high school math classes that a circle is measured in degrees. A whole circle is 360 degrees. If you know the number of blades in a Dresden, you can easily determine the number of degrees for each blade.
In the circle above there are 10 parts. The math is simple:
360 degrees divided by 10 blades = 36 degrees for each blade.
Conversely, if you buy an acrylic template to make your Dresden Plates, and the package says, for example, it’s an 18º template, then you can determine how many blades it will take to make a full plate.
360 degrees divided by 18 degrees = 20 blades for each plate.
The number of degrees times the numbers of blades will always be 360º if you’ve done the math correctly. Let’s move on to cutting a Dresden Plate.
Cutting for Dresden Plate
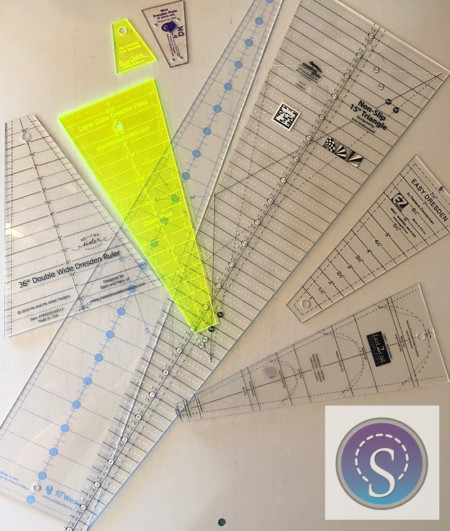
I’m not a gadget person but in this case, it’s well worth the money to purchase an acrylic template. These are used for cutting the blades. I own just about every template on the market. They range from very small to very large but there are ways to adjust the size of your blocks with all of these templates. More on that in a minute.
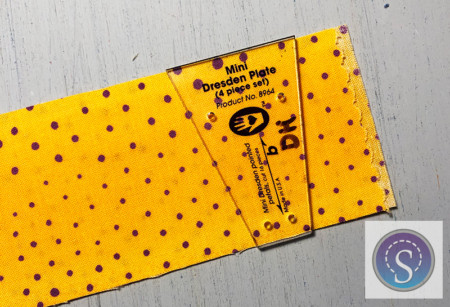
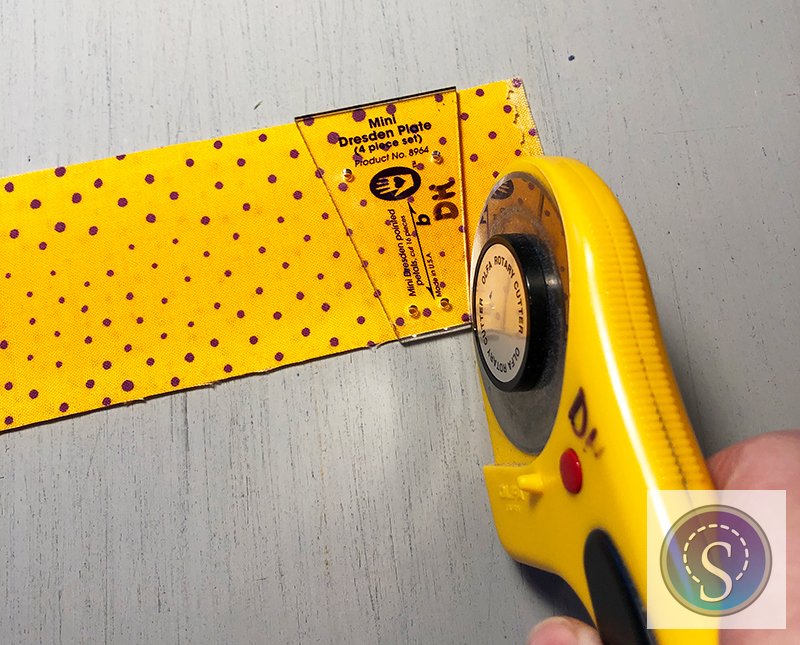
I like to cut my blades from strips. I layer strips up to four at a time if I need a lot of blades. It’s nice if the strip width matches the size of the template as shown above. You make your first cuts down both sides of the template.
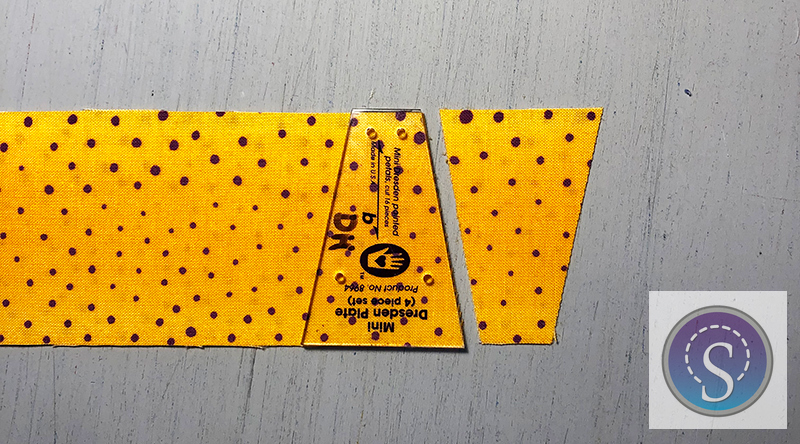
Then you move along the strip, rotate the template and cut the next patches.
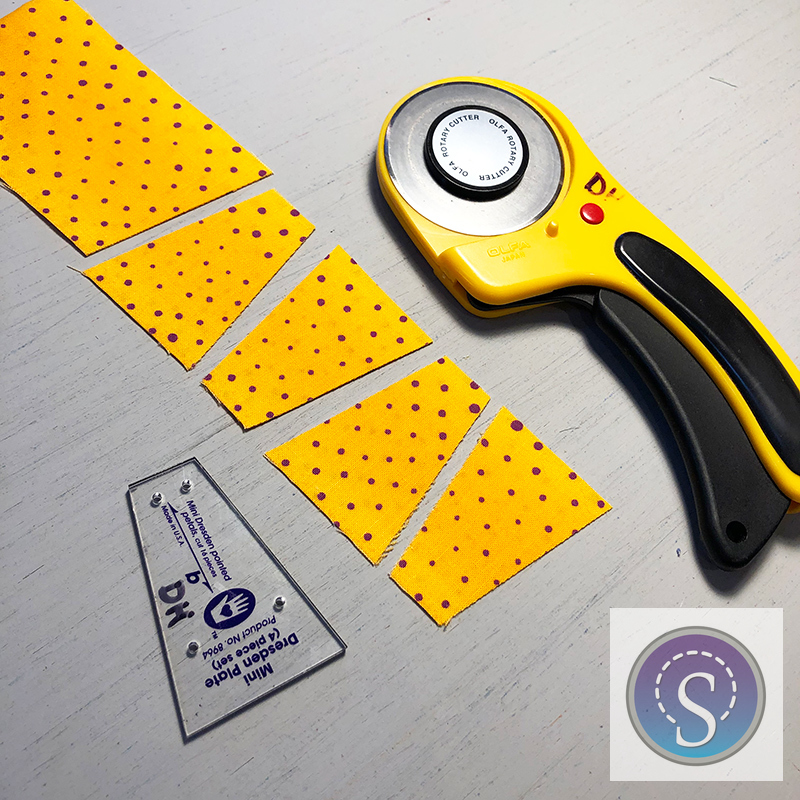
In a short time you’ve cut quite a lot of blades.
You don’t have to make your blades the same height as the template. You can use any portion of any template. It helps to mark the template with painter’s tape.
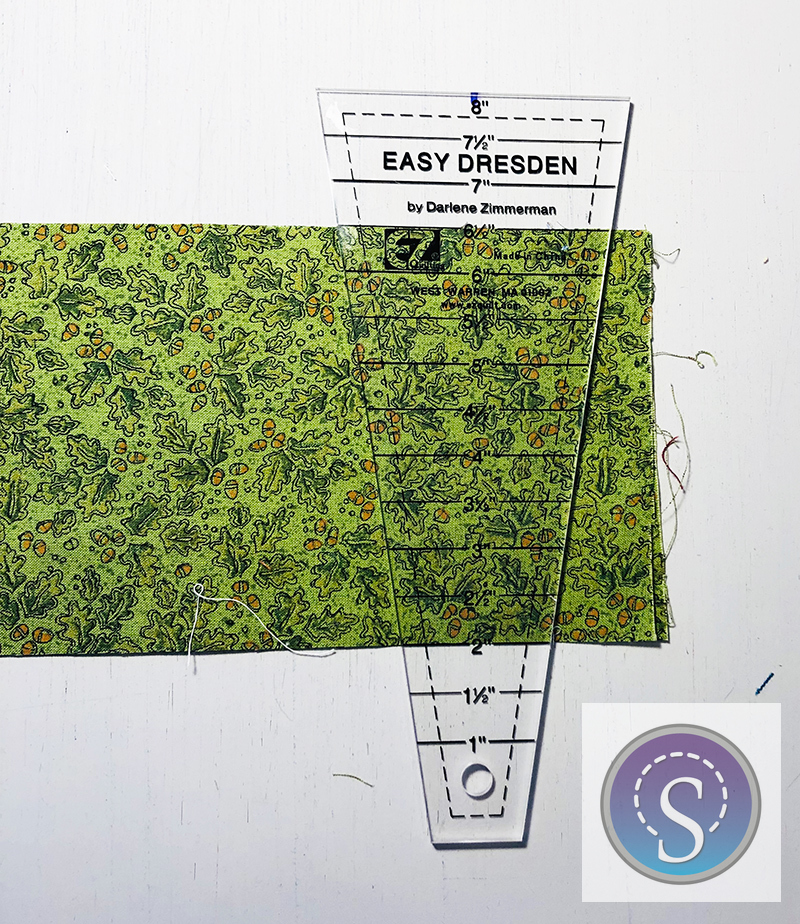
Keep in mind that if you take length off the bottom (the narrow end), the hole in the middle of the plate will become larger. And if you take length off the top or wide end, the entire plate will become smaller. This will make more sense after you try it. The best way to understand this is to cut some patches and play with them.

The most intense lessons I’ve learned about Dresden Plates came when I tried something that did not work. This brightly-colored flower with the giant center is an example. But I made lemonade from the lemons, so all was well.
It takes some effort to wrap your head around the divisions, the degrees and reducing or enlarging the blades or the plates, but once you do, the fun never ends!
The big center with short blades makes me think of a sunflower. I like your explanation of the math involved.
Thanks for the information.
One place (here) i found about the 360* divided by blades = degree of the blade (MAGICAL!) I used to (until now) wondered how you determine what Dresden blade degree template you’re supposed to get. THANK YOU SO MUCH!
I would like the blade to make the Dresden plate