By Diane Harris, HQ Stitch Brand Ambassador
So far we’ve covered some Dresden Plate math and we’ve seen how to cut blades from strips. The fun starts here—making the blades into plates!
Let me say up front that if this seems detailed or fussy, it’s because these little things make it work. I’ve learned these lessons by trial and error and the steps are recommended because they’ll save you grief.
We are covering only blades with pointed ends. Blades with rounded ends are a different animal.

Making Pointed Blades
To create the point at the end of each blade, you will follow these steps. I recommend making just one to start so you understand the steps, and then you can do everything to all the blades in stages (chain piecing, trimming, turning, etc.).
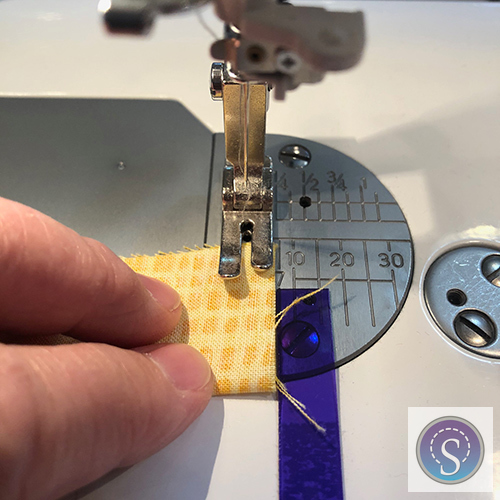
- Shorten the stitch length on your machine to somewhere between 1.5mm and 1.8mm or 16 to 18 stitches per inch. The smaller your blades, the shorter your stitches will need to be in order to remain secure.
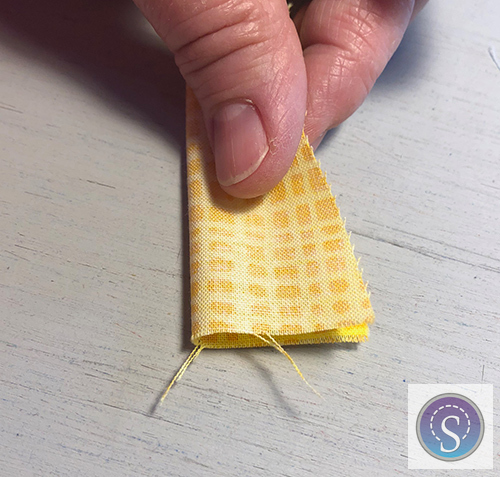
- Fold the blade in half lengthwise with right sides together. Then u
se your fingernail to crease the fold a little way down from the top (wide end). The crease will be used to center the seam a little later. After you make your first blade, you’ll see just where you need to make the crease.
- Using a 1/4″ seam allowance, start at the raw edges (not the fold) and sew across the ends of the blade.
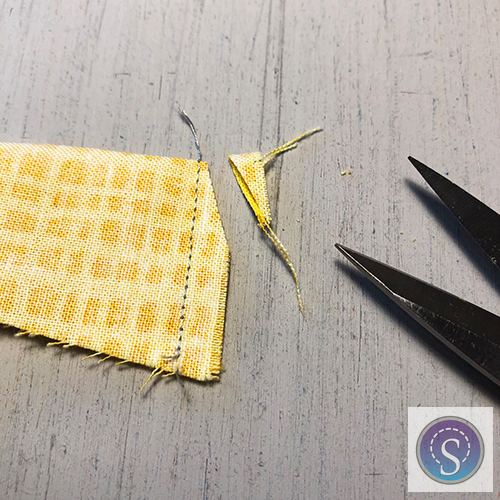
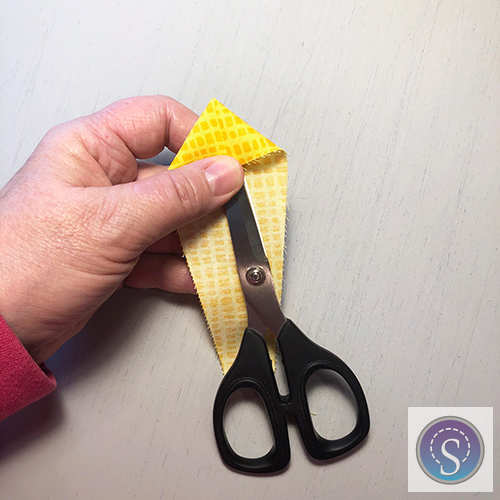
- Now use sharp scissors to trim a triangle from the folded end of the seam allowance. I make the triangle long and skinny because it seems to work the best. Leave a few threads outside the seam (near the gray thread tails below).
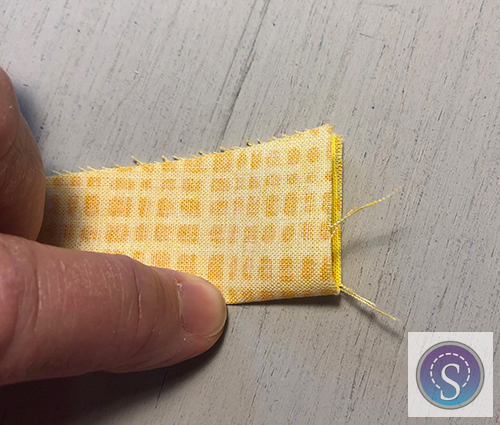
- With your middle finger inside the blade, use your thumbnail to press the seam open.

This is how it will look.

- Turn the blade right side out.
- Use a pointed tool to very gently push the tip of the blade out. Take care not to push the tool through the seam. If you do push through, discard the blade and make another.

Now you can see why you creased the blade earlier.
- Use the crease to center the seam and iron the blade flat. On very small blades, I can eyeball the centering and do fine. But you really must use the crease on anything larger.

- Make enough blades for a full Dresden Plate, and next, we’ll sew them together.
Up Next: Joining Blades into Plates
Are you getting excited about Dresden Plate? I sure am. Here’s a little eye candy to show you what’s possible.

Thanks for the great tips for making perfect blades!