By Diane Harris, HQ Stitch Brand Ambassador
I’m working on new class samples for a Pine Burr class I’m teaching in the fall, and I had several pieces I wanted to applique to a textured background.
I’ve had consistently good performance on the HQ Stitch 710 for machine quilting, so that’s where I turned again.
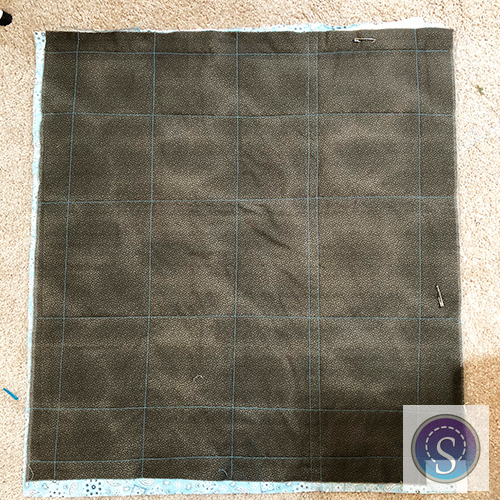
I layered up the backing and batting with the whole-cloth applique background and basted with a few safety pins. I would normally use more pins but they were busy in some other projects.

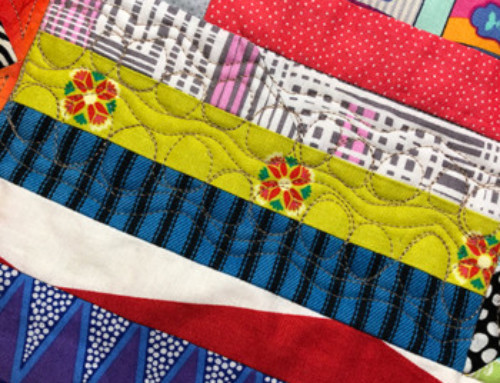
I auditioned several options for thread from my stash of colors. The background fabric is an olive green that’s almost brown and I thought that teal would be a good choice on it.
I considered using several different threads but opted for just one so as not to distract from the applique. My plan was to quilt a slightly organic (also called casual or “wonky”) grid.

I wanted it to be relaxed but I marked the first two lines so as not to accidentally create any wildly diagonal lines.

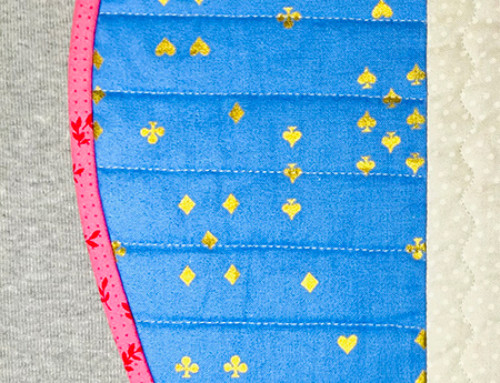
I tested the thread color and stitch length on a scrap, which is always a good idea. Then I quilted the first line. The 710 comes with a handy seam guide which is inserted into the presser foot, but since the rows of stitching were only going to be about 3/4″ apart, instead I used the side of the presser foot as a guide to quilting the lines.

I moved the needle to the right in order to get the width I wanted. It’s good to remember that when you want to adjust the placement of your stitching line, you have two options:
You can move the fabric to the left or the right, or you can move the needle to the left or the right.
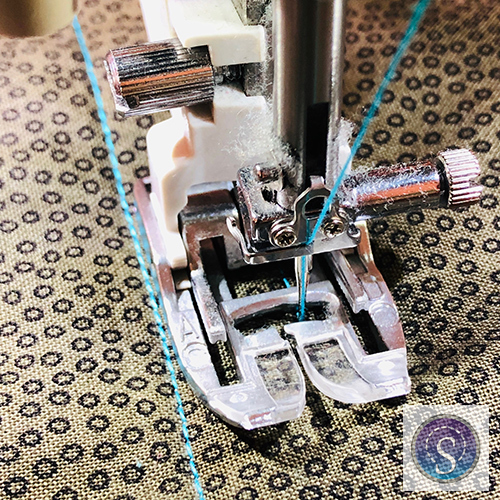
You’ll notice that I have the walking foot attached. A walking foot feeds the top layer of fabric through the machine at the same rate as the bottom layer.

I’ve lately learned a hard but valuable lesson about machine quilting.
It’s helpful to add quilting in a similar density all over the quilt before you add high density quilting to one area.
If you quilt densely in one area, the space around it puffs up to such an extent that it’s difficult or impossible to quilt it without folds or bunching up. It turns into a major headache.

I remembered this right after I quilted those first two horizontal lines together, above. So I changed my course and added lines all over the quilt first.
Then I went back and filled in the spaces a few lines at a time.
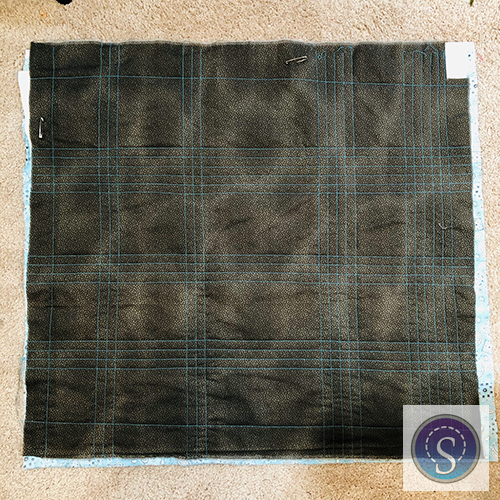
I didn’t let the density become too high in any one area before evening things out with lines in the other areas.

A few times I felt it was looking too regular, so I purposely made my lines more casual.

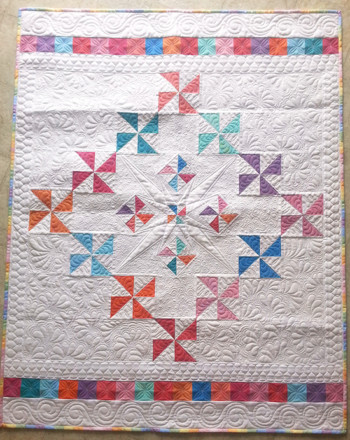
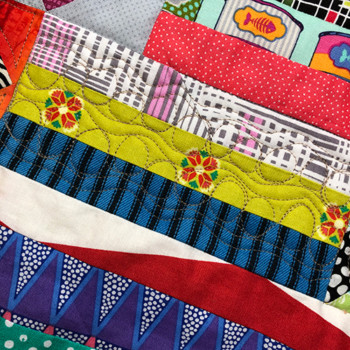
Eventually I’d covered the whole surface with quilting and was ready to move on to the applique. Here’s a closer view.

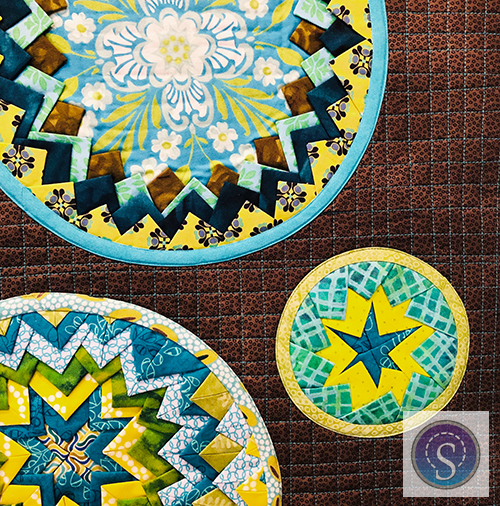
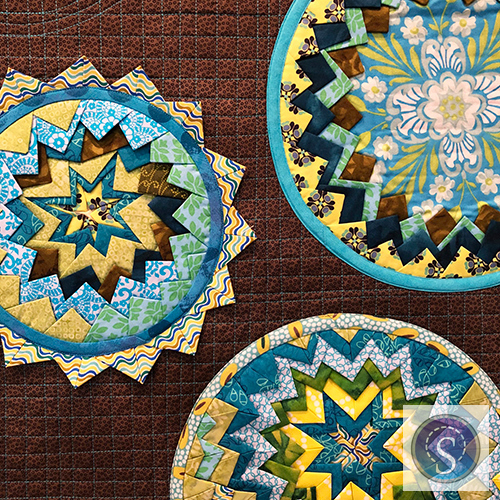
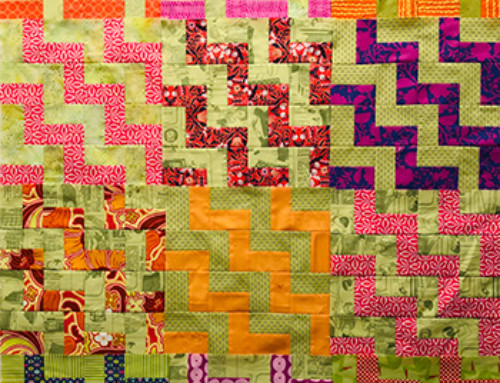
It took a lot of auditioning to find a pleasing arrangement for the Pine Burr circles. At first I made only three of them, but I couldn’t get three to look complete so I made two more.

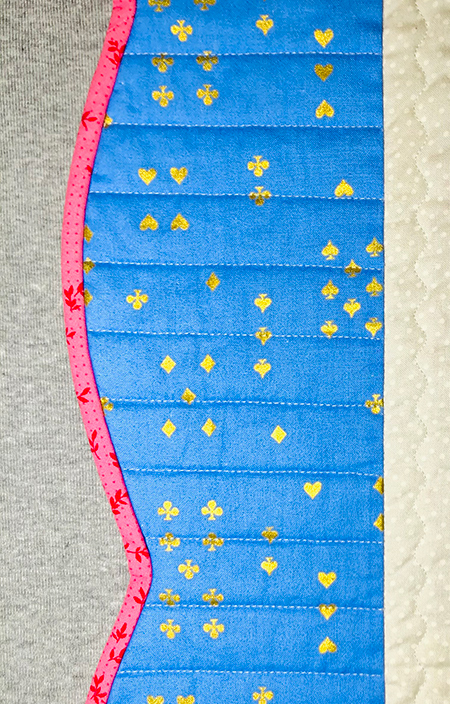
Then I added quilted circles to suggest more shapes in the background. A facing instead of a binding finished off the edges nicely. Here are instructions I once wrote for how to face a quilt: Let’s Face It.
Pine Burr is a very old technique and I’m excited to be teaching it to a whole new batch of quiltmakers!
It’s not piecing and it’s not really applique, either but it’s fun to do and the variations are endless. You can use your ugliest fabrics, too and it still looks great!
Have you tried machine quilting with a walking foot? I’d be interested in knowing about your experiences as well as what kind of machine you have. Please leave me a comment below. In the meantime, happy quilting!
Where are you teaching this process? Looks interesting and fun, something I would like to try.
Hi Sandra, I’m teaching the Old-Fashioned Pine Burr at the International Quilt Museum in Lincoln, Nebraska in September. It’s through Lincoln Quilters Guild and you’d be welcome to join us! Check their website for details. Love to have you!
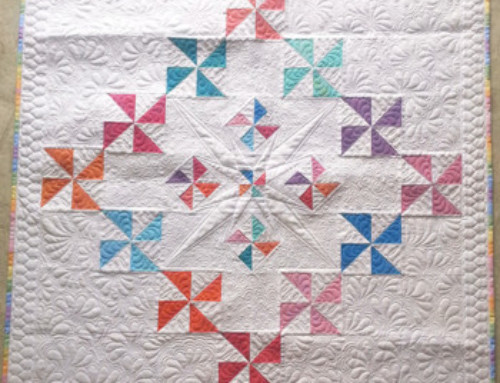
Yes, I have machine quilted with a walking foot on my old Phaff 1040 Hobby sewing machine. The quilt is a 90″ x 90″ with ALL HST’s and five yin/yang applique. I stitched in the ditch horizontally and vertically throughout the entire quilt. It was difficult to achieve due to my machines throat size, but I got it done!
That was a real accomplishment! Good for you!