By Diane Harris, HQ Stitch Brand Ambassador
I’ve been watching machine quilting videos, and a lot of them. I bought them as classes over the past dozen years or so. I’m a little embarrassed to admit that I haven’t taken time to view many of them before now.
I’m watching now because recently, a popular online learning platform for makers of all kinds announced that it was closing down over the next few months. If I don’t watch the classes now, there’s a chance they’ll disappear completely when the platform goes away.
The silver lining to this is that I’ve been forced to practice. It’s one thing to hear a teacher talk about machine quilting, and another thing to watch her do it on my screen. But it’s when I actually try it for myself that I learn how it’s done.
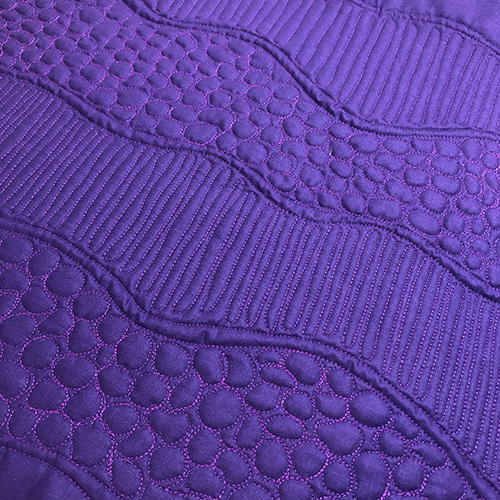
Quilt Sandwich #1
I used a solid purple fabric, two layers of batting, and So Fine from Superior Threads in color 500. It’s a 3-ply polyester, but that’s a story for another day.
I’m learning how to divide spaces and then fill them with motifs. I had a huge lightbulb moment when it sunk in that what gives the quilting visual interest is variety. It’s just like choosing fabrics for a quilt block.

Let me explain. This quilt block is successful because of the variety in the fabrics. You have lights, mediums and darks. There are stripes and curves. You have a very small scale print for the background, a medium scale in the batik, and a larger scale for the star. There’s even a fabric that reads like a solid. So much variety for the eye to take in!
When you make a quilting plan, you want variety in the motifs. There should be a variety of lines, such as straight and curving, and variety in the size of the motifs: some large, some medium and some small. There may be other things to vary but these two are what I’ve discovered so far.
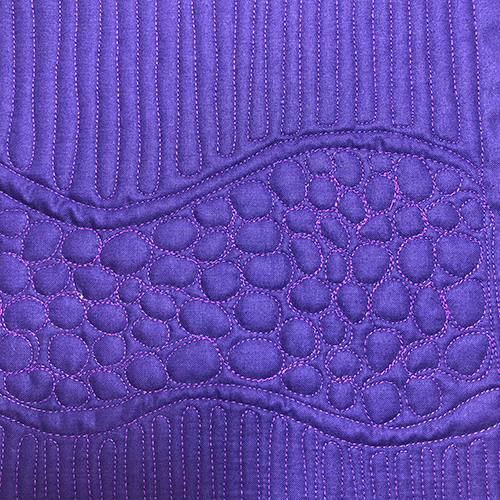
Quilt Sandwich #2
Using the same thread, I pulled an ombré from my solids bin and tried a couple more things.
I filled a narrow channel with pebbles and tried feathers, then quilted over one row of feathers to see. It wasn’t successful but since I’m just practicing, nothing lost. And now I know.
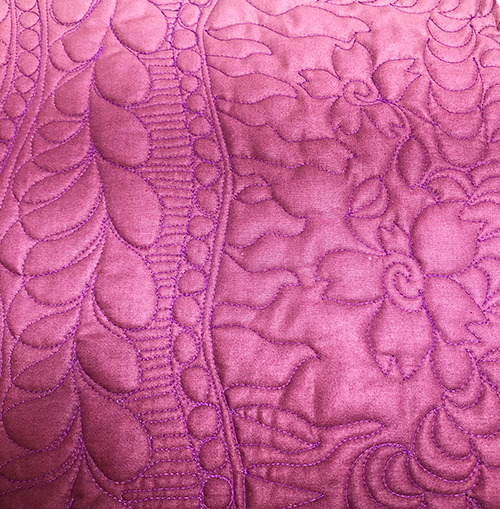
I wanted to explore one thing further: closely spaced straight lines next to something curvy. (Variety, remember?)

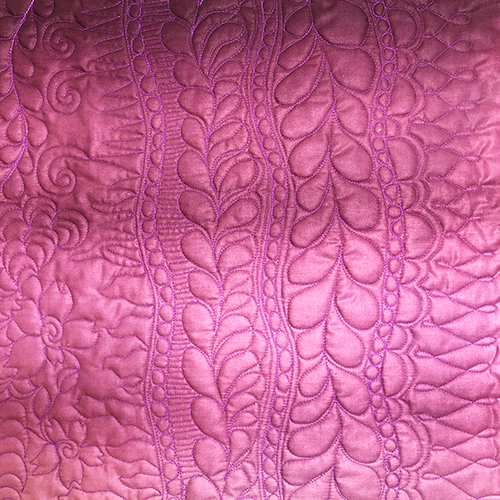
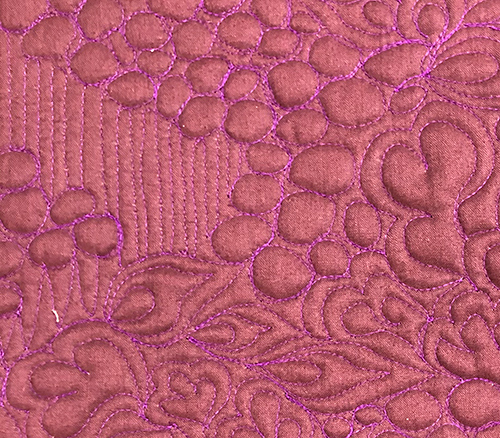
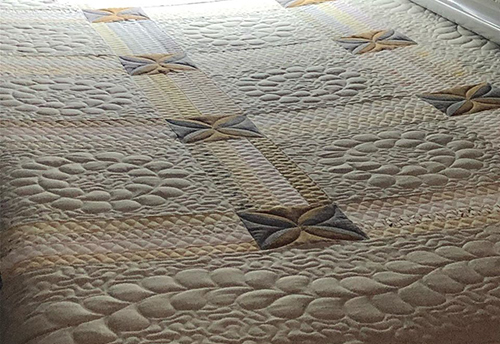
Quilt Sandwich #3
I layered up another fat quarter sandwich and decided to combine pebbles, flowers, two kinds of leaves and some straight lines.
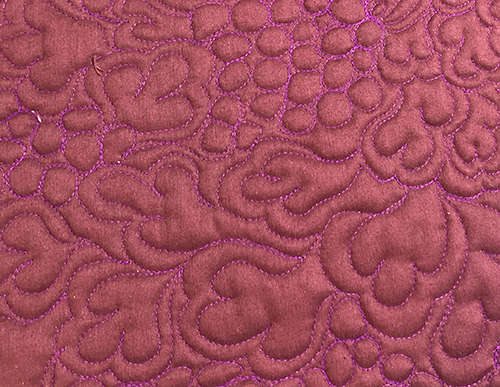
The more I practice, the easier it gets. And it’s starting to look less awful.
I still have a long way to go but I’m encouraged. This IS possible.
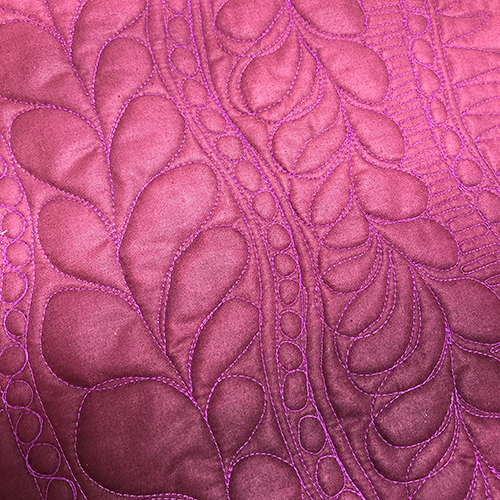
One Great Tip
I quilted the straight lines in the piece above freehand, without a ruler. I’d heard someone at my guild talk about using your hand as a guide for straight lines.
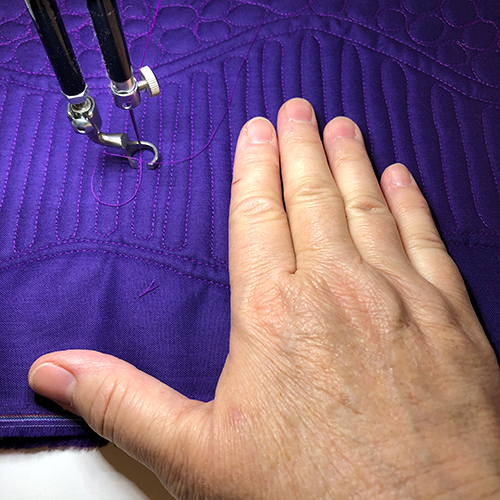
If you keep the index finger on your right hand straight up and down on the fabric, parallel to the straight lines you want to quilt, it’s supposed to help.
I tried quilting the straight lines both ways: as shown above, and with my hands in their normal position. My lines were noticeably straighter when my hand was positioned as shown. Try it and let me know what you think!
It looks best if the lines are a consistent distance apart. That’s going to take some practice.
Pieced and quilted by Debby Brown
Fabric by Benartex (and scraps)
Thread by Superior and WonderFil
Mary Beth Krapil is my machine quilting coach, and something she said is starting to make sense:
I have been delving deep into free motion quilting since January and was starting to feel confident with my skills on my domestic machine. Then I treated myself to a new Capri and I feel like I’m back in kindergarten! Any suggestions about best resource to use?