By Diane Harris, HQ Stitch Brand Ambassador
You may have heard about improvisational quilting, or improv for short. This kind of freeform construction is fun and easy, and it keeps piecing interesting because every block is a new adventure. You don’t know exactly how it will look until it’s sewn together.
I think improvisational work should be one of the first things new quilters learn because it has the potential to unlock a person’s creativity. Instead it seems to be explored far down the road, after all the basics have been mastered.
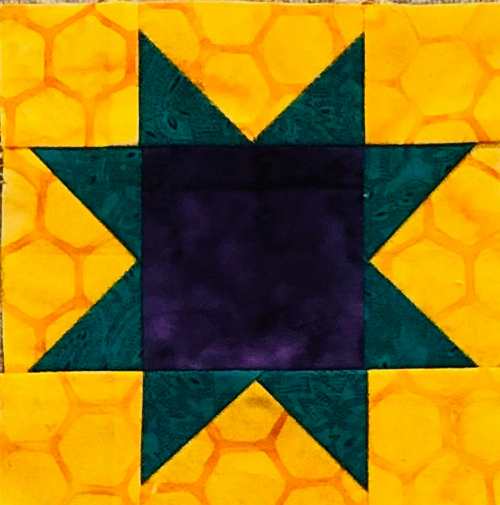
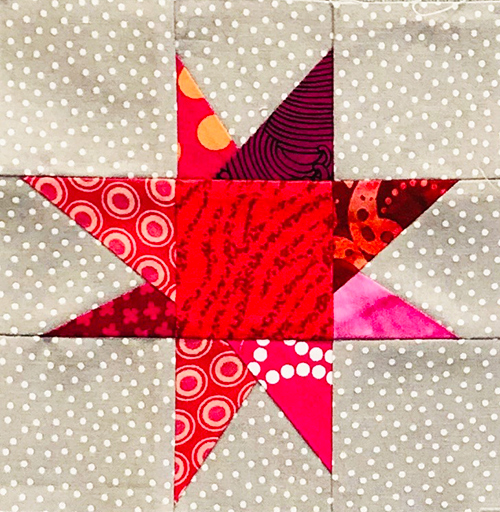
Above you can see the difference between the precision of the traditional star and the wonky style of the improv star.
Today I’d like to show you how to make a wonky, improvisational-style star. Next week I’ll write a tutorial on how to make the traditional star, and then we’ll combine them into a quilt design.
Getting Started
The scrappy improv star we’re making will finish at 6″ x 6″.
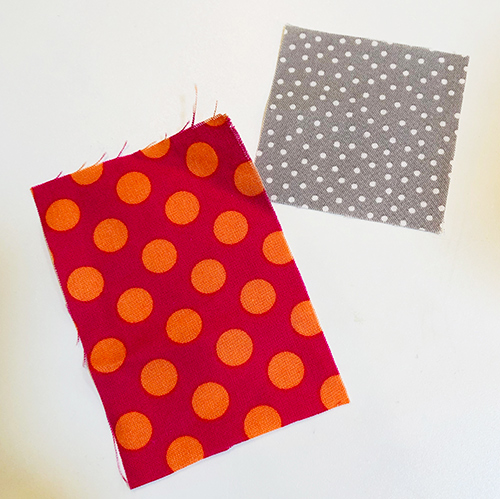
Choose a background fabric and a contrasting color for your star. There should be enough contrast that you can clearly see the difference between them–in other words, one should be considerably darker or lighter than the other.
My background fabric is light gray and my star color is hot pink. You’ll be digging into your scrap bag for the star fabrics, so pick a color that is plentiful among your leftover bits.
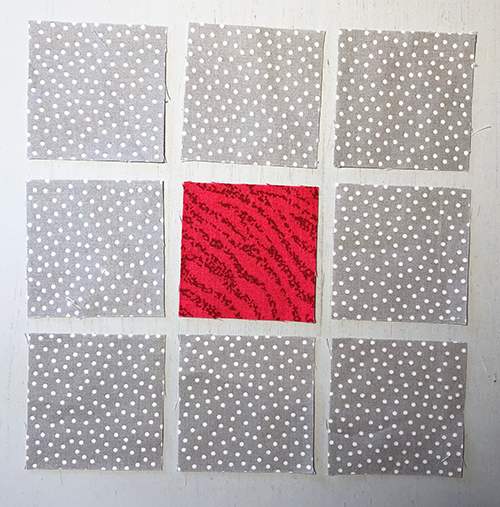
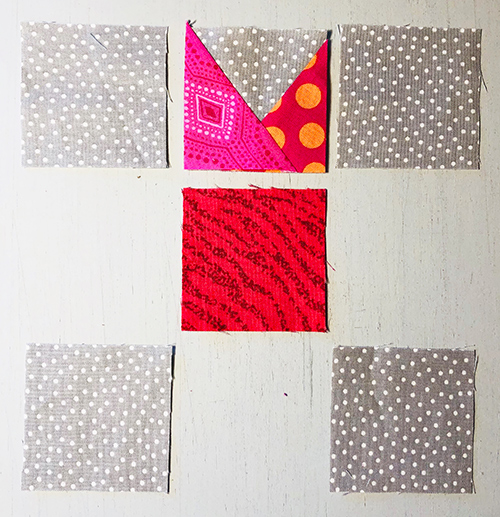
Cut 8 squares from the background fabric that are 2-1/2″ x 2-1/2″.
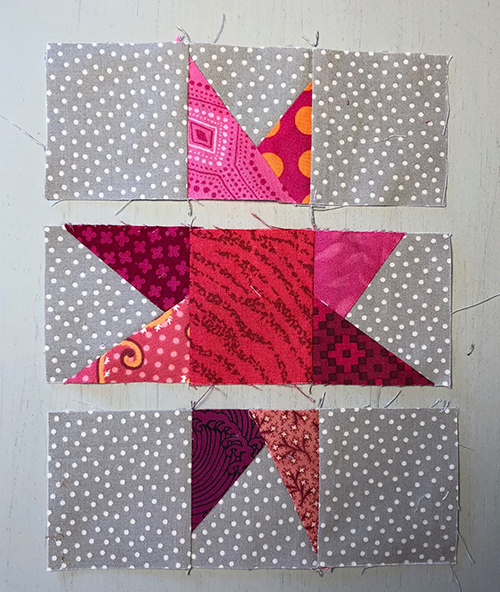
Cut one square from a scrap of your star color that is also 2-1/2″ x 2-1/2″. Arrange them as shown above. (Later you won’t need to arrange them, but I want you to see how the star comes together.)
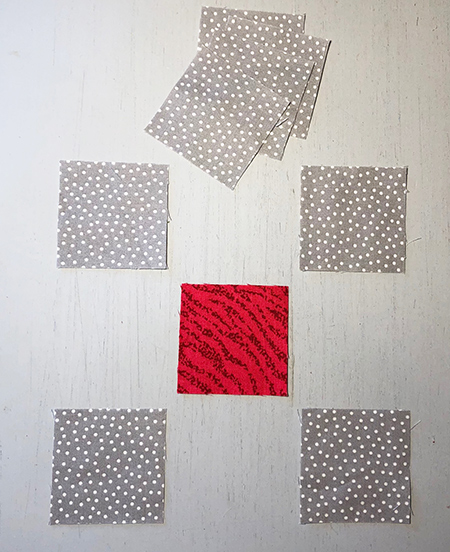
The four corners and the middle patch will be sewn into the star just as they are. The other four will become the star points.
Making the Star Points
We’ll make the star points with stitch-and-flip. Here is how it’s done.
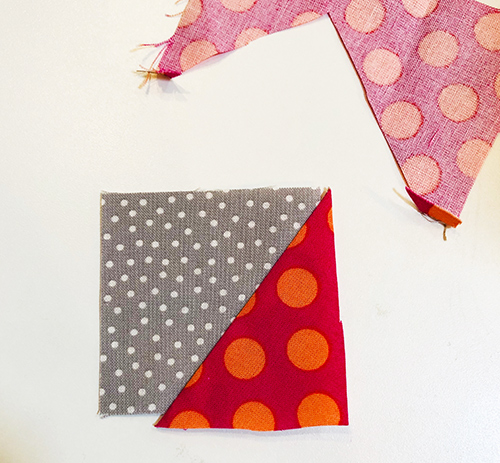
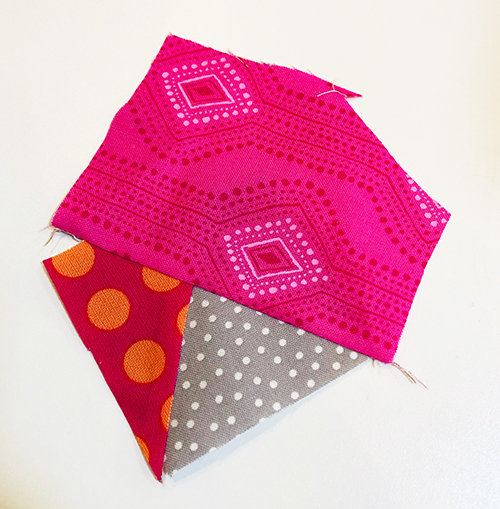
Take one of the background squares and a scrap of your star fabric. It will need to have one straight edge. You can cut it by hand or with a rotary cutter.
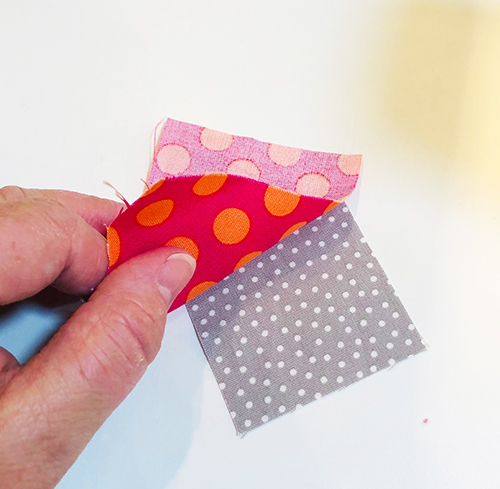
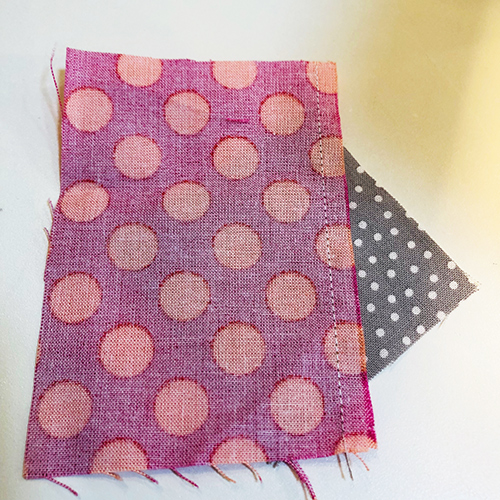
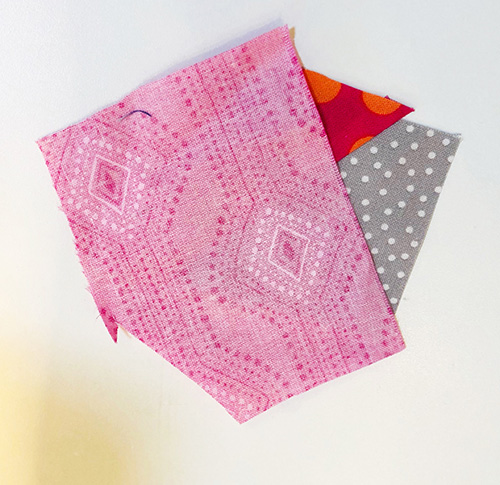
Place the star scrap at an angle on the background square, right sides together. You’ll get the idea of how to place it once you’ve made a few of these. Below you can see how mine is placed.
What is showing of the bottom fabric is roughly what the star point will be.
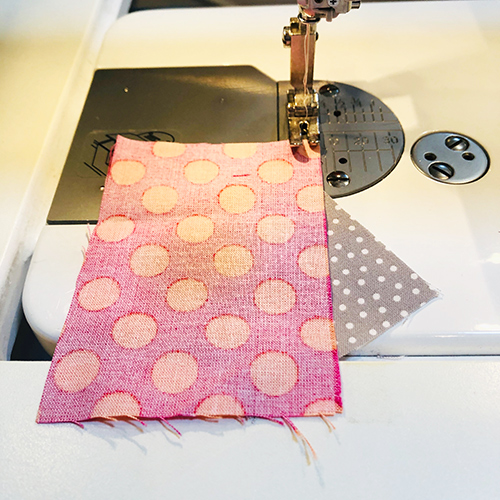
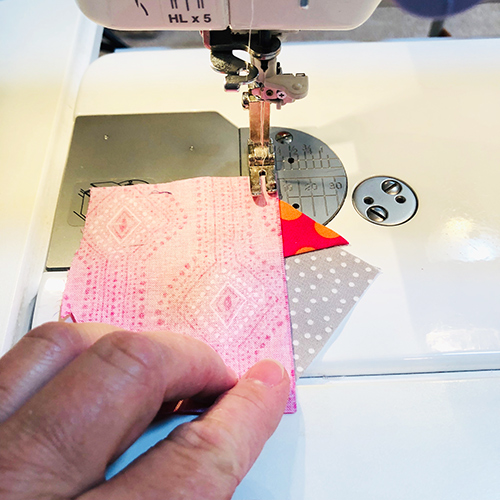
Sew the two patches together by stitching about 1/4″ from the edge of the star fabric as shown below. On the HQ Stitch 510, I use the edge of the presser foot as my guide.
Flip the star fabric open and use your fingernail to press it. Your fingernail will give you a nice, sharp crease.
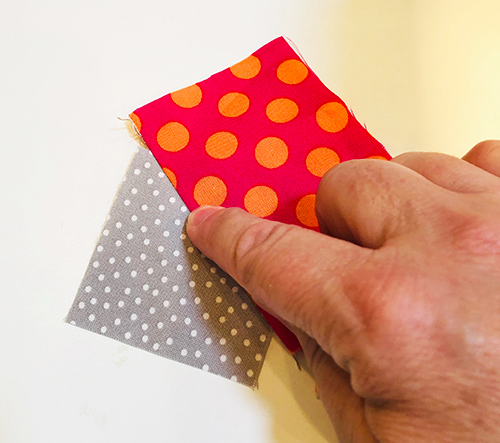
It’s helpful to keep in mind that the final unit will be the same shape and size as the original background patch, 2-1/2″ x 2-1/2″.
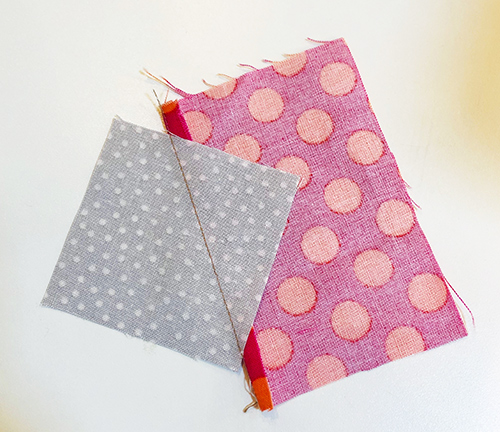
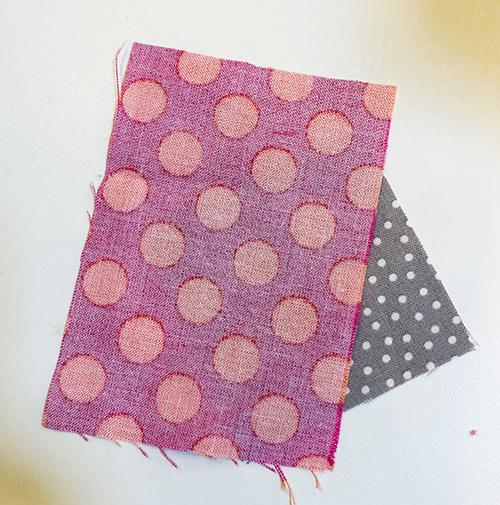
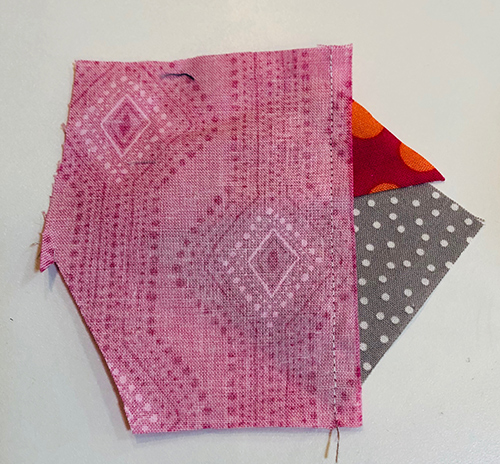
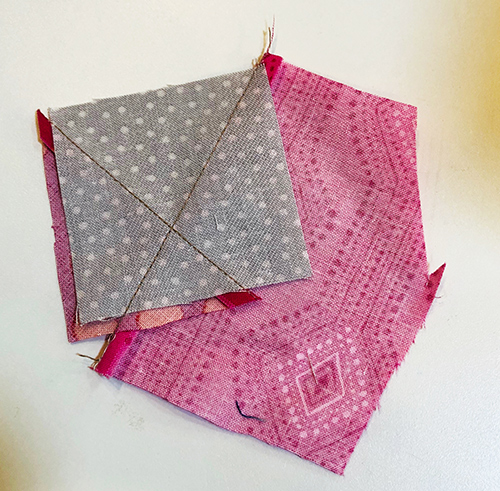
This is how it will look from the back. Use a sharp scissors to trim away the excess star fabric, a little outside the background square as shown below.
Trim with the wrong side facing you as shown above, so you can see the edges of the background square.
It will look like this from the front side. Now we are going to add another star point to this same unit.
Place another star scrap at an angle across the unit as shown, right sides together. Remember that what is showing of the bottom piece is roughly what the new star point will be.
Just as you did before, sew about 1/4″ from the edge of the star fabric.
Open out the patch and fingernail press it as before.
It will look like this from the right side.
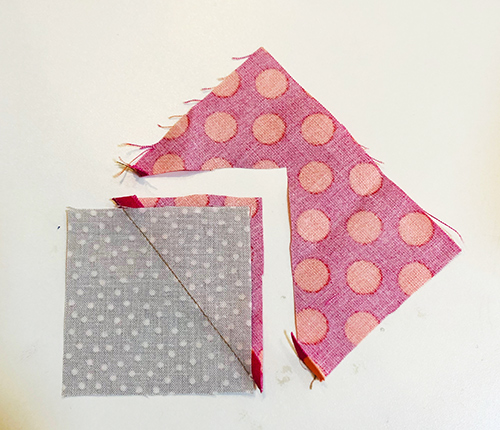
And this is how it will look from the wrong side. Trim the star fabric a little outside the base patch just as you did before.
Use a ruler and rotary cutter to trim the star fabric edges even with the background fabric, 2-1/2″ x 2-1/2″. (For this block, leave the base fabric in place. In another post, I will explain cutting away the base fabric if you prefer.)
Assembling the Block
Here you can see how the star points will be sewn into the block. Repeat the process to make three more star point units. Arrange the patches as shown below.
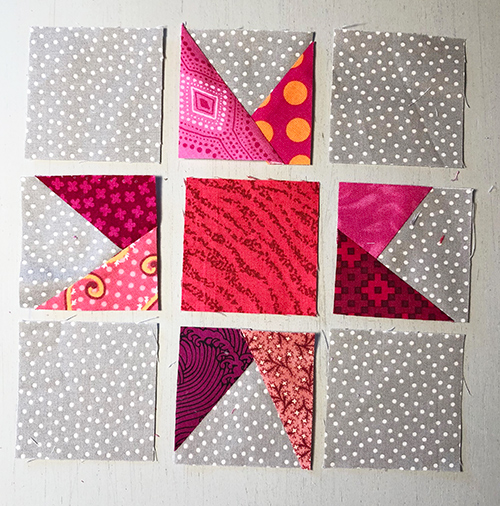
Sew the top three patches together, the middle three, and the bottom three. Use a 1/4″ seam allowance as you normally would for piecing.
Sew the three rows together to complete the block.
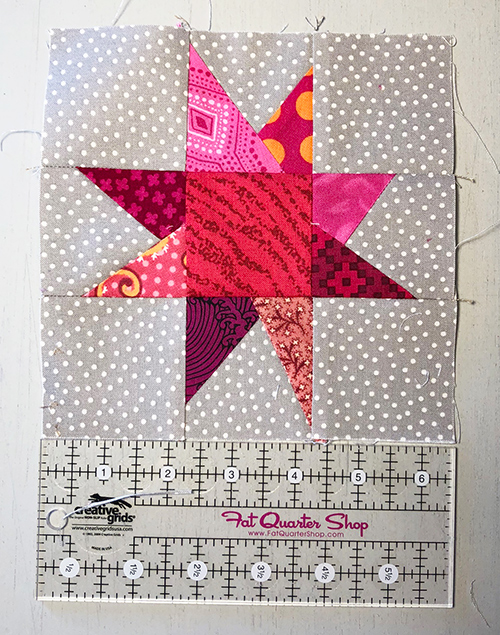
The block should be 6-1/2″ x 6-1/2″.
Important points:
- Be sure your star fabrics contrast strongly against your background. Otherwise the stars will disappear!
- Vary the size and shape of the star points. Make some tall and skinny and some short and fat.
- You can make the blocks more scrappy if you prefer. For example, you could use several background fabrics, but keep them similar in value (lightness or darkness). The same is true for the star points.
- If your patchwork isn’t coming out to the correct size, adjust your seam allowance up or down as needed.
If you make a wonky star, please send me a photo. I’d love to use it in an upcoming post. Use hqstitch@gmail.com. Until then, happy quilting!
I loved the tutorial ! Thanks !