By Diane Harris, HQ Stitch Brand Ambassador
and
Mary Beth Krapil, Handi Quilter National Educator
I started machine quilting an old UFO this week, and because I’m not experienced, I had questions right away. Mary Beth is a seasoned longarm quilting pro and is always just a text away. I sent my questions to her!
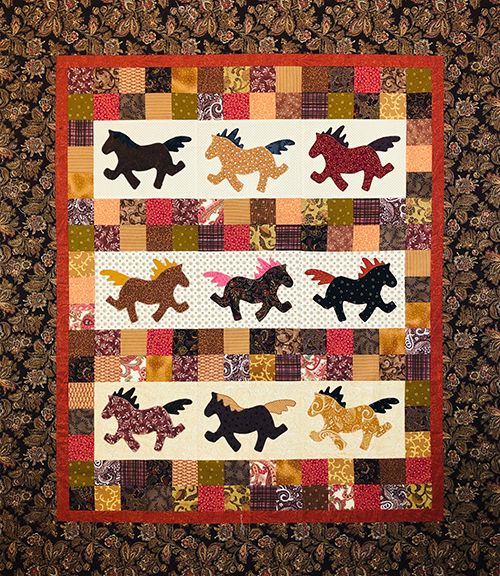
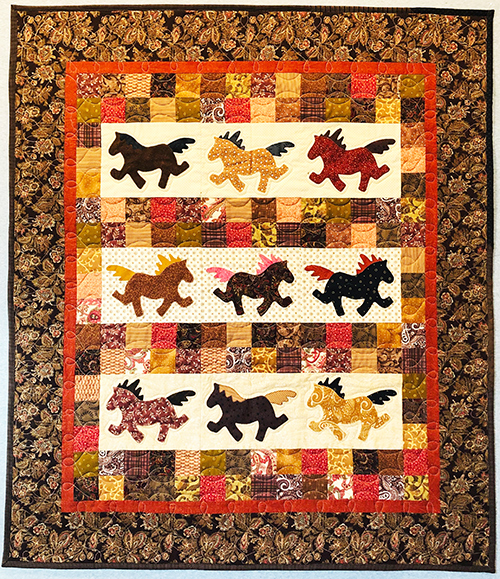
My general plan was to outline or echo quilt the horses, to put scallops in the setting squares and to finish off with ribbon candy in the borders. (Debby Brown, another Handi Quilter National Educator, has gotten me hooked on ribbon candy!)

Once around the pony didn’t look too bad so I echo quilted a few more times. I always get ahead of myself.
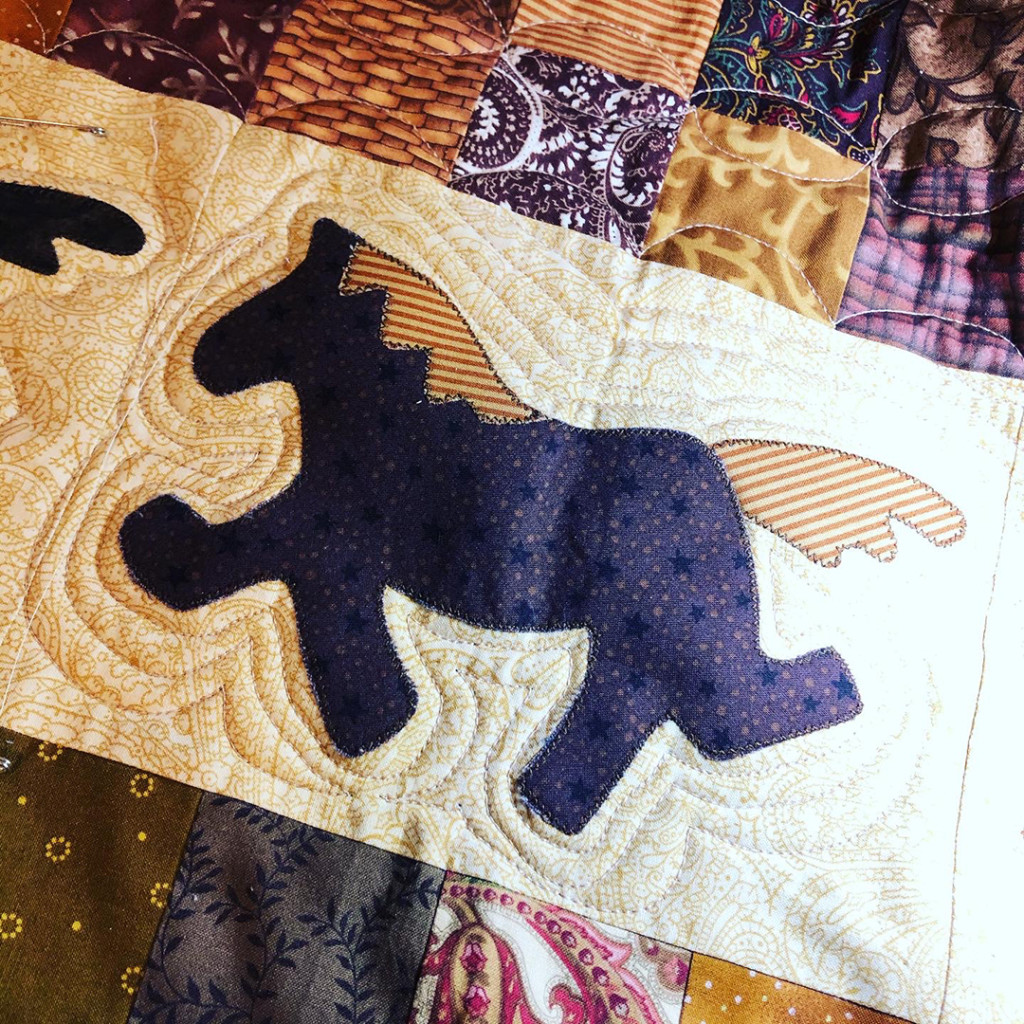
I stopped to see what Mary Beth thought because I wasn’t sure it was wise to continue.
A Little Q&A
Q: Should I stick with one outline here or continue with echo quilting?
A: That’s a matter of personal preference. If you like it, go for it. Audition with Quilter’s Preview Paper before you commit.
I personally do not like echo quilting, for the most part. Echo quilting creates motion and when quilted around some shapes like animals it makes them look like they are shivering or vibrating. Also, unless echo quilting is super-well executed it looks sloppy.
On the other hand, there are some instances that echo quilting is perfect. Have you seen Hawaiian quilts quilted in this style? That is an example of echo quilting that really sings!
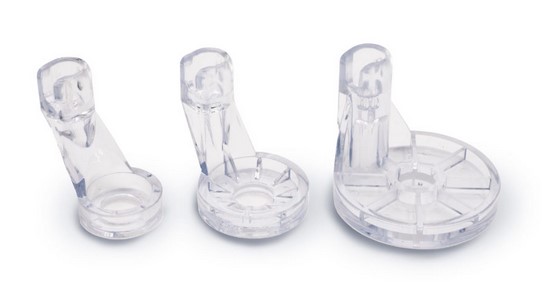
To do it well you need tools to get those echoes evenly spaced. The Handi Echo Feet work perfectly for this. The Echo Feet Kit is a set of three acrylic feet with a ring that extends the width of the hopping foot. The feet provide a fixed interval to use when echo quilting around a motif.
The Echo Feet provide a 3/8-inch interval, a 1/2-inch interval, and a 3/4-inch interval. When quilting an echo, position the edge of your foot on the edge of your applique and stitch using the edge of the foot as a guide to keep your echo uniform.
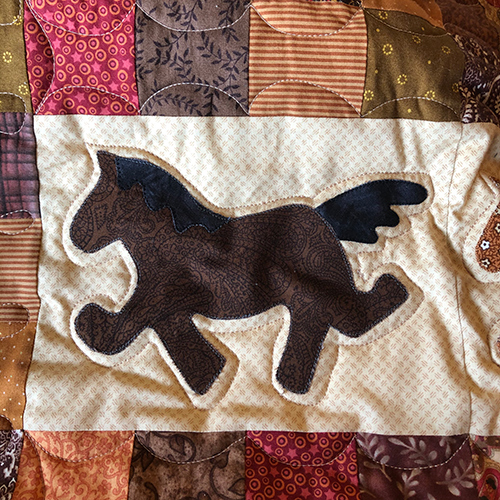
In the end, I took out all but one outline of the ponies. Now I’m happy with their appearance.
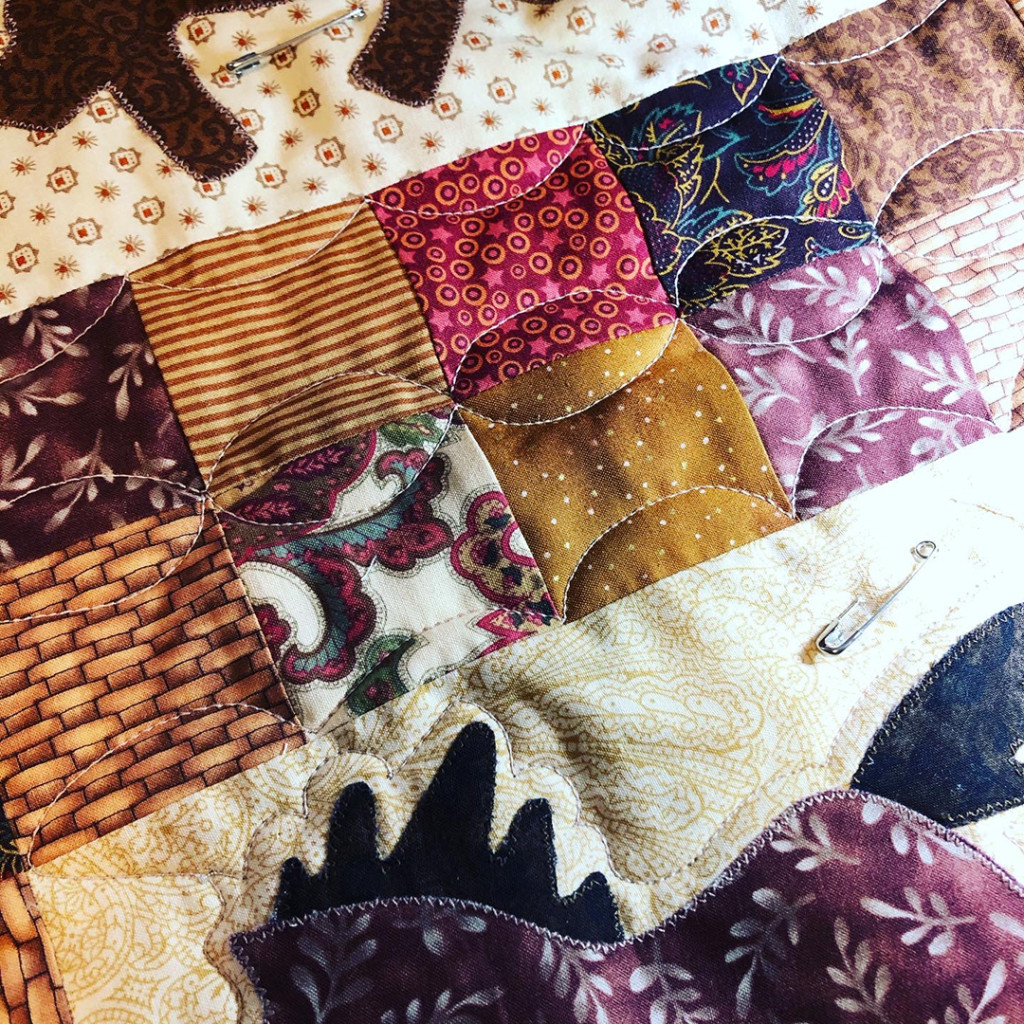
Between the ponies are checkerboards of 2″ squares. I tried scallops/curved lines but I realized that if you’re using the patchwork to create something regular, then it has to BE regular (as in consistent) or it looks sloppy.
Q: Do the scallops in the square patches work? Should I fill in the middle, or fill in the scallops, or leave it alone?
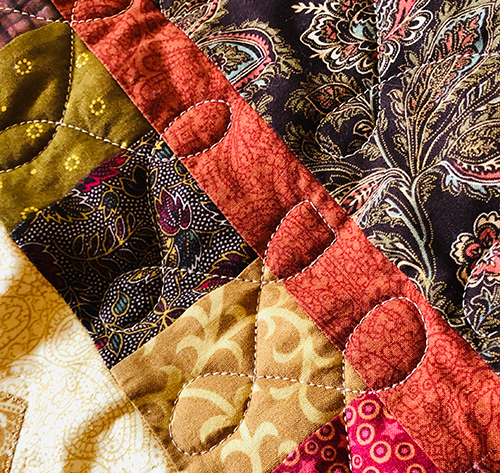
A: Yes, I love continuous curve (what you call scallops) in checkerboards! This works so well because one principle to remember when you are choosing quilting designs is that curved quilting lines accentuate straight line piecing. And what could be more straight line than checkerboard?
One Useful Ruler!
I like to use a ruler for continuous curve and the curve at the bottom of the Handi VersaTool is usually my go-to. Using a ruler keeps the scallops all the same height.
However, with practice, it is possible to get fairly even and consistent continuous curve doing free motion. Here’s a tip, (this applies to ANY free motion quilting): Look ahead. Don’t look at your needle. Your eye should be on your goal.
Start in an intersection. Your eye is there where your needle starts. Then your eye should be at the next intersection. As you quilt to that goal you will naturally make a nice smooth curve.
If you are looking at the needle you will try too hard and quilt a wobbly curve instead. Once you reach the 2nd intersection your eye goes to the NEXT one.
Look ahead to your goal. The other advantage of this is that your quilting line will go to the intersection if you are looking at it.
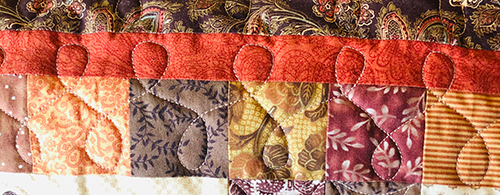
I put a version of ribbon candy over two borders: the checkerboard and the narrow orange. If I could redo it, I would probably quilt them separately.
MB: I know you didn’t ask, but I will pipe in here anyway 🙂 You have good instincts, Diane. When it comes to narrow borders I always stitch in the ditch on both sides. Often times, these are referred to as “stop borders”; they stop the eye and let the viewer know they are leaving the body of the quilt and are entering the border. If you combine the stop border with another part and treat them as one, it defeats the purpose.
I prefer to define and accentuate that stop with stitch in the ditch. I know it is no fun to stitch in the ditch. It is slow and boring and when you get done, if you did it right, no one sees it! But it really makes a difference in the appearance of the quilt.
In the case of a narrow border, it creates a channel which is a design feature that I love to incorporate in my quilting. Worth the practice time to get good at it.
Had a little “whoops” on this one. I squashed him flat! (Near the center, above.)
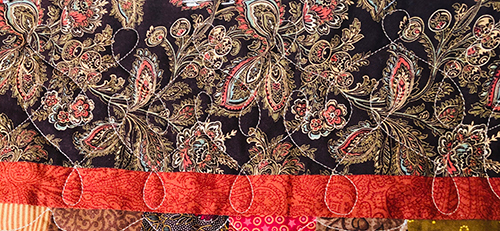
In the final border, I repeated the pattern and nested the loops together. I like the idea of nesting, but I’m disappointed with the overall effect.
(MB: Love the nesting! Keep that in your bag of tricks.)
My problem is a failure to plan.
Why am I averse to planning? Sometimes I think I need a therapist more than I need a quilting coach.
I get so excited about my ideas for quilting. I start right in without thinking it all through. My personal style is to make decisions as I go. It’s how I design quilts, it’s how I cook, it’s just how I function.
Note to Self:
Failure to Plan = Planning to Fail
Maybe that’s too harsh. I finished this UFO, and that’s a good thing. I learned some stuff. And I got in a few hours of practice.
MB: Maybe it’s not a failure to plan but a failure to preview. You are just jumping into this and are gaining experience, learning what works and what doesn’t. Previewing helps with that learning curve, so keep that Quilter’s Preview Paper at the ready. And call me, I’ll be your therapist.
Onward!

Lots of good information! I think your quilt turned out great and Mary Beth had lots of great tips.
[…] may not need a therapist after all (see previous post) because this time I had a plan! Tomorrow I’ll show you how I decided to quilt this […]